Nero BackItUp is a capable backup application which supports a great number of features. While it is great as a casual backup application, it is not recommended for serious users.
The application features a rich interface with more in common to Nero StartSmart than to some of their other products such as Nero Vision or Nero Burning ROM. The interface is clean and intuitive.
While Nero is primarily considered to be a disc burning software, Nero BackItUp offers many more options than just backing up to a disc In fact disc burning seems to be no more highlighted than the other targets. Disc burning if of course available, and works with all kinds of discs.
Backing Up

Nero BackItUp supports three different modes of backup, Autobackup, File Backup, and Drive Backup. Besides these you can also verify previously made backups.
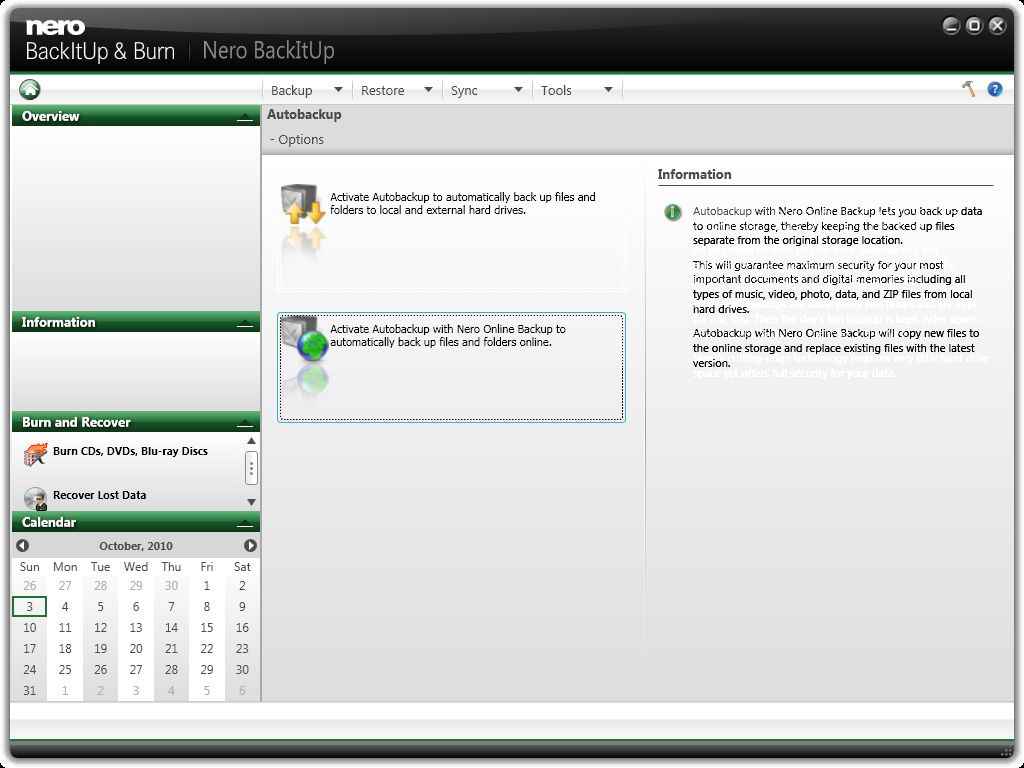
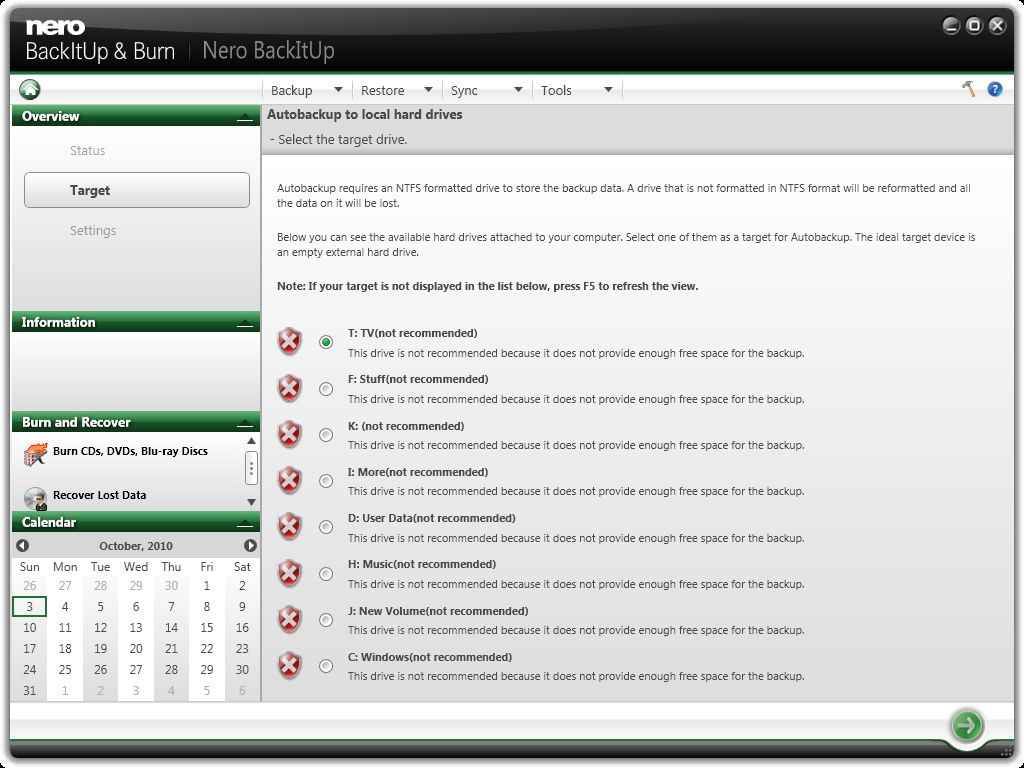
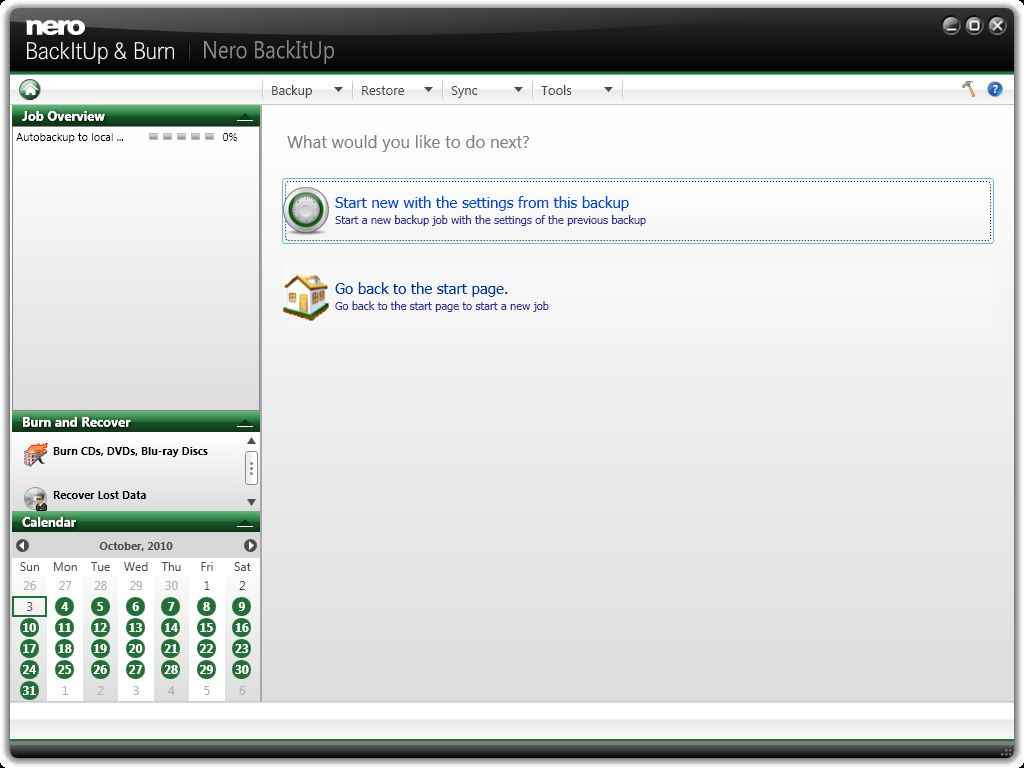
The Autobackup option is the simplest of all. You need only to select a backup target from your list of drives, and Nero will handle the rest. Once you have selected your target drive for backup, Nero BackItUp will automatically schedule the backup to start in a short while. If you do need to configure the backup you can do that at this point of time. The default option is to backup everything, which may or may not be what you want.
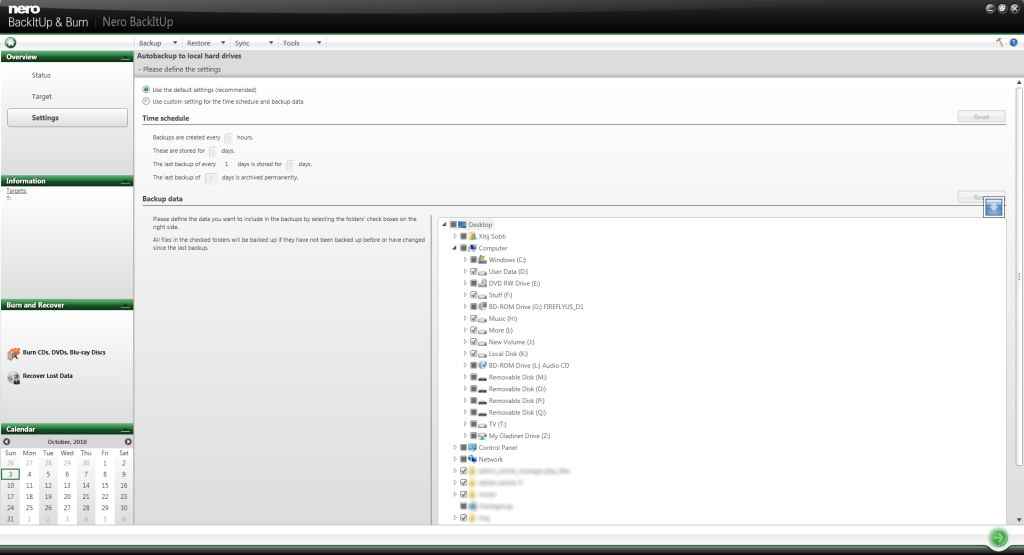
If you do choose to edit your Autobackup job, you will be able to specify the frequency of backups, set how long they will be stored, how long to keep backups conducted at the end of the day, and finally how frequently should backups be archived permanently. Besides this you can select what folders / files on your computer you wish to backup.
Autobackup screenshots
 |
 |
 |
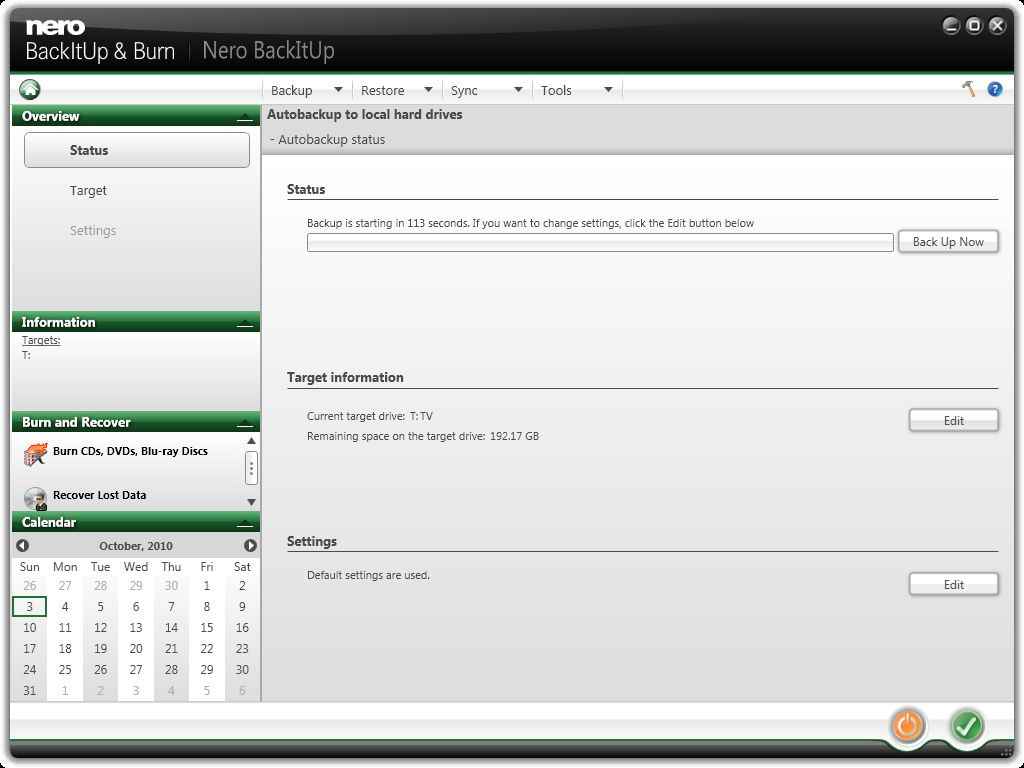 |
| Creating a new Autobackup job | Selecting a target drive | Autobackup basic settings | Autobackup job status |
.jpg) |
.jpg) |
||
| Advanced autobackup settings | |||
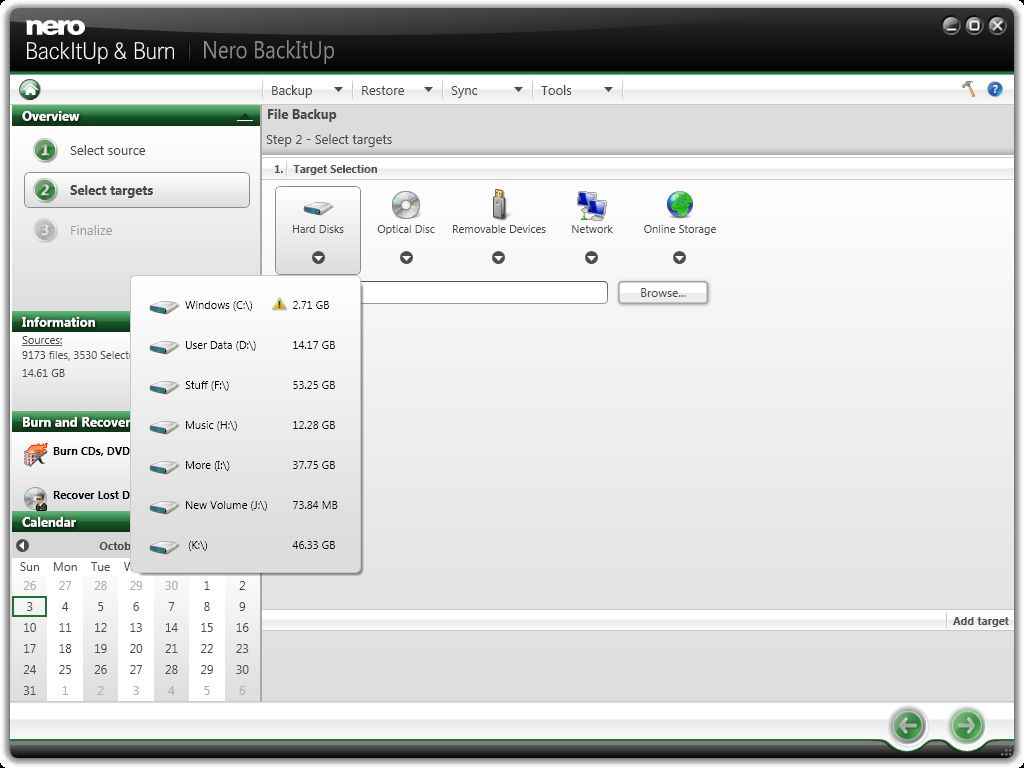
File Backup as the name suggests lets you select the exact files / folders that you wish to backup. In this case, you also get many more options for the target of your backup job. Besides your hard disc, you can select optical disc, removable discs, local network, and online storage on an FTP server. You can even select multiple targets to if you wish to be even more cautious.
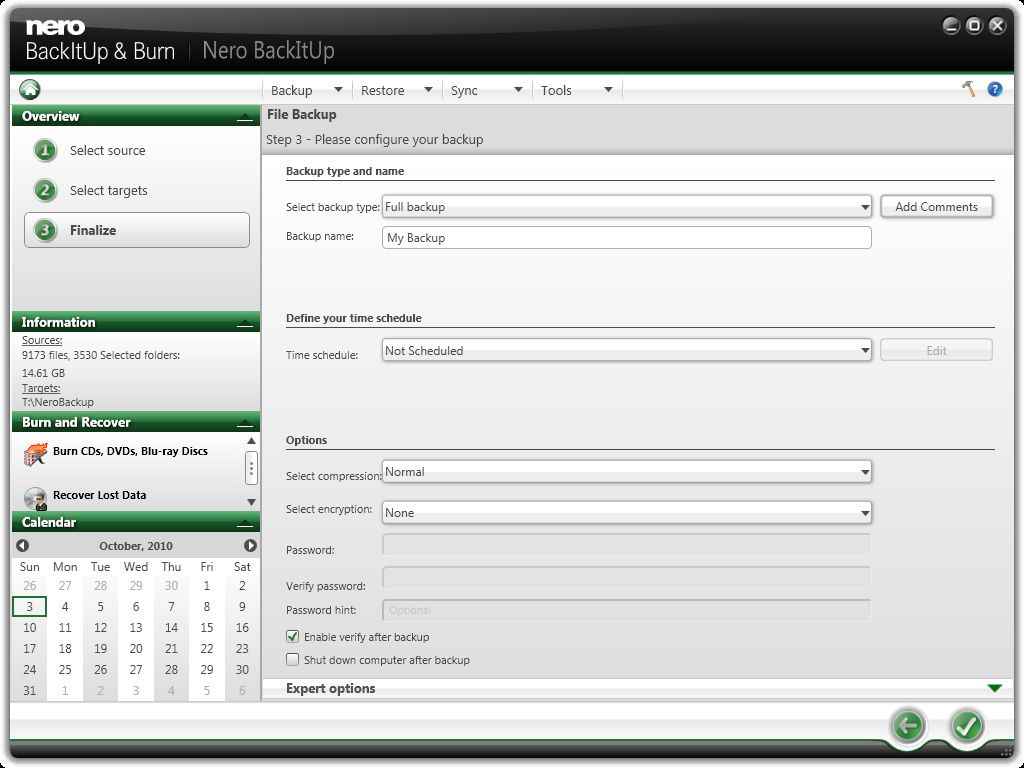
[RELATED_ARTICLE]You have a couple of options for the type of backup you wish to make. You can have a full backup, an incremental backup, differential backup, or update backup — an explanation of what each backup entails is visible as you hover over each option. A full backup is one where each time the backup is run, all your files are backed up to your backup media. An incremental backup backs up only those files that have changed since the last time the backup was run. A differential backup on the other hand will back up only those files that have changed since the first backup. An update backup is a little tricky; it works differently depending on where the backup is being stored, if you are backing up to a hard drive, it will overwrite each previous backup with the latest changes, and if the backup is being performed on an optical disc, it will work like an incremental backup.
After setting the backup type, and giving a name for the backup job, you need to set a schedule. For a one-time job you can set this to “Once”, otherwise for timely backups you can select from Daily, Weekly or Monthly backups. You also have the option for a few event-based backups; you can set Nero BackItUp to start the backup job when the system is idle, at system startup, at log on, or when it detects changes in the backup source. You also have the option of making an unscheduled backup job.
If you select to backup once, daily, weekly, monthly, or when the system is idle, you will be able to fine-tune the schedule further by clicking on an Edit button next to the schedule selection dropbox. For a daily backup you can specify the time at which to perform the backup. For a weekly backup you can select the days of the week, and the time at which to backup. For a monthly backup you select a data and time, and for idle backups you select how long the computer needs to be idle before the backup begins.
Nero BackItUp supports compressing your backups as well. You can set the compression to low normal, high or choose to have no compression. As expected, this will affect our backup speed. In addition to compression, you can also choose to encrypt your backups, however the choices offered for the same are rather few. You can only choose between “Classic” and “AES” encryption. Finally, you can choose to verify your backups after creating them, and you have the option to shut down your computer after backup, if you have selected a one-time or unscheduled backup.
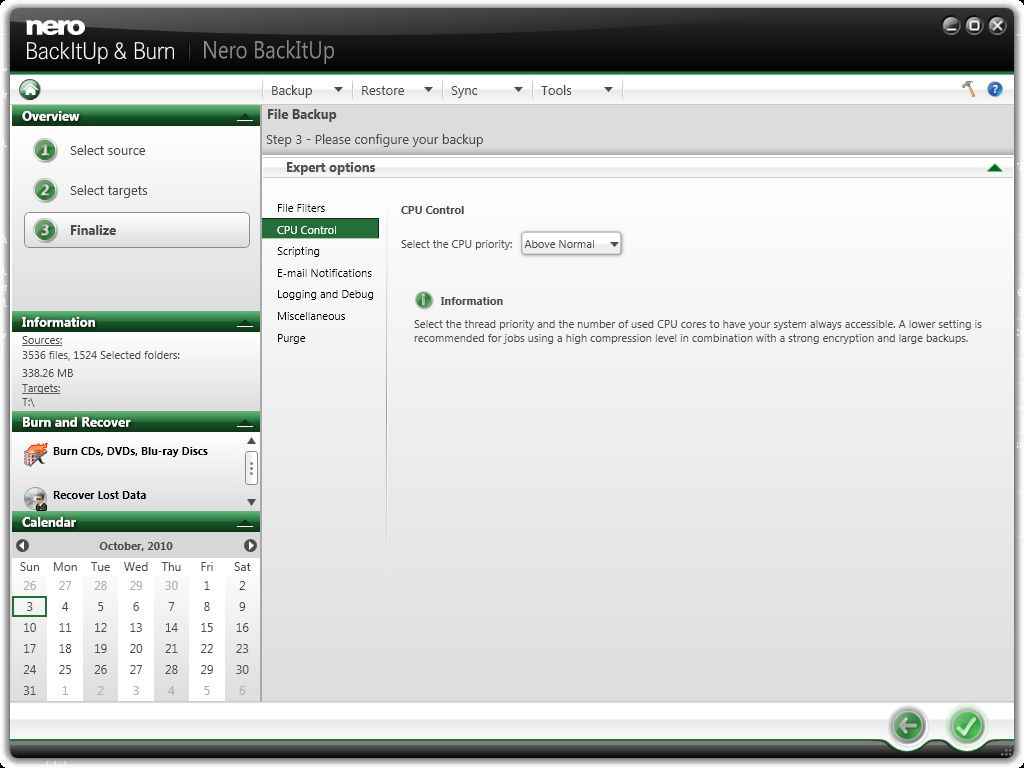
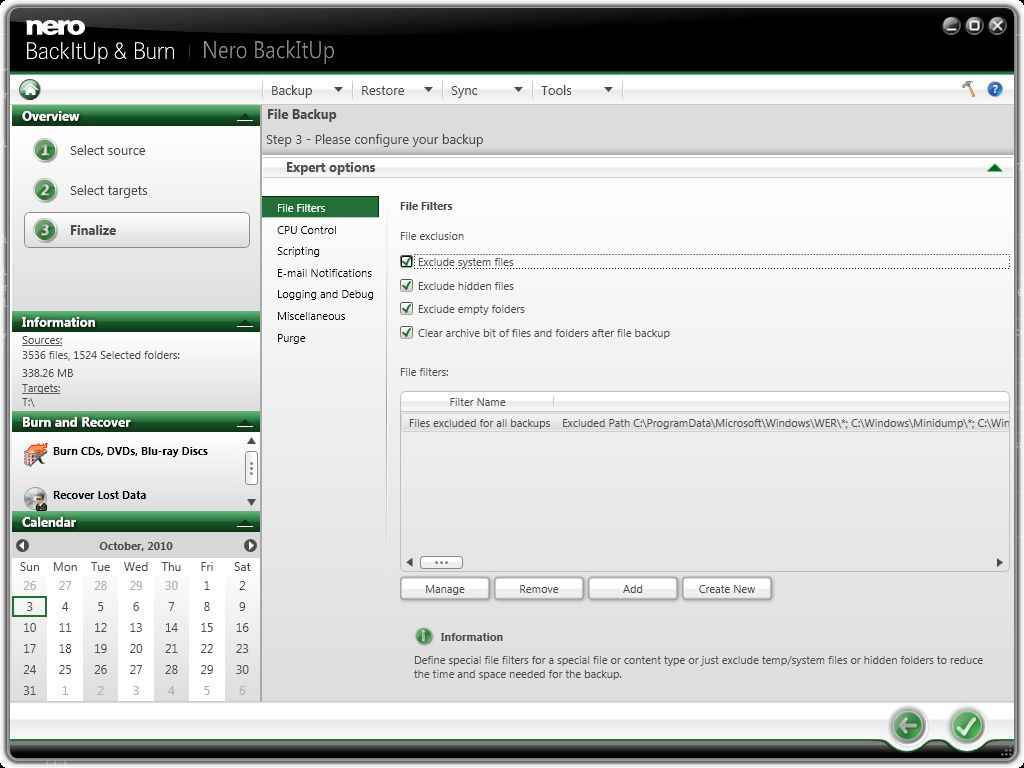
That is all you need to specify before creating a backup job. However if you like more control over your backups, you can opt to configure the expert options. Here you will be able to specify in detail, what kind of files are to be backed up. You will also be able to the priority of the backup job, and specify any applications / scripts to run before and after your backup job. You can set up email notifications for when the backup is successful or has failed. Under Logging and Debug, you can chose how detailed the backup log should be, and whether it should be included with the backup.
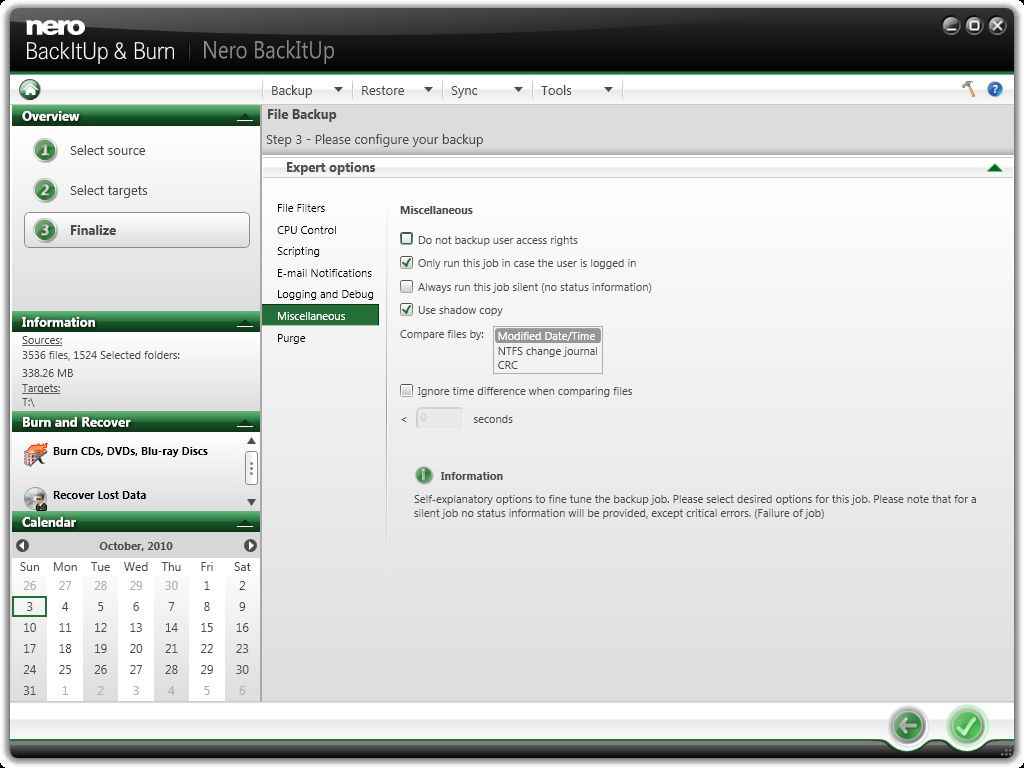
You can set even more advanced options in the expert section, such as whether the user access rights need to be backed up, or if the backup should be run even if the user is not logged on, and whether the backup job should be silent. You can also enable or disable shadow copy here — shadow copy allows your files to be backed up even if they are open in another application.
When you have finished configuring you backup, you can click on the button with the tick mark to finish configuring the backup job. At this point you will be offered an option to start your backup immediately if you want.
File Backup screenshots
 |
 |
 |
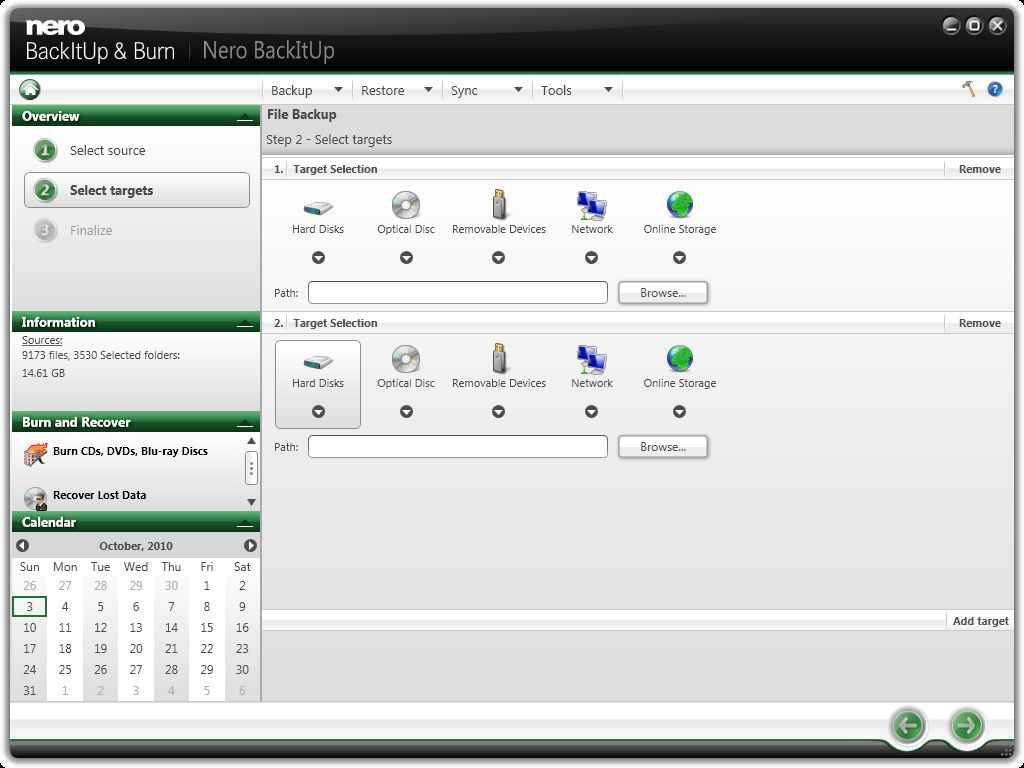 |
| File backup home screen | Selecting file to backup | Selecting a backup target | You can add multiple backup targets |
 |
 |
 |
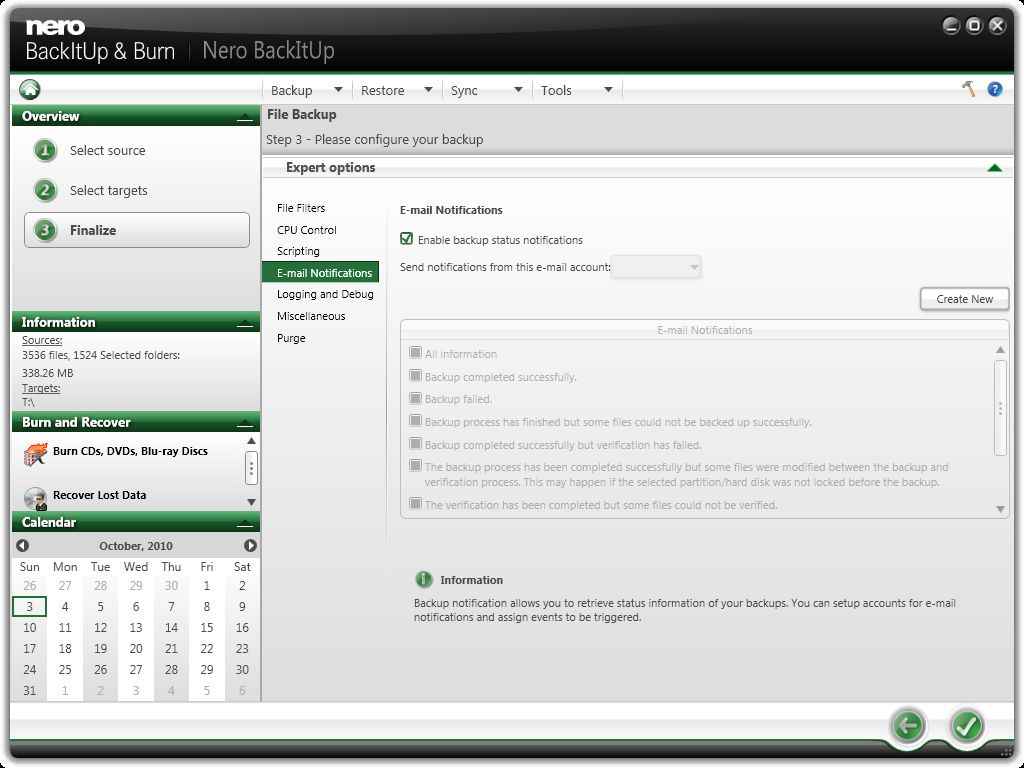 |
| Configuration | Expert settings: CPU priority control | Expert settings: File filters | Expert settings: Notifications |
 |
 |
 |
 |
| Expert settings: Logging | Expert settings:Misc | Ready to start | Backup started |
We have talked about Autobackup and File Backup. The third and final kind of backup is a drive backup. This backup kind of backup allows you to backup entire partitions or hard drives, including external drives. Other than the fact that for a Drive backup you need to select from the list of partitions or drives, the procedure is pretty much the same.
Since this is an entire drive instead of a selection of files, some of the options you are faced with do change though. For example, instead of having the option to backup when the source has changed, you have an option to back up the source when the device is plugged in. You can also only perform full backups, and some of the expert options are not available as they are not relevant to such backups.
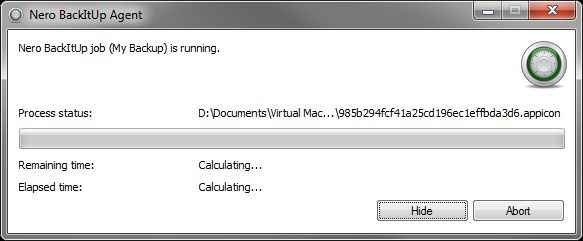
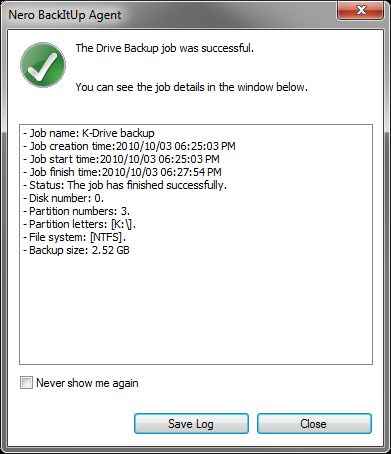
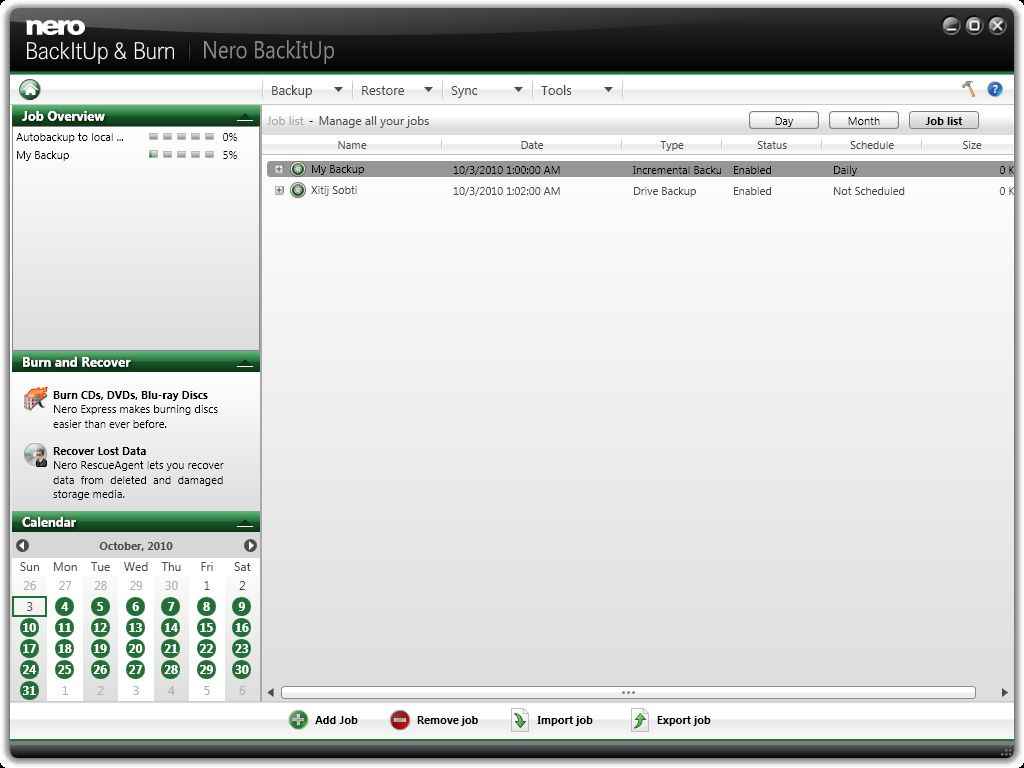
Drive Backup screenshots
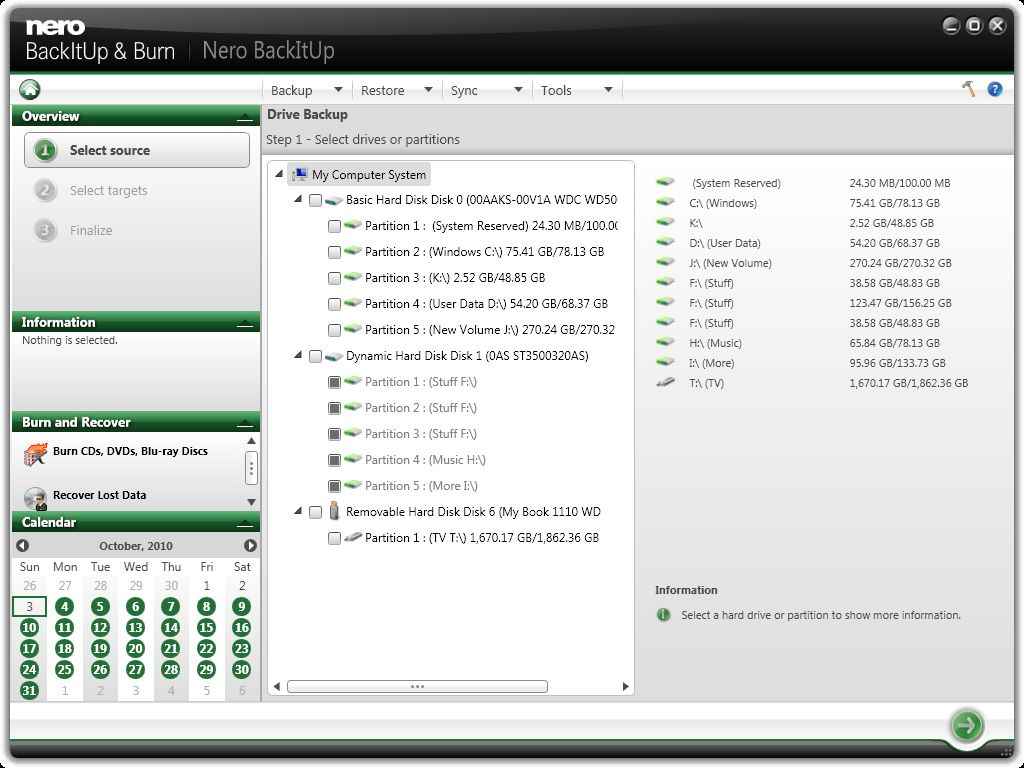 |
| Selecting a drive to backup |
 |
 |
 |
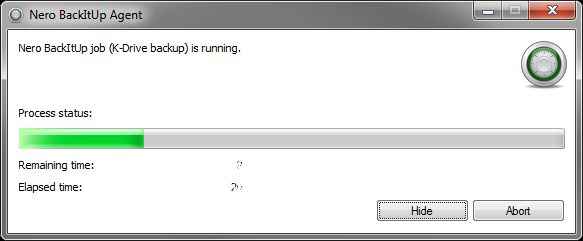 |
| Backup job complete | List of backup jobs | Notification of backup jobs | Drive backup running |

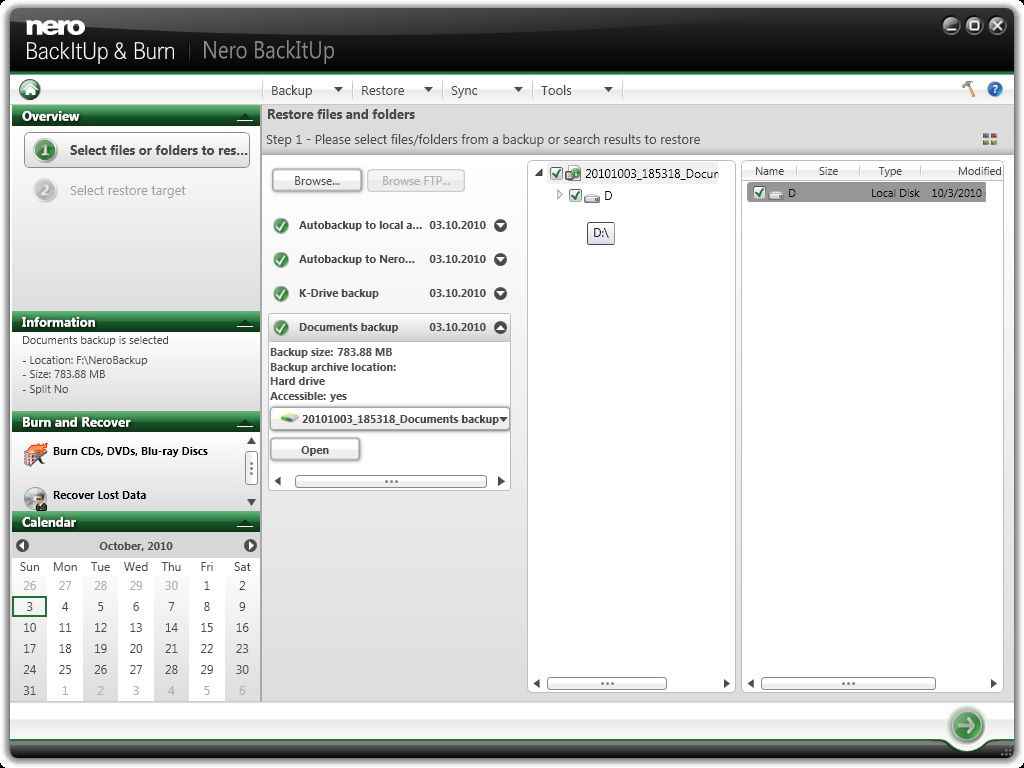
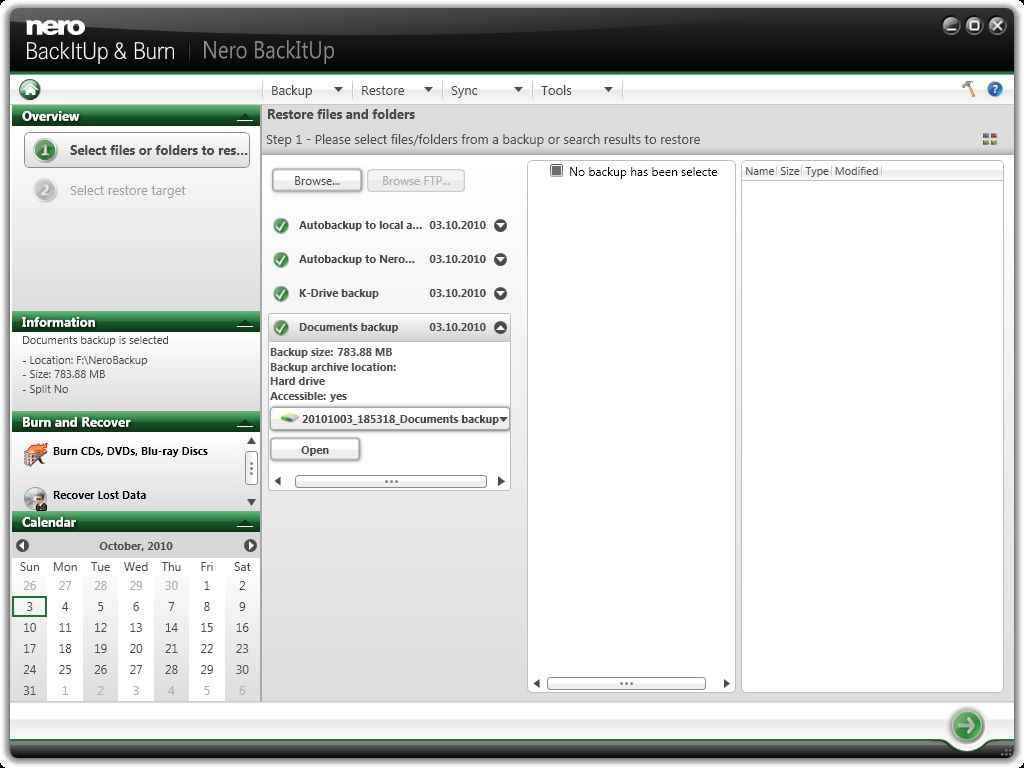
Now that you are done with the backing up part, we come to actually restoring your data. Restoring your data is very simple. The restore option is of two types, depending on whether you want to restore a file or a drive.
In either case, your backup jobs will be listed in in the leftmost panel. You can select the one you wish to restore and click on the open button to load it and display its files on the right. By default all files will be selected for restoration, however if you don’t wish to restore certain files, you can deselect them.
One nice option available here is to open a drive backup as a file backup. While a drive backup can be restored to its own partition, if you wish to selectively restore files from it, this can be of great use.
Then you can move to the next step where you can configure your restore options.
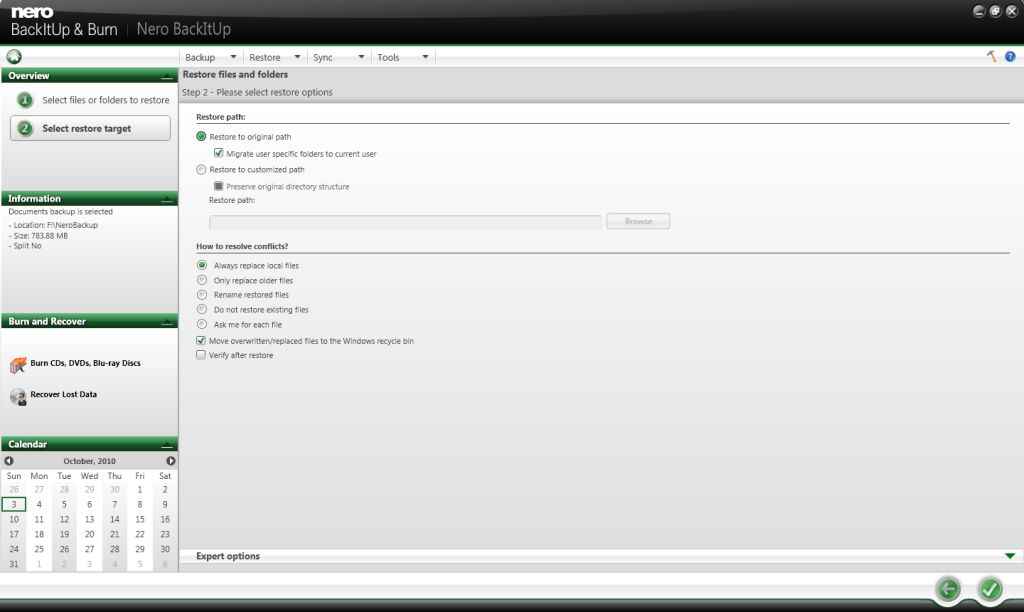
The restore options available cover all the likely scenarios. You have two options for where to restore the files. The first is to restore them to their original path, and the second to restore them to a custom path. While restoring to the original path, you can have Nero BackItUp migrate the user-specific folders to the current user. What this means is that if you backup the documents directory of user “AwesomeDawg” and choose to restore it to a computer / user account of “JohnDoe”, Nero will automatically migrate the original file paths (C:UsersAewsomeDawgDocuments) to the new ones (C:UsersJohnDoeDocuments). If you haver reinstalled Windows since you took the backup, or if you are restoring to a different computer / Windows instance than the one from which you took the backup, this can be quite useful. When restoring to a customized path you have the option to enable / disable preserving the original directory structure.
Once again you have options for conflict management; you can select from replacing local files, replacing older files, renaming on conflict, or not restoring existing files. You could also choose to have it ask you for each individual file. By default Nero BackItUp will move any overwritten / replaced files to the recycle bin, so you will be able to restore them if you so choose. Finally, you can choose to verify your restores after performing them.
As youhave for backups, you have also have expert options for restores, although these are quite limited in comparison. You have control over CPU priority, scripts to run before and after the job, email notifications, and logging. Here you can also choose to restore access right settings of your files, and to run the job silently.
Restoration screenshots
 |
 |
 |
| A drive backup opened for file restore | Restoring backups | Restore options |
 |
||
| Drive restore | ||
Sync
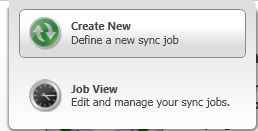
Other than backups, Nero BackItUp is quiet a capable file synchronizing solution as well. If you work on multiple computers, and usually use an external drive to keep your files in sync, you will find that Nero’s Sync functionality is a boon to the process.
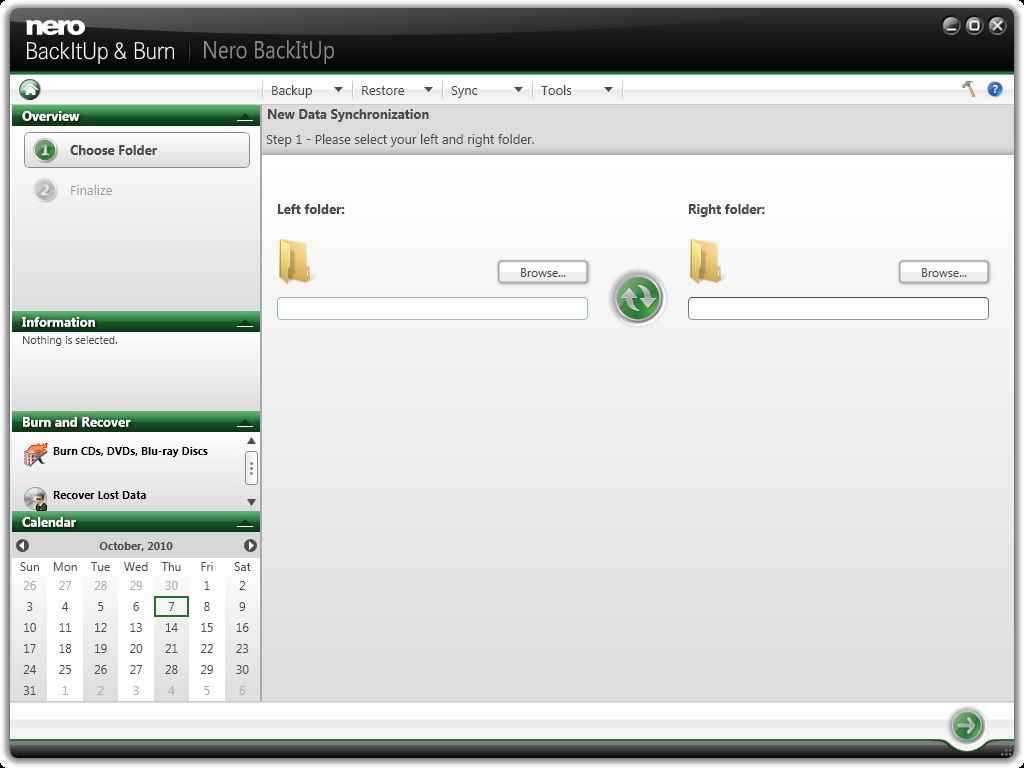
Nero BackItUp’s sync functionality is simple to set up; all you really need to set up is a “Left folder” and a “Right folder”. While the purpose of sync is usually to keep files on both sides the same, Nero BackItUp provides a few different types of sync the treat the “Left folder” and the “Right folder” differently.
The left and the right folders can be on different devices or even different computers if they networked. Nero BackItUp does not support synchronizing to an internet storage service such as Amazon S3 or something similar. However, you may use it in conjunction with an application such as Gladinet to get that functionality.
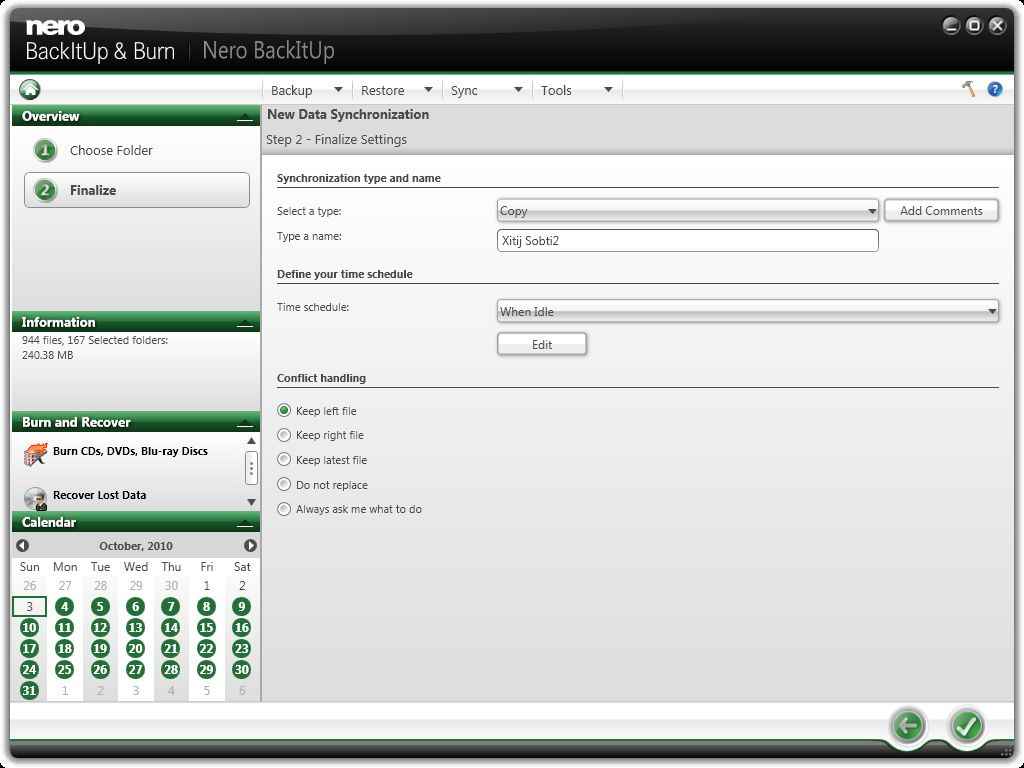
Nero BackItUp offers five different synchronization options which decide how it will treat the content of your left and right folders.
The first option is “Mirror”, which is the most similar to a traditional synchronization. Any changes made to files on either of the two synchronized locations are transferred to the other location. Any file deleted from either side will result in the same file being deleted on the other.
The second option is “Copy”, which as it suggests simply created a copy on one folder. A copy sync makes sense if you won’t ever be modifying the files in the right folder, but would just like them to stay in sync with the files in your left folder.
Then you have “Partial Synchronization” which copies only updated files which exist on both folders, and doesn’t synchronize new or deleted files.
The “Update” synchronization option is the same as the “Copy” option, however it does not delete files in the right folder if they are deleted in the left folder.
Finally, you have “Partial Mirror” which is the same as mirroring, however it does not mirror deleted files. So if a file is deleted from either side, it will not be deleted from the other side.
Nero BackItUp also offers options for conflict management; you can between keeping the left file, the right file, the latest file, to simply not replace, or to ask each time a conflict occurs.
The scheduling options for synchronization are similar to those available while backing up. The “When device is plugged in” option is especially useful here.
The “Copy” and “Update” options here can serve well as backup measures if you would like to perform the backup such that it can be restored by any application.
Sync screenshots
 |
 |
 |
 |
| A new Sync job | Sync settings | Types of Sync | Setting the schedule |
Nero BackItUp Tools
While creating a backup of files and folders while your computer is in use is quite simple, you may even back up an entire drive while it in in use, however restoring a drive while it is in use is not possible.
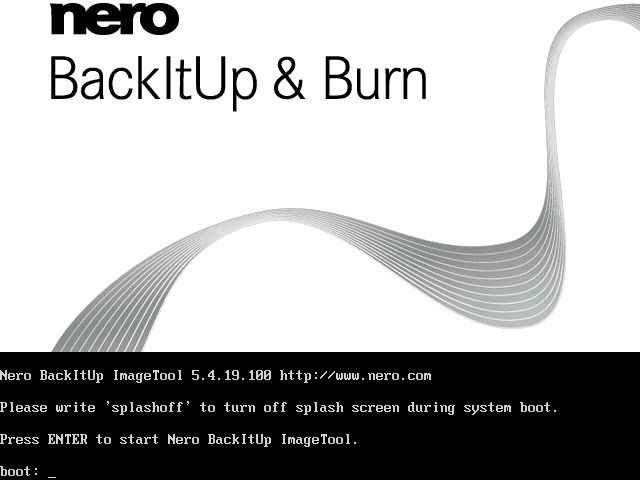
If you would like to restore your system drives you have no option but to do so when the system in not running. For this Nero BackItUp comes with its own Linux-based bootable disc called “Nero BackItUp ImageTool” which can be used to restore your backed up system drives while your system is not running.
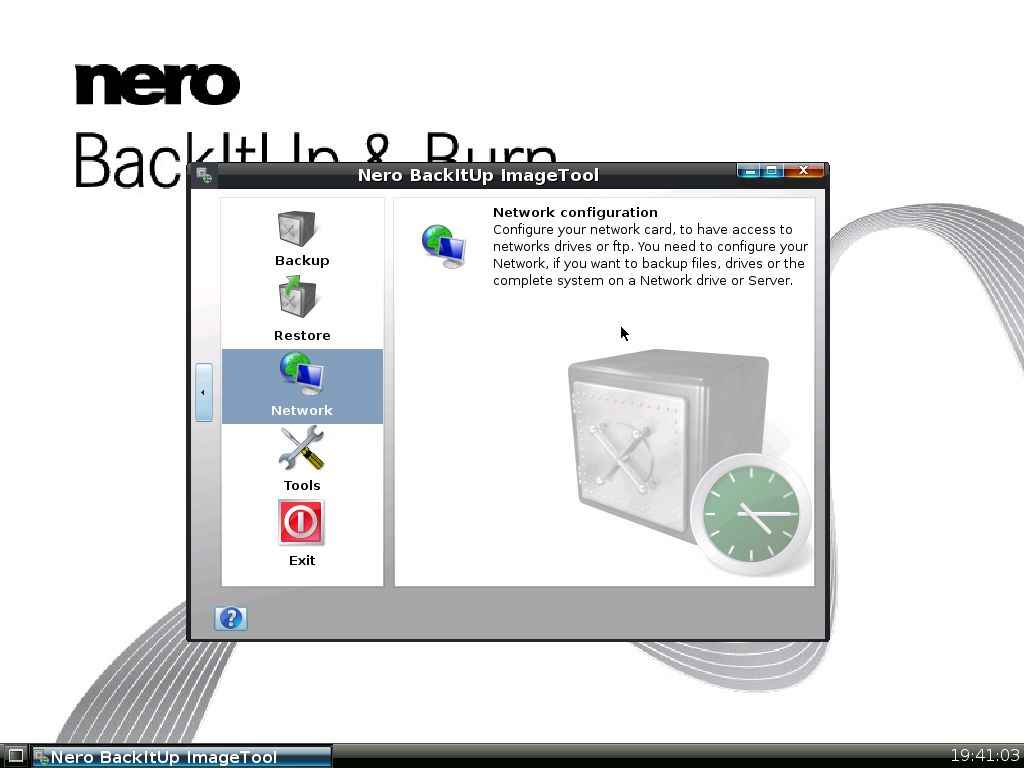
This bootable disc includes some features of Nero BackItUp, such as backing up drives, restoring drive backups, and extracting files from backups. If you backed up to a network, Nero BackItUp includes tools to help you configure your network.
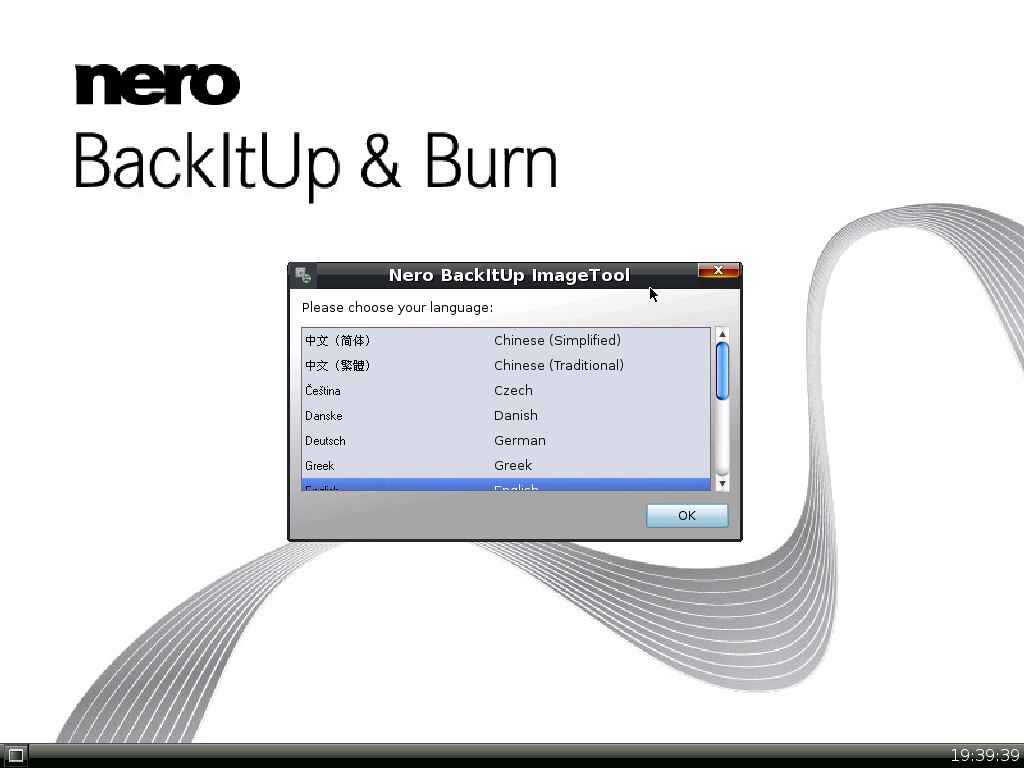
Being Linux-based Nero BackItUp ImageTool includes a command line for those who want more powerful control over their system. Overall, the tools are quite polished and easy to use even for those unfamiliar with Linux.
Another useful Nero BackItUp tool is the Nero BackItUp SyncTool which can be installed onto a pendrive or external harddrive. The SyncTool will then enable you to maintain your synchronization jobs without needing to install Nero BackItUp on every computer you wish to sync with.
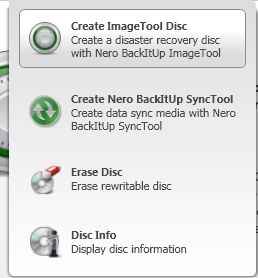
Through Nero BackItUp you can create copies of both these tools. Nero BackItUp ImageTool can only be copied to an optical disc or a disc image, while the SyncTool can be transferred to an optical disc, a hard disc or a removable device.
Nero ImageTool screenshots
 |
 |
 |
| Creating the ImageTool disc | Booting into ImageTool | Boot splashscreen |
 |
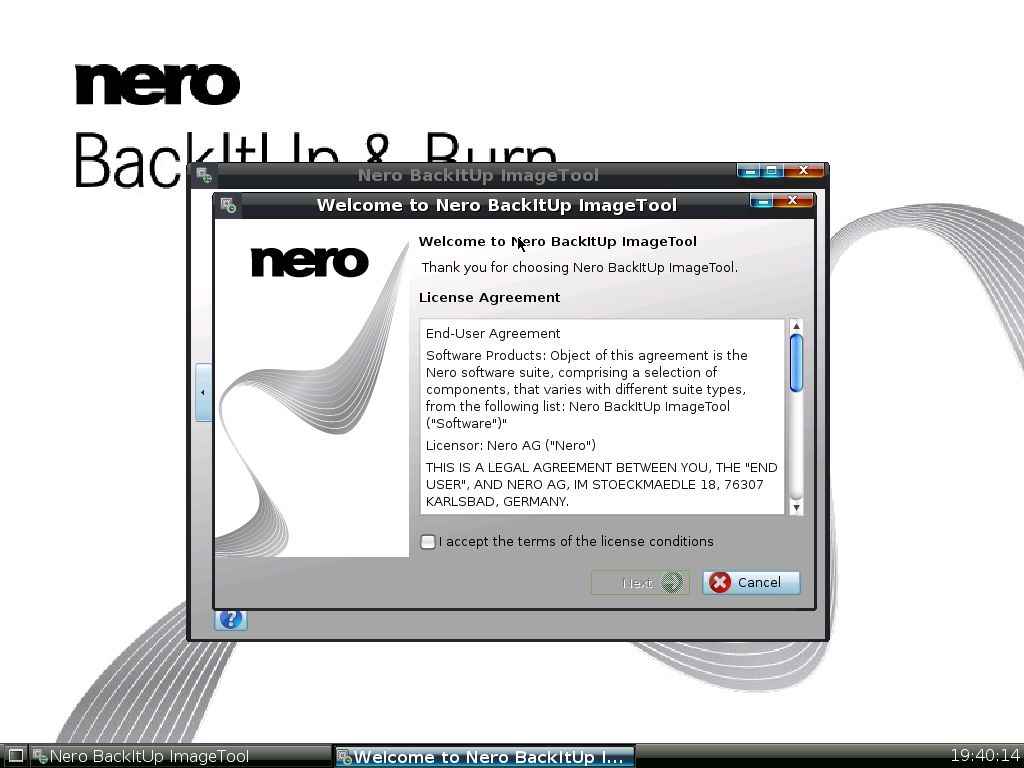 |
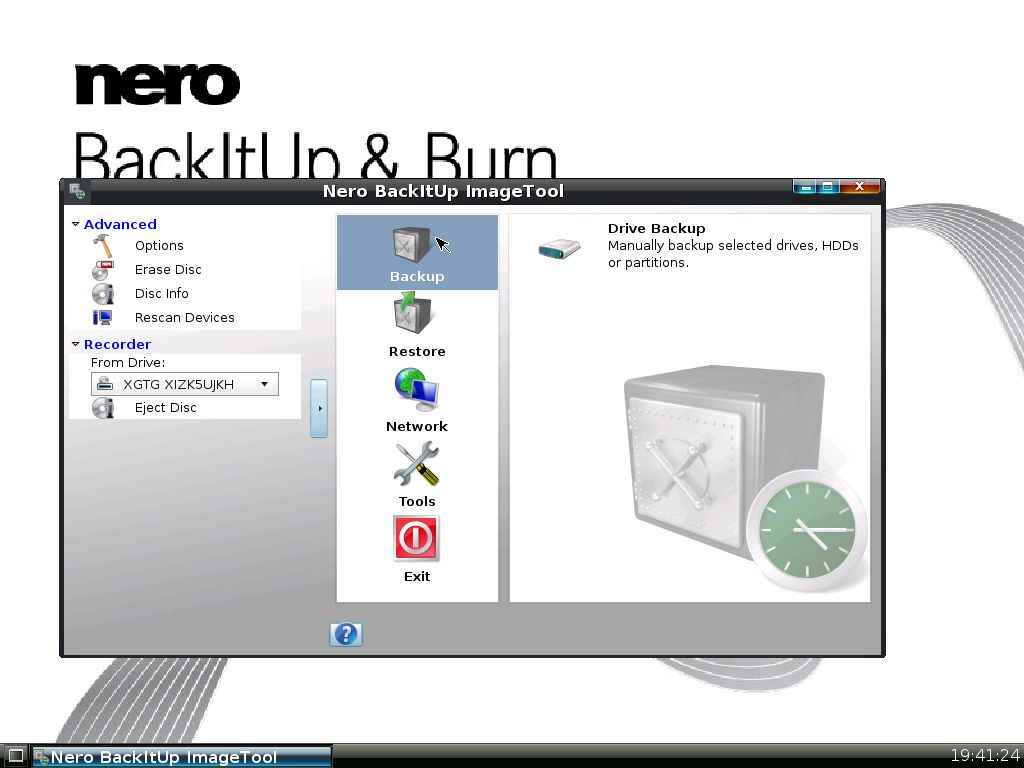 |
| Language selection | License agreement | Backup |
 |
 |
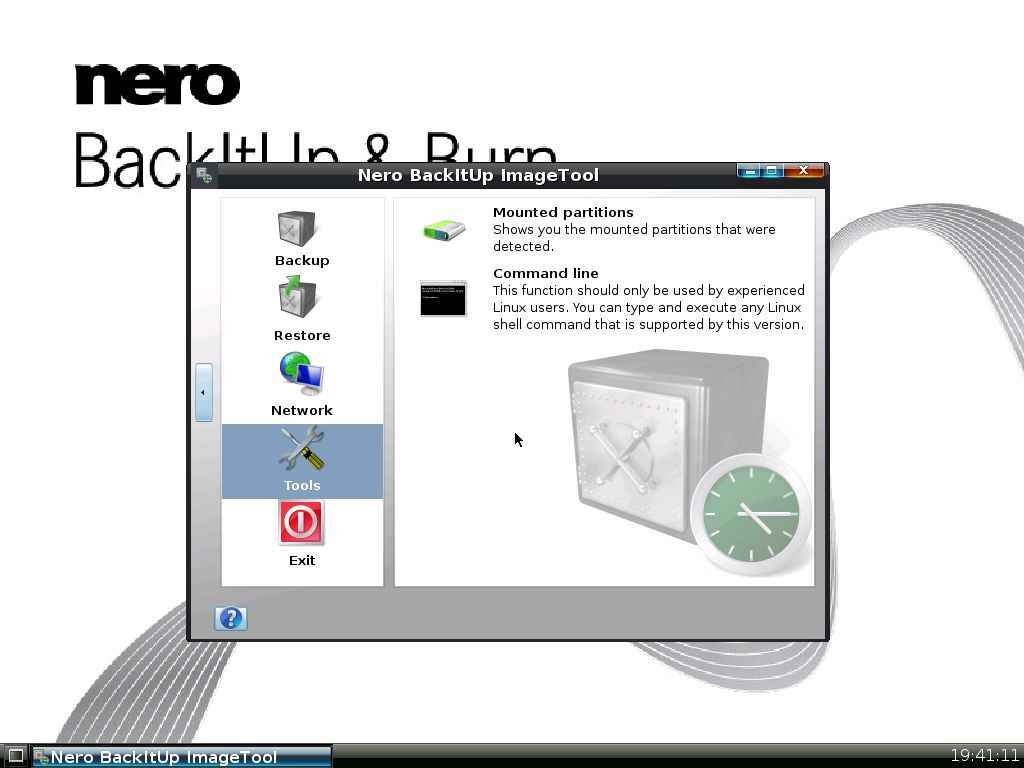 |
| Restore | Netowrk configuration | Tools |
Conclusion
Nero BackItUp is a capable backup and file synchronization solution. If you don’t already have a dedicated backup solution, Nero BackItUp will serve well as one. However if you have already purchased / set one up, Nero BackItUp might not offer enough over and above it to justify its cost.
As a part of Nero Multimedia Suite, though it serves its purpose well. Its synchronization features might make it useful enough even for those who have a backup solution. Nero BackItUp has a simple and easy-to-use interface, which can be used even by novices, while still offering some powerful features that will appease more advanced users.
Even so it isn’t the most capable backup solution we have seen, not is it the cheapest either. Many free / open source applications might give you the subset of features you really need.
Nero BackItUp is available as a part of Nero BackItUp and Burn, which also includes Nero Express, the wizard counterpart Nero Burning ROM; Nero RescueAgent, which is a utility for recovering deleted files and recovering data from damaged discs; and Nero BurnRights, which is an application to manage permissions for non-administrator users to burn discs with Nero. Considering all this Nero BackItUp and Burn seems like a decent investment for its price.