 |
 |
 |
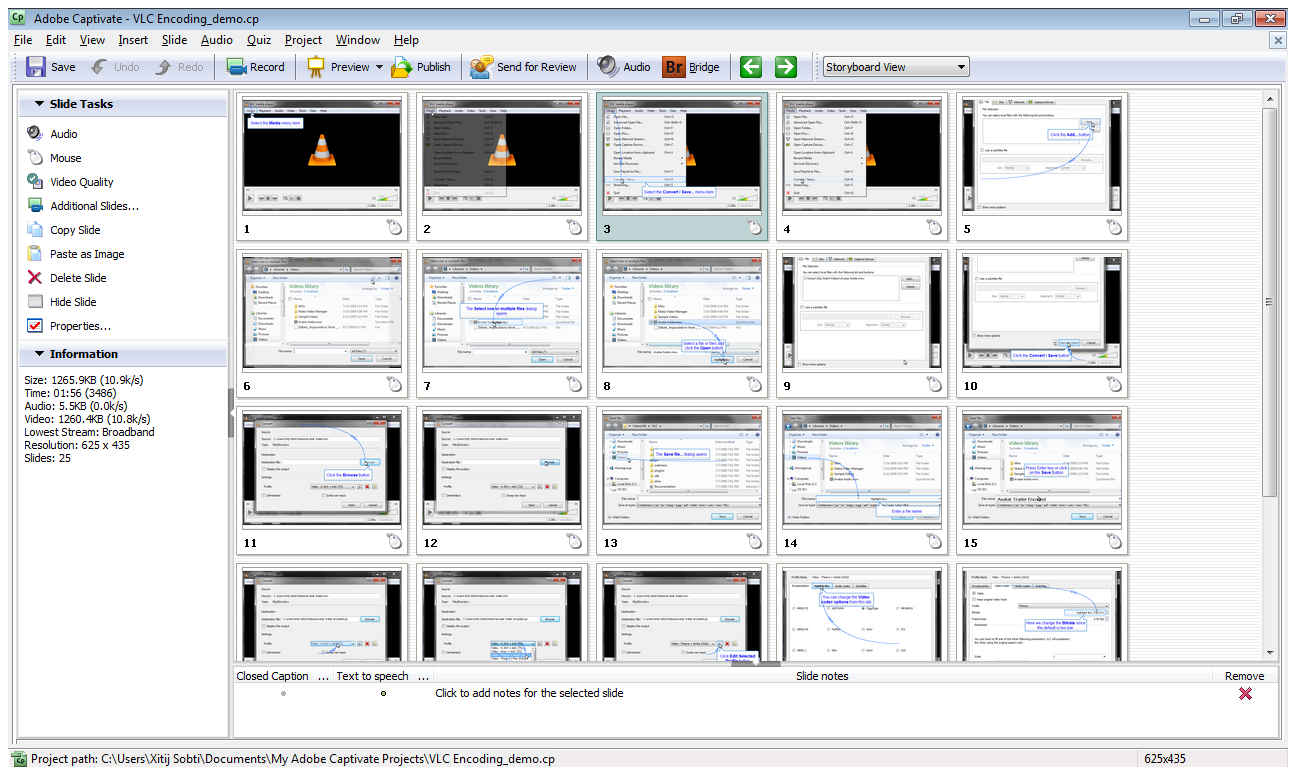
| Storyboard View (Arrange and group your slides and get an overview of your work) |
Edit View (Edit individual slide and work with the timeline) |
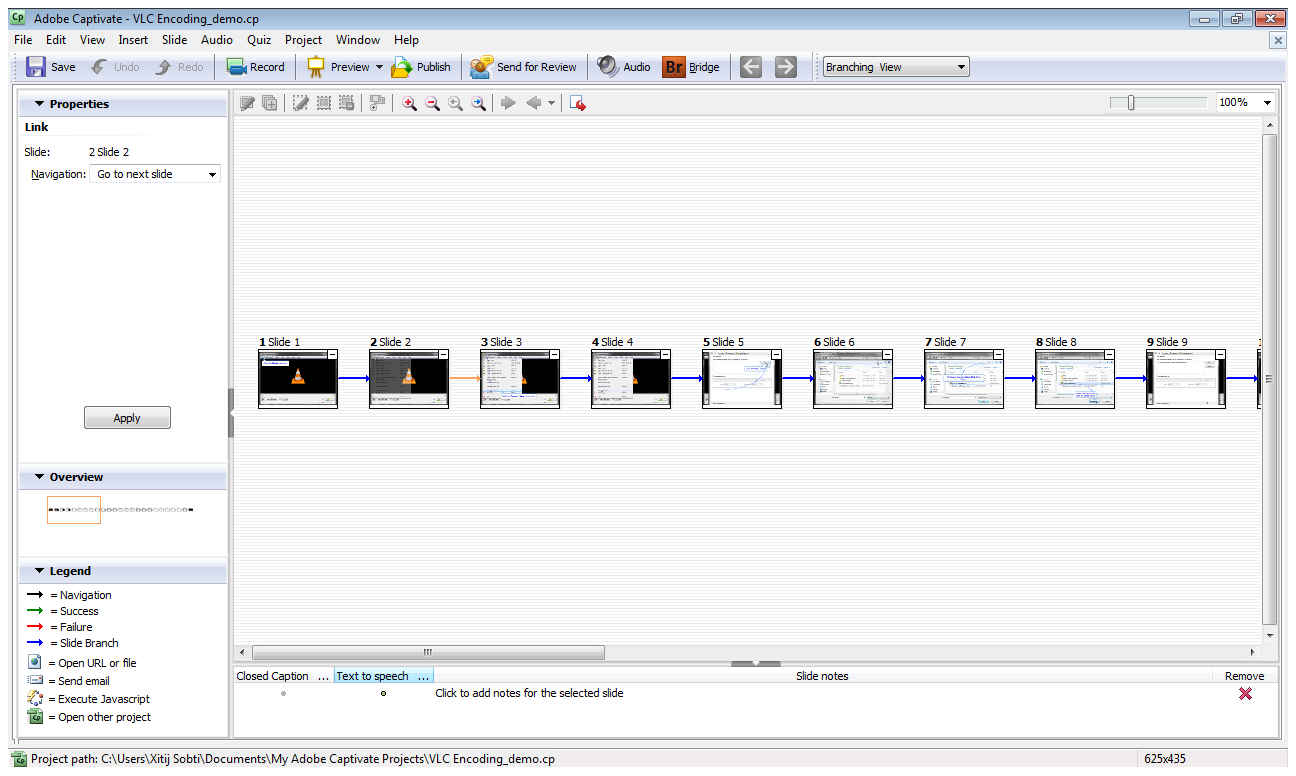
Branching View (Get an overview of the logical structure and flow of your work) |
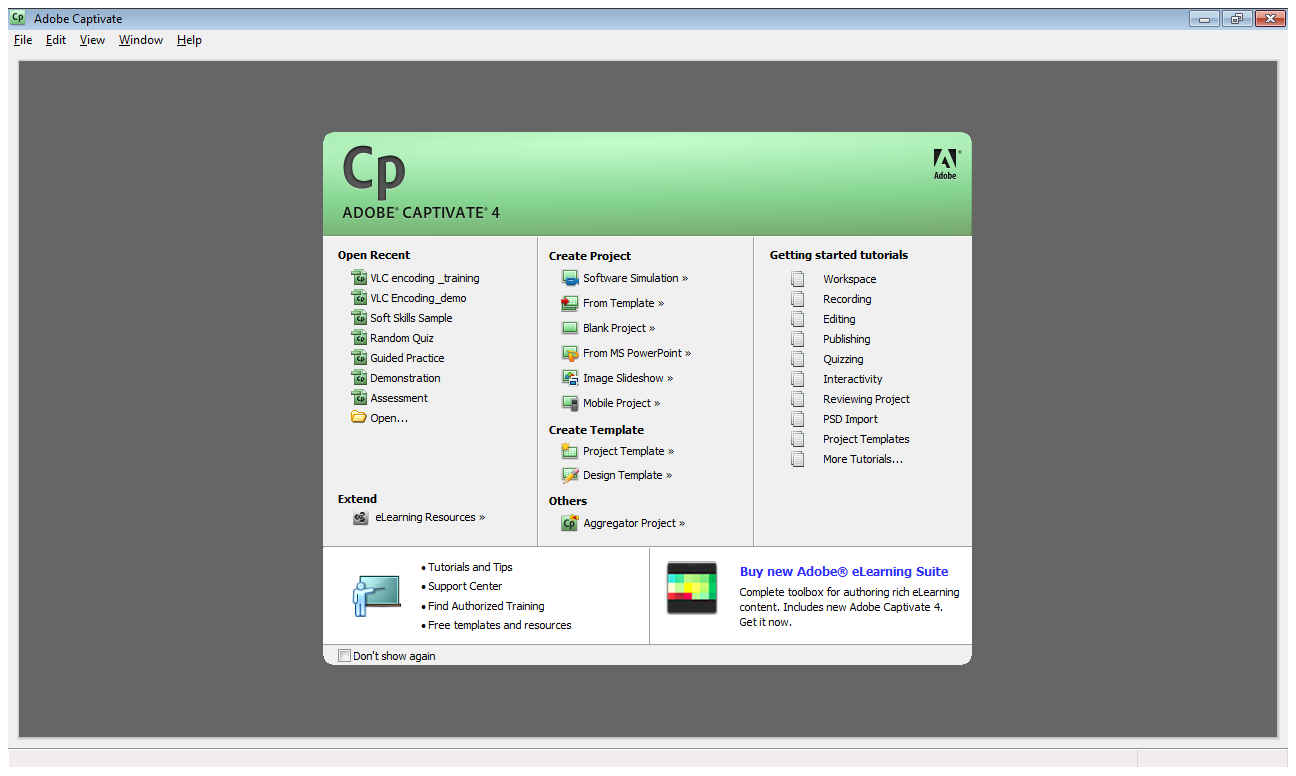
A screen capture and demonstration tool
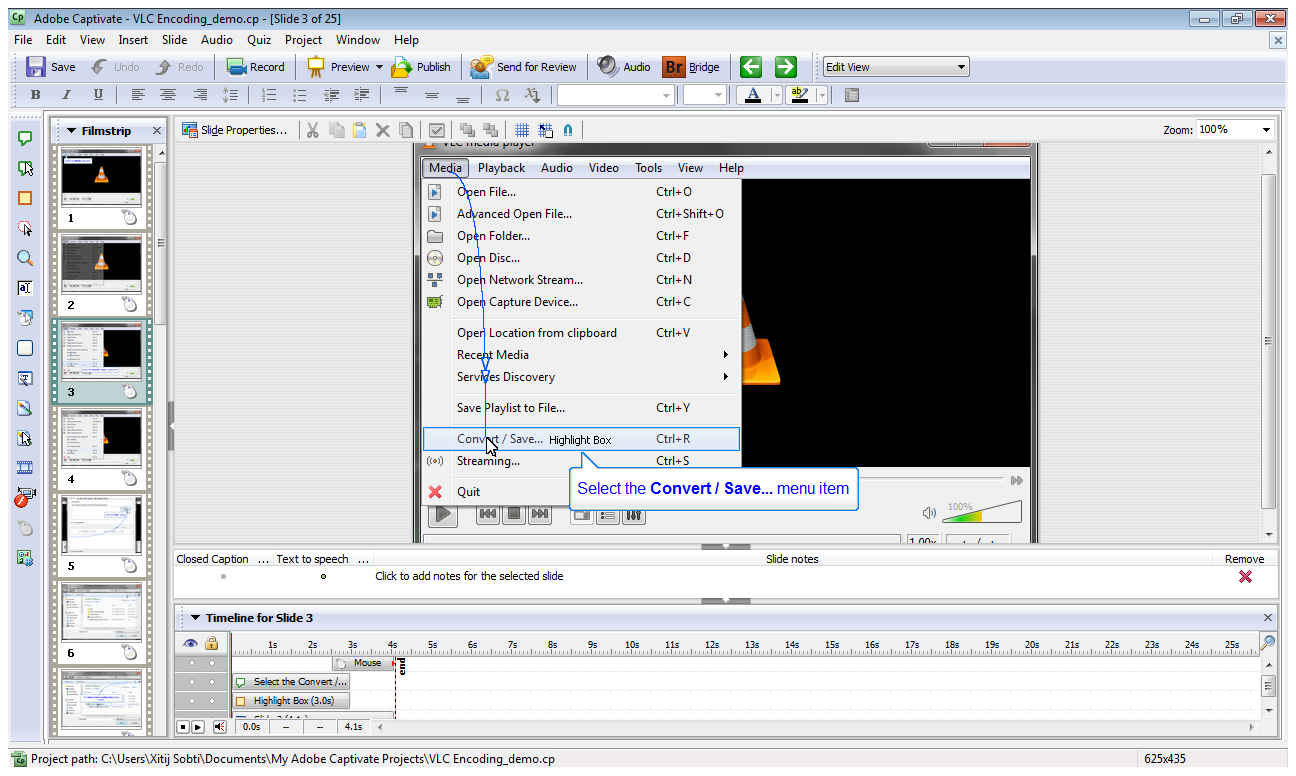
One of the tasks which can be achieved with exceptional ease with Captivate is creating demonstrations of a software’s functionality. Take a look at the following example where we explain how to encode video files with the VLC Media Player.
This entire demonstration took only about 15 minutes to create! Most of which we are sure was due to our unfamiliarity with the interface.
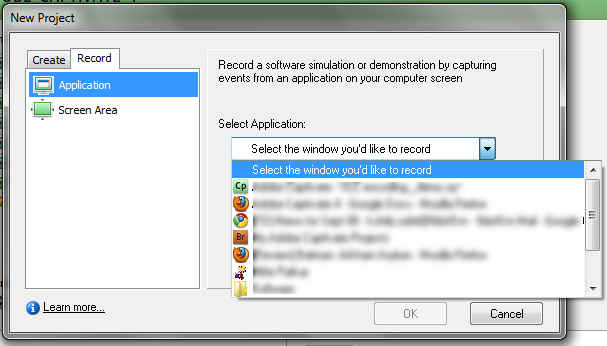
Creating something like this is a simple matter of creating a new “Software Simulation” project, selecting the application that needs to be recorded, and clicking the record button. After that, any interactions with the applications are automatically recorded. Captivate automatically adds captions such as “Click — Button” or “Select — menu item” and even fills in the name of the action.
 |
 |
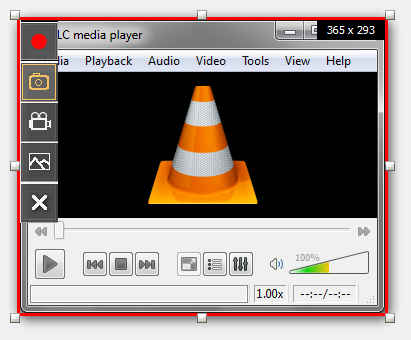 |
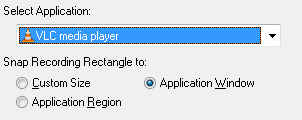
| Selecting a window to capture | Settings for recording regions | Starting the capture |
You can set the application to only take snapshots of the application at moments of interaction, and it will automatically animate the mouse movements between the frames. This not only saves considerable space compared to recording a video, but also makes the demonstration much smoother since it doesn’t record any erratic mouse movements. Also, since the final result is in the form of slides for each interaction, you can simply delete any missteps for a cleaner and clearer demonstration. In the demonstration above, slides have been deleted, and the final captions have been edited to correct or clarify the text that comes automatically. Of course you can capture full motion video too if you want.
A good collection of tools has been made available for this purpose. You can add captions, and roll-overs, highlighted areas, animated text, images, and even animation. You can also add Flash widgets created in Flash CS4 (some are included by default), and export the final design to Flash CS4 for further advanced tuning.
A tool for training and assessment
Creating software demonstrations though, does not even begin to show the intricacies possible with this application. While in the demonstration mode, it captures your interactions with the application with the aim to display to the viewer. The “Assessment Simulation” and the “Training Simulation” modes instead capture your interactions with any application with the intent of training / testing the user, and each slide progresses only if the user enters the same sequence as the one you entered.
All of this is of course done automatically. To generate a training / assessment simulation, you merely need to start the capture and use the application as you normally would. Captivate will manage the creation of the actual interaction!
While in assessment / training mode any clicks you make, and any text you enter will be recorded by Captivate and the end-user will have to perform the same actions in order to progress through the simulation. The difference between assessment and training mode being that assessment is more of a test of how well you have learnt the procedure, and as such it shows no hints of how to proceed, while the training mode guides you through the interaction to be performed by providing hits as to where to click and what to type. For a better experience you can add narration to your files, or eve use the text-to-speech function to generate it.
In not much more effort than it took to create the VLC Encoding demo, we could create an assessment for the same:
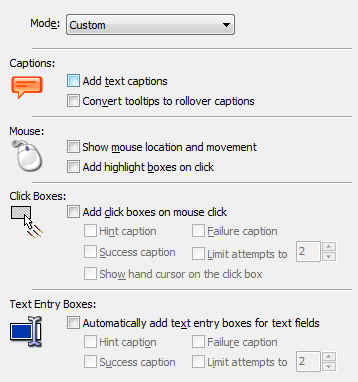
You can customize settings to get the kind of demonstration or testing experience you want.
A presentation and quizzing tool
As said before, Captivate isn’t just an application for capturing screen-shots or videos. You can import your PowerPoint presentations and use captivate to add interactivity in a way which isn’t possible with just Powerpoint. Captivate can even link to your Powerpoint file instead of importing it so that your Captivate workspace is always in sync with Powerpoint.
Creating interactions in Captivate isn’t just limited to screen captures either. Captivate allows for an unprecedented level of customization, and you can create complicated interactions from imported assets using the timeline. Creating quizzes at the end of your demonstration to check how well the end-user followed it, and reporting the results is something that can be accomplished with ease.
You have fine grained control over how the questions appear to the user. For example, while creating an application tutorial, a radio-button page could be represented in Captivate as a multiple choice single selection quiz page, a text entry box can set as a input question.
All kinds of quiz questions, multiple choice, true or false, matching lists, and many more are supported, and if none are suitable, custom quiz widgets created in flash can be imported and used.
The final grading report can then be displayed to the user and the score can be sent to a central server, or any learning management system.
Publishing and work-flow
Captivate support many forms of output, but is essentially geared towards creating Flash files, which can be easily embedded in web-pages. The Flash files can be targeted towards FlashLite just as easily, which makes it easy to create content for mobile devices as well. For distribution you can create a projector (.exe) file compete with an autorun file for using on a CD / DVD, or an AVI file for playback on computers and devices. Using Adobe AIR, your content can also be packaged as an installable application.
Conclusion
When it comes to creating eLearining content, Captivate is downright, well, captivating!
Don’t think you can make your next project using Captivate though, this application will cost you a whopping $800 (almost Rs. 40,000)! If you want it as part of the eLearning Suite, where it shows its true power, you need to shell out $1800 (Rs. 87,700) or $1900 (Rs. 92,600) as part of the Technical Communication Suite. For students though it is available at a much cheaper, but perhaps still unaffordable — $250 (Rs. 12,200).
It gives enterprises the perfect opportunity to create learning, training and testing material for its employees, or for schools to create learning experiences for their students. With its breadth of features and good integration with other applications in the suite, it is perhaps unmatched in its field. However with it high price for the Indian audience, combined with our nature to avoid spending too much on education, it is understandable that this application is not as well known as the application in Adobe’s Creative Suite. That does little to discredit this application though, and for those who can afford it, it is surely worth its price.
Captivate on the Adobe website
Download 30-day trial [needs free registration]