Nero Vision is an easy to use, yet powerful application for editing and publishing video files. It has extensive support for importing and exporting videos.
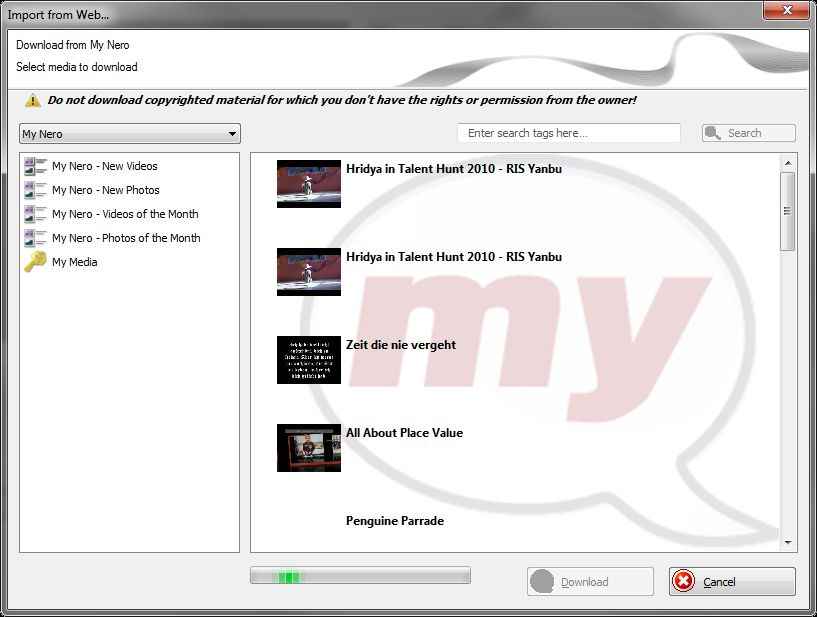
With the emergence of the internet as a medium for showcasing your videos, it is important that a video editing application support it. To that end, Nero supports not only uploading your video projects to internet sites such as Facebook, MySpace, and My Nero, but you can also import videos from such sites to include in your video composition.
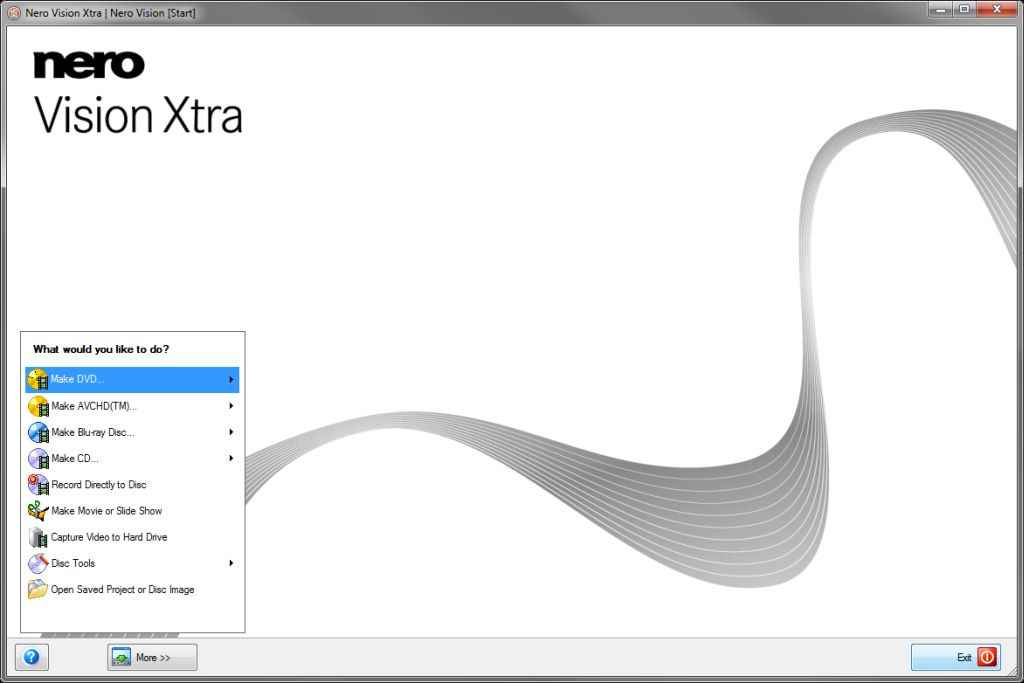
Nero Vision’s wizard interface guides you through the different steps involved in editing a video project. First, you need to select the task you need to perform. Much like Nero Burning ROM Express, Nero Vision lists your option in categories. You can create the following types of projects:
Other than these, you can also record video directly to a disc or your hard drive, you can create a movie or slide show, or you can open a saved project or disc image. Nero Vision also includes a few useful Disc tools such as erasing the disc, disc information and finalizing discs.
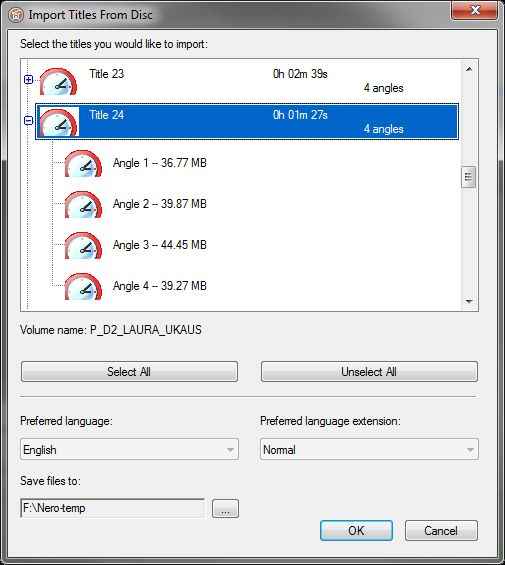
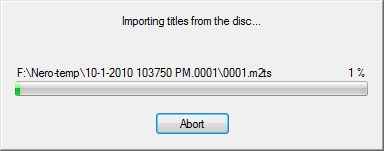
The first step after that is to import your videos, and here Nero Vision offers a plethora of options, you can import video from many different sources:
While being able to import so many formats is brilliant, Nero unfortunately does not let you preview what exactly you are importing before you begin the process. With BluRay videos measuring in tens of GBs this means you might end up importing a rather large file only to realize it is not even relevant.
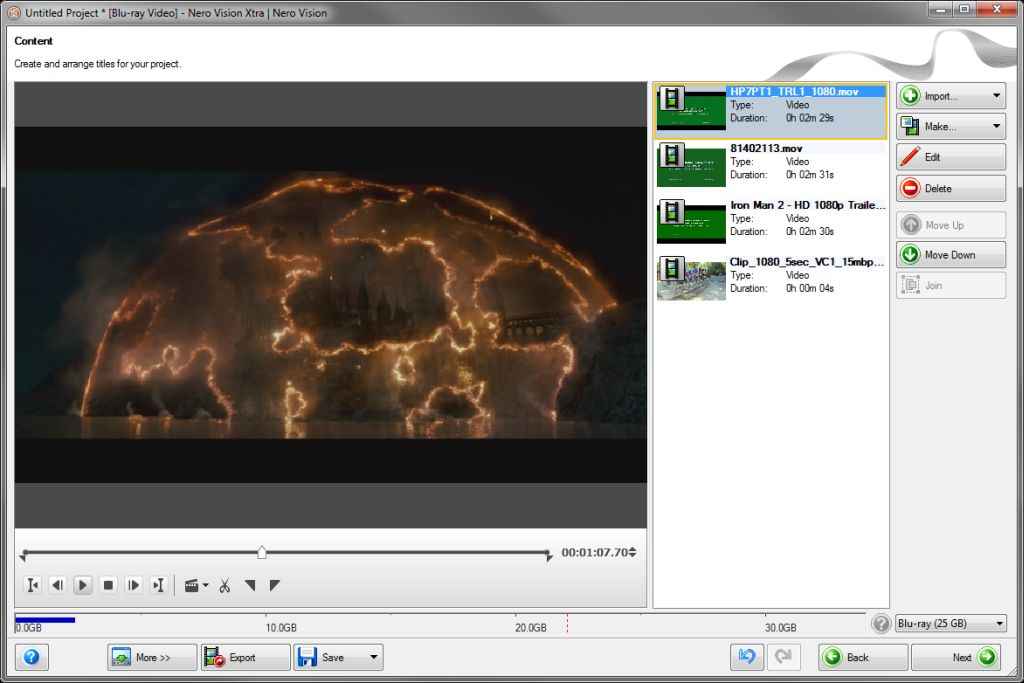
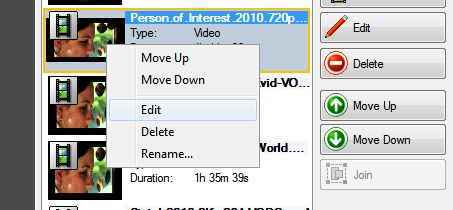
[RELATED_ARTICLE]After it is imported you can of course preview it. In fact, you can trim your video clips right here, so you only use the parts of the video you want. You can only choose the starting and ending points of the video from here, or cut the video into multiple parts. Additionally you can also join multiple video clips if they are compatible. These kinds of edits are almost instantaneous.
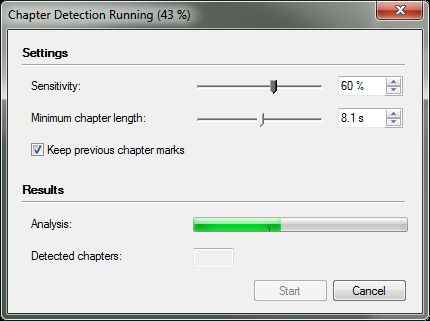
If you wish to create chapters, you can do so at this point, by either manually inserting chapters or by scrubbing to the relevant bits of the video and creating a chapter point, or using the automatic chapter creator which will detect significant scene changes and insert a chapter point there.
You can perform much more significant edits using Nero Vision though. If you choose to edit the video, it will open up Nero Vision’s multi-track video editor allowing you to make significant edits to the video before adding it to your disc compilation. If you do edit the videos you import, Nero Vision will not export them just yet, instead it will add the project file for the edited video to your compilation so that it gets rendered with all the other videos. This stands to save you some time, as you won’t have to render and encode the video twice. In fact, since Nero Vision is a full featured video editor, you can even choose to make a video or slideshow instead of importing a ready-made video. If you choose to do so, Nero Vision will launch its video editing interface, but more about video editing later.
Once you have imported and edited all the videos you want to, you can proceed to the next step, which will depend on the kind of project you have created.
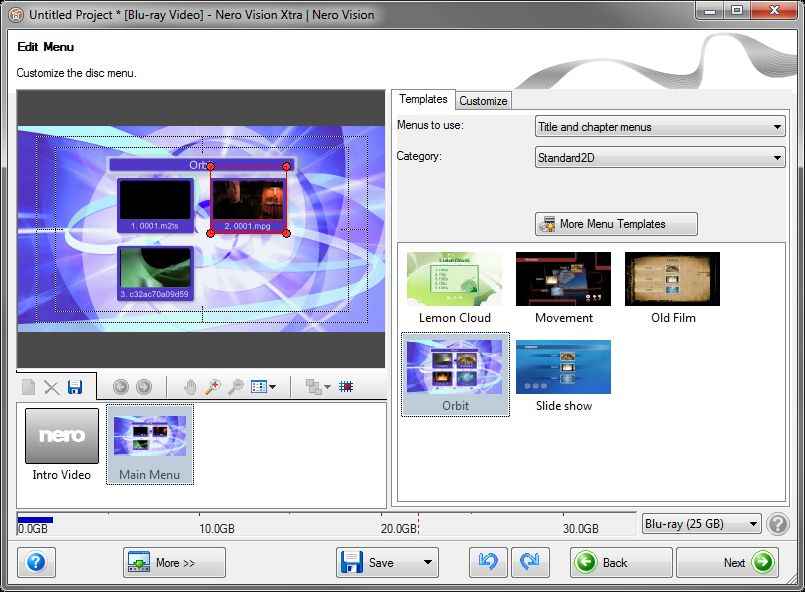
Discs-based projects such as BluRays, and DVDs can have menus, creating which is quite simplified with Nero Vision. A number of templates are included with Nero, and further more can be download from the Nero website for free.
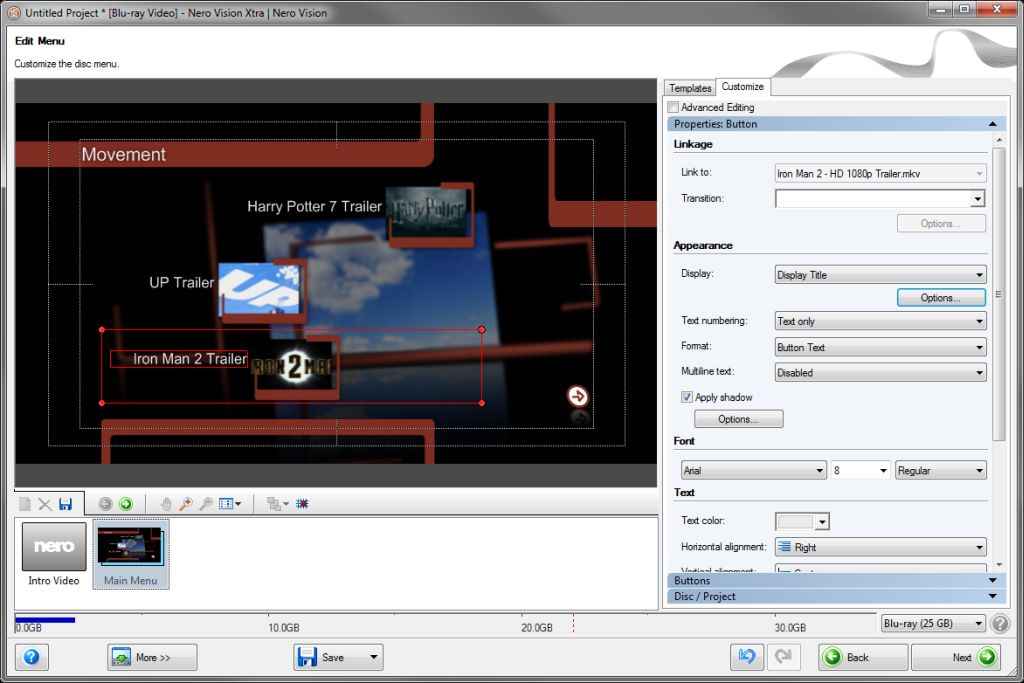
You can see preview and edit the elements of the template you select. The video clips you added in the previous step will automatically be added as elements in the menu for you to edit.
You can choose to create title and chapter menus, just a title menu, or you can choose to have no menu at all. The menus themselves can be either “Standard2D” or “Smart3D.” The “Smart3D” templates are visually much richer, with your videos moving in 3D as you select the title but consequently need more time and resources to generate.
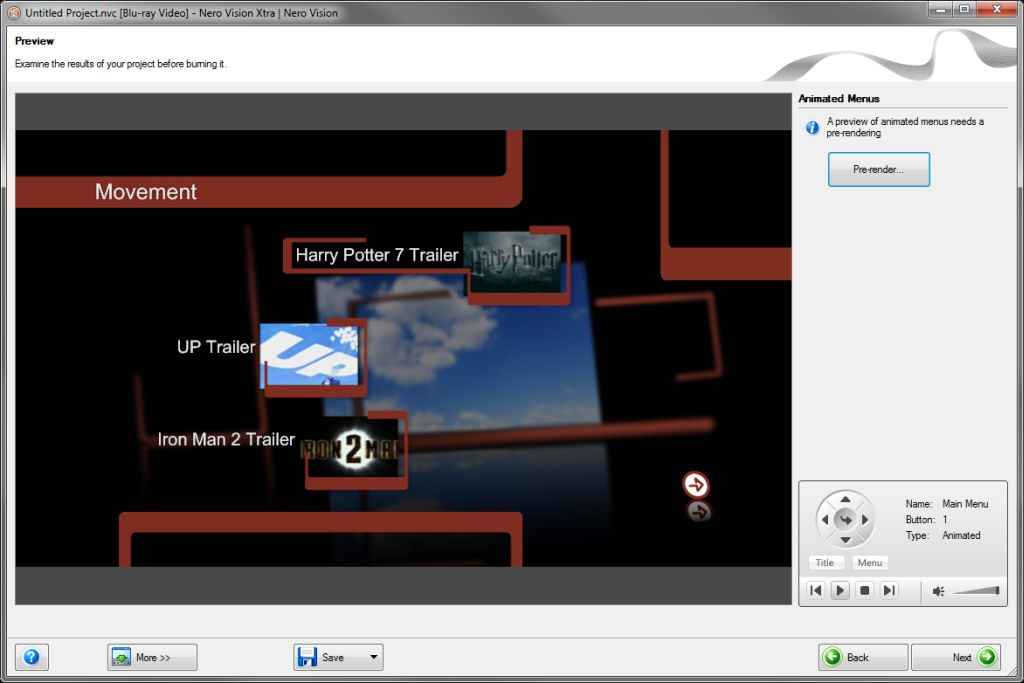
Once you have customized your menu to your heart’s content, you can preview it in the next step. If your menu is animated, you will not be able to preview the animations just yet; you will need to Pre-render your disc menus to do so. This can take a while depending on the complexity of your project. Otherwise, if you are confident about your choices, you can proceed to the final step of rendering and encoding your project, and burning it to a disc or saving it to your hard disc.
MultiTrack video editing is a very powerful feature of Nero Vision, but seems just a tad misplaced in the middle of a wizard interface. Perhaps Nero should spin this functionality as a separate application. It doesn’t hurt the application much though, as unlike many other wizard-based application’s you can actually maximize Nero Vision.
The multi-track video editing feature of Nero Vision shows up whenever you try to edit a video. When you are importing videos for a BluRay / DVD / CD compilation, you can in the importing step itself choose to edit videos if you don’t want to add them to the compilation as-is. Doing so will open Nero Vision’s multi-track video editor interface with the video file pre-loaded and added to your project, ready for editing. Otherwise, you can choose the “Make Movie or Slide Show” task when you start Nero Vision to edit files without exporting them to a disc.
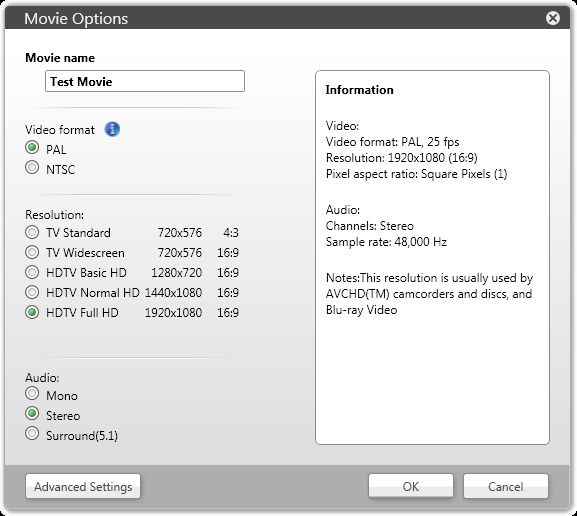
When you choose to “Make Movie or Slide Show”, Nero Vision first of all asks you to input some basic details about the movie, such as a name, the format (PAL / NTSC), the resolution, and the type of audio (mono, stereo, 5.1 surround). For a more customized project, you can launch the advanced settings dialog.
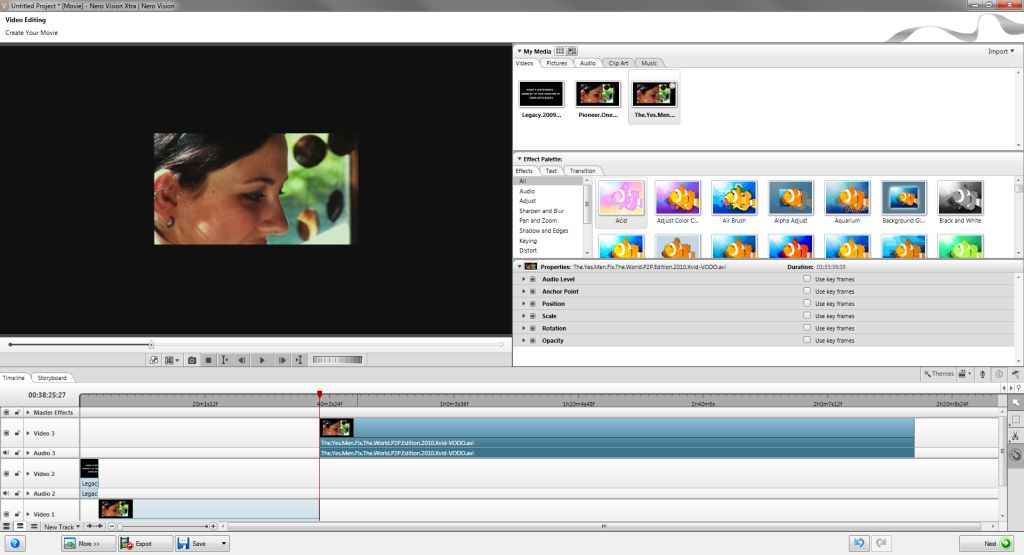
What you will see now is Nero Vision’s multi-track video editing interface. You will notice a large timeline that takes up the lower partition of the interface. The area above the timeline is divided horizontally into two parts. On the left, you have your video preview window, and on the right, you have all your media files, effects, transitions etc.
The area on the right of the video preview window is divided into three panels, which can all be individually collapsed to have more space to the others. So once you are done importing videos and adding them to the compilation, you can collapse the media panel.
The top-most panel on the right is the place is the “My Media” panel where you will find all you media under different tabs. You will see tabs for Videos, Pictures, Audio, Clip Art and Music. The Clip Art and Music will most likely be empty, but will have links to the Nero website from where you can download packs for the same. The first three will have the media you import. You can import media here just as we described before and all the same video formats are supported here.
Below the “My Media” panel is the “Effect Palette” which too is divided into tabs for “Effects”, “Text”, and “Transition”. These tabs contain what you’d expect. There are hundreds of effects in total divided amongst the three tabs. Under each tab, the effects are divided into categories. There are enough effects here to satisfy most users, however editing videos is not limited to working with pre-defined effects.
The third collapsible panel is for the properties. This is where you can configure the parameters for the selected effect, video clip, transition, text item etc. For imported content items such as video and images, the properties panel lets you specify parameters such as the anchor points, the position, the scale, the rotation, and the opacity of the video. If you have applied any effects to the item you will be able to configure those as well. Like many advanced video editing applications, Nero Vision supports keyframing.
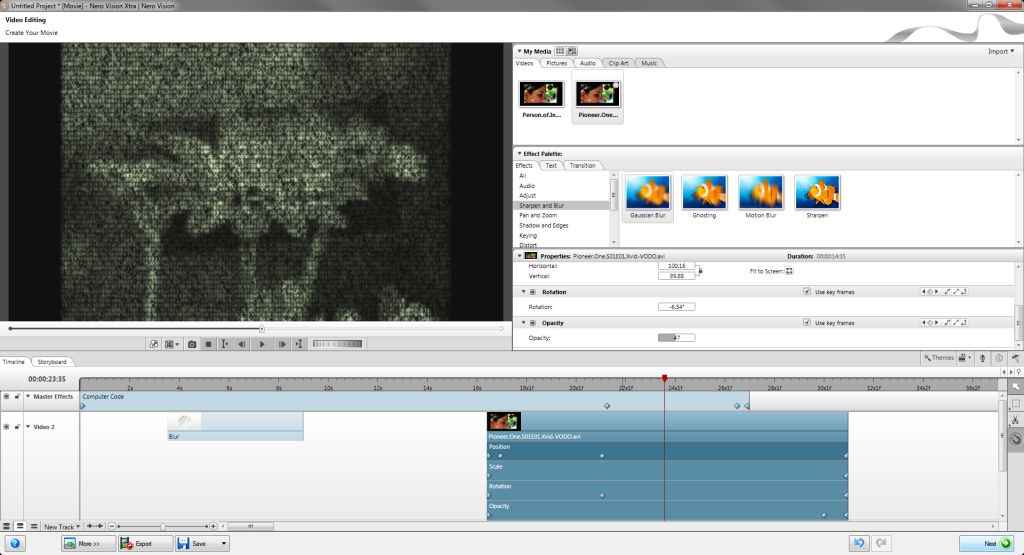
Keyframing allows you to change parameters over time by specifying their values at key points, known as keyframes. So if you have a blur effect applied to your video, you could use keyframes to set the blur amount to 10 at one keyframe and set the value to 50 at a keyframe 10 seconds later. The effect would then gradually change the strength of the blur applied over time by interpolating the value of the blur between those points. Nero Vision supports controlling most parameters with keyframes, such as the previously mentioned properties, scale, rotation etc. In many effects, you can even change the colour of the effect applied. This way you create quite advanced video effects with Nero Vision without even using predefined effects.
You can use keyframes with audio as well; however, Nero Vision only supports changing the audio level, which limits what you can do with audio in it. Nero Multimedia Suite does include the audio editing tools Nero WaveEditor and Nero SoundTrax, which are better suited for audio editing. Those tools are not very well integrated with Nero Vision. You will need to edit your audio files separately before importing them here.
Since NeroVision is a multi-track editor, you can overlay multiple video clips over each other to create special effects such a picture in picture. Rather than manually editing the properties specified in the properties panel, you can modify properties such as scale, rotation and placement by visually dragging, scaling and rotating clips in the preview window. While you are doing so, your any effects that you applied on the clip will remain applied, giving you a better idea of what the result will look like. This works with keyframes as well. If you have turned on using keyframes for scaling and rotation for a particular clip, then Nero Vision will automatically create a new key frame if you move the object in the preview window. So you can go the beginning of the timeline and place the video / image object at its starting location, and then move along the timeline visually changing the scale, rotation and position of the video clip. The video clip will then follow the path you have designed for it.
The Nero Vision timeline is quite powerful way of timing and editing your video clips and audio tracks, however a simpler solution as also available for simpler projects. If all you need to do is join together different video clips and / or images with transitions in between and effects applies to them, you can go for the storyboard view.
The Sotryboard gives you three tracks without the ability to add more. You can drag and drop items onto the story board, change the order they appear in or apply transitions in between. It shows only a video track and two tracks for audio, one for narration and the other for music.
The normal timeline on the other hand allows you to add as many audio and video tracks as you want. It too includes a narration and a music track.
For working with the items in the timeline you have a standard object selection tool, a forward / backward / track / rectangular selection tool, and a slip / cut tool. Using the cut tool you can split tracks into multiple portions so you can add transitions if you want or rearrange section in your video to make the next Memento.
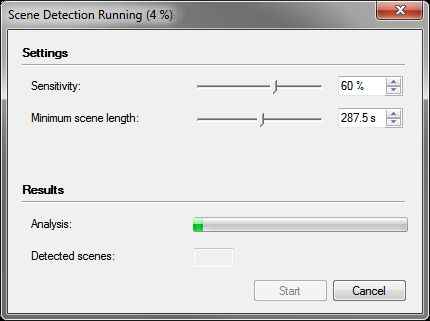
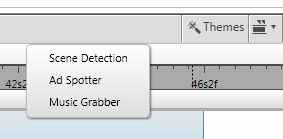
If you have a video track that you recorded off a handycam and which already has changes in scenes, Nero Vision can automatically detect scene changes and clip your videos at those places. Nero provides two tools for this job, the Scene Detection tool, and the Ad Spotter tool. The difference between these is that while the Ad Spotter tool will automatically remove detected ad sequences, the scene detection tool will instead your video at each scene change point. There is also a Music Grabber tool that does something similar for audio.
One of the easiest ways to use Nero Vision to spice up your video clips is to use Movie Themes. Movie themes allow you to make a fancy themed movie sequence in just a few clicks. After importing your video / videos you just need to click on the themes button to launch the tool. You merely need to select a theme on the left, and provide an opening title and the closing titles (credits). You can specify if pan and zoom effects should be applied to still images, and whether to use scene detection. You can also choose whether you want theme music and the balance between the audio from your clips and the theme music.
Now you click OK and you’re done! Nero Vision will automatically apply video effects, and audio theme, transitions, and add an opening titles and credits and have your movie ready for you.
Since it employs scene detection, a series of clips imported from a handycam will automatically be split in the right places and strung together with transition effects and an audio theme track. Your movie is ready in a single step!
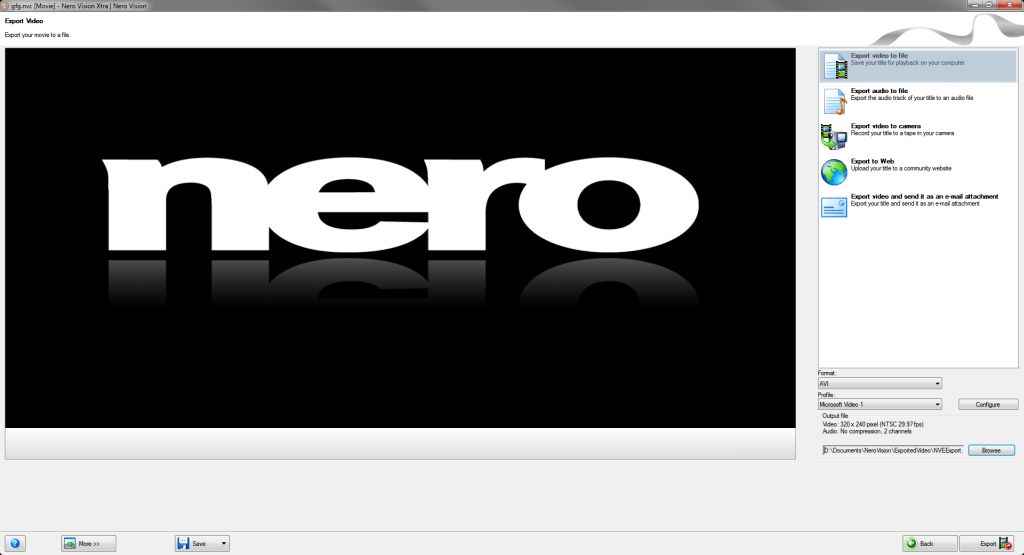
After this when you click next you will have a number of options for how to export your clip. These will be pretty much the same as those you begin with, DVD video, Video CD, BluRay and more. If you choose to export it as a movie you will then have a number of options depending on whether you wish to export it to a file, export the audio to a file, export it to a camera, export to the web or as an email attachment. The quality options will vary in each case, except for exporting to web, which has none.
Exporting to a video file has a great many options. You can use either the codec installed on your system or the ones which come with Nero for this task. Depending on how you wish to use your videos finally, you should select an option which requires minimal encoding.
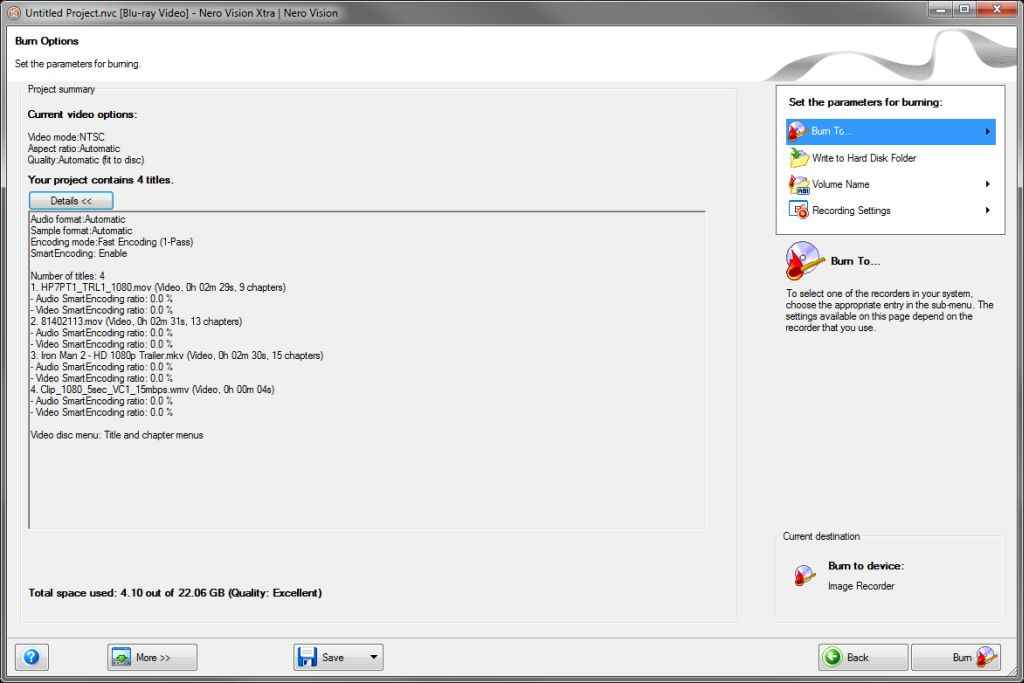
Nero supports something it calls SmartEncoding; with SmartEncoding any video files which are already in the same format as you export format will not be encoded. Nero’s SmartEncoding mechanism is smart enough to only encode those portions of the video that are necessary. If you have a video imported from a BluRay which you intend to edit and put back into a BluRay, then only the parts of the input file which have been edited will be re-encoded and the rest will be passed through. If all you did was rearrange the video after cutting it, there will be minimal encoding. This can of course save a lot of encoding time.
Nero’s video encoder for H.264 / AVC — the format used in BluRays and on video sharing wesbites — supports CUDA, which means that it can take full advantage of your graphics cards to encode your videos faster. Additionally, since that would be using your graphics hardware while encoding, your computer remains responsive while the export process is underway.
Nero Vision packs an impressive package of features, which manage to be powerful without making the application difficult to use. A new or casual user will appreciate the wizard interface, which guides them through creating their simple project, while a more experienced user should be able to extract more use out of the application by accessing some of the more advanced controls available. Even so, the interface and features of the application seem to be skewed a bit towards the more advanced users.
One of the saddest things about Nero Multimedia Suite is that while there is great support for creating HD projects as BluRays, complete with menus, and everything, the suite does not have any application capable of playing BluRays! You will not even be able to view the projects you have just encoded, and will need to have an external BluRay player, or a BluRay-capable video player to do the same. In addition, while Nero Multimedia Suite includes audio editing tools, they are not integrated with Nero Vision.
You also need to be aware that any discs you use with Nero have to be unprotected by copy-protection schemes. This makes it useless on its own to back up your BluRay or DVD collection. This is somewhat understandable, since circumventing copy-protection measures is still illegal in many countries. You can however use another application for ripping your discs and then user put Nero to work on it. Or you can use on-the-fly decryption software such as AnyDVD HD to use them directly with Nero.