
In this article, we’ll explore how to take your Canva experience to the next level by embedding designs into websites and blogs, automating workflows with Zapier, and accessing third-party apps and services.
Also read: What is Canva and how does it work?
By mastering these integrations, you can make your design process more efficient, creative, and aligned with your broader digital strategy.
How to embed Canva designs on websites and blogs
Learn how to embed Canva designs into websites and blogs, enhancing web content with visually appealing graphics, infographics, or interactive designs.

Generate embed codes for Canva designs
- Creating Your Design: Start by creating a design in Canva that you wish to embed, such as an infographic or a promotional banner.
- Obtaining the Embed Code: Once your design is complete, click on the ‘Share’ button at the top right corner of the Canva editor. Choose ‘Embed’ from the share options. Canva will generate an HTML code for your design.
- Customizing Embed Size: You can adjust the size of the embed within Canva before copying the code. Ensure the size fits well within the layout of your website or blog.
Also read: Explained: Design principles in Canva for Beginners
Embedding Canva designs into web pages
- Inserting the Code: Access the backend of your website or blog where you want to embed the design. In the HTML section, paste the copied embed code from Canva where you want the design to appear.
- Preview and Adjust: After embedding, preview your web page to see how the design appears. Adjust the placement or size if needed to ensure it integrates seamlessly with your existing content.
Best practices for Canva embeds
- Optimising Load Times: Be mindful of the impact of embedded designs on your page load times. Larger designs may slow down your website, so balance aesthetics with performance.
- Consistent Branding: Ensure that your embedded Canva design aligns with the branding and style of your website or blog for a cohesive look.
Also read: How to create interactive and video content in Canva?
Automate workflows with Canva’s Zapier integration
Automate repetitive design tasks and workflows using Canva’s integration with Zapier, a tool that connects Canva to hundreds of other apps.
Setting up Zapier integration in Canva
- Creating a Zapier Account: If you don’t have a Zapier account, create one. Log in and search for Canva in the Zapier app directory.
- Connecting Canva to Zapier: Follow the prompts to connect your Canva account to Zapier. This involves signing in to your Canva account and granting necessary permissions.
Also read: How to collaborate in Canva and streamline workflow
Creating automated workflows (Zaps)
- Designing Zaps: In Zapier, create a ‘Zap’, which is an automated workflow. For instance, you can create a Zap that automatically posts your new Canva designs to your Facebook page.
- Configuring Triggers and Actions: Set up the trigger (e.g., a new design in Canva) and the action (e.g., posting to Facebook). Customise the details of each step according to your needs.
Examples of useful Zaps
- Social Media Posting: Automate posting newly created Canva graphics to various platforms.
- Cloud Storage: Set up a Zap to automatically save new Canva designs to a Dropbox or Google Drive folder.
Accessing third-party apps and services within Canva
Canva allows integration with various third-party apps and services, expanding the range of functionalities and assets available for your designs.
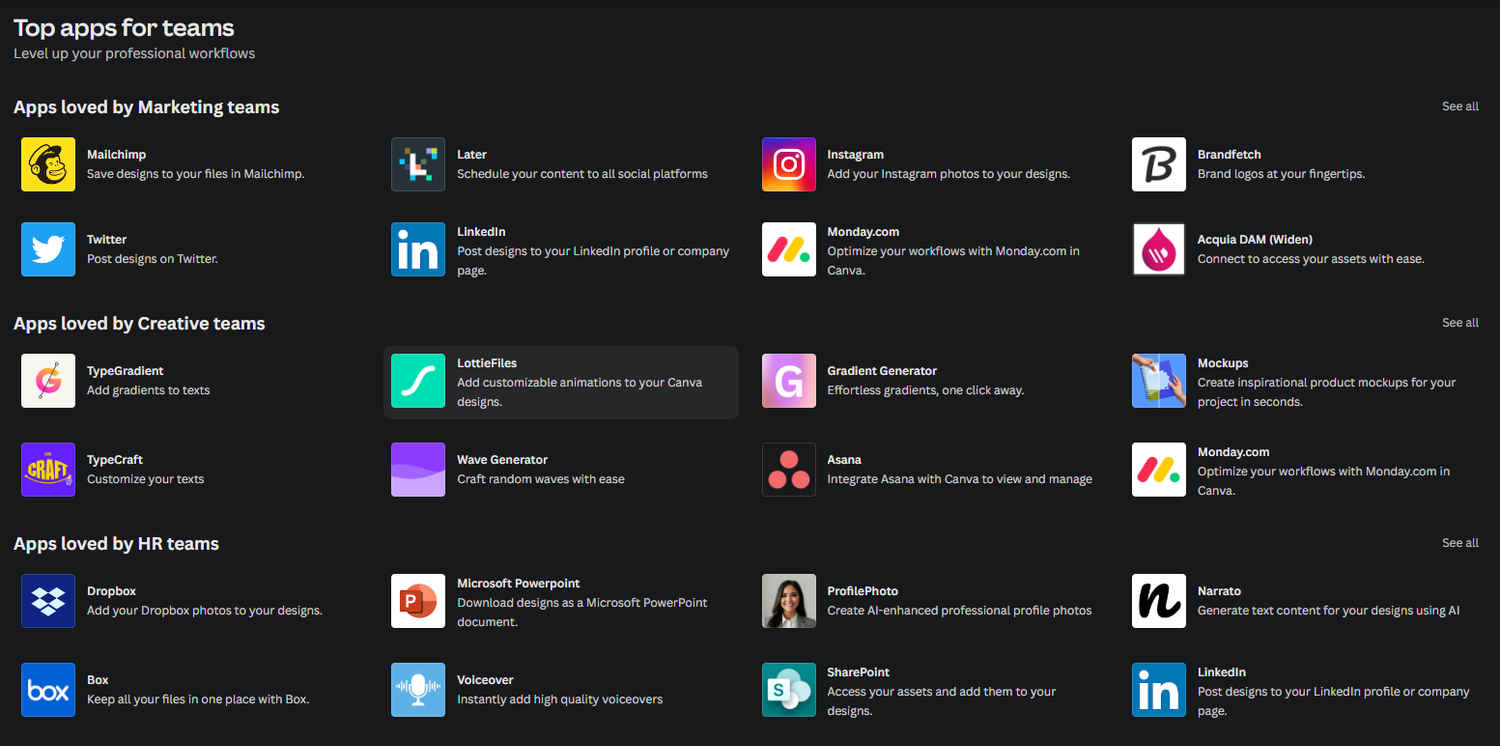
How to find and use third-party add-ons
- Accessing Add-Ons: In the Canva editor, go to the ‘More’ tab on the left-hand side. Here, you will find a range of third-party apps and integrations.
- Selecting an App or Service: Browse through the available options. You’ll find add-ons for additional image libraries, advanced design elements, or unique editing features.
How to incorporate add-ons into your designs
- Using Stock Photo Libraries: Access extensive photo libraries like Pexels or Pixabay directly within Canva for a broader range of image options.
- Advanced Editing Tools: Utilise editing tools like photo filters, animation makers, or GIF creators to enhance your designs.
Also read: How to master Canva’s asset library: Images, elements, fonts, visuals
Benefits of third-party integrations
- Expanded Asset Library: Access to more diverse and specialised assets and elements, broadening your creative possibilities.
- Enhanced Functionality: Use specialised tools for more advanced design features, such as unique photo effects or custom typography options.
- Efficiency in Design Process: Streamline your workflow by using integrations that bring additional functionalities directly into the Canva interface.
Tips for using third-party apps in Canva
- Compatibility Check: Ensure that the third-party app or service is compatible with your design needs and integrates smoothly with Canva’s features.
- Stay Informed: Keep up to date with new integrations and updates. Canva frequently adds new apps and services, providing more tools for your design arsenal.
- Experiment and Explore: Don’t hesitate to experiment with different add-ons. Sometimes the best design discoveries come from exploring new tools.
By mastering these advanced integrations and add-ons, you can significantly broaden the scope of what you can achieve with Canva. Whether it’s automating social media posts, embedding interactive designs on your website, or enhancing your creations with third-party tools, each integration opens up new possibilities, making Canva an even more valuable tool in your digital toolkit.
Also read: Advanced Canva techniques: Licensing, templates, grids, frames and assets
Team Digit
Team Digit is made up of some of the most experienced and geekiest technology editors in India! View Full Profile