In today’s visually driven world, standing out with compelling graphics is essential. Discover how to enhance your visuals using Canva’s animation tools, background remover, and advanced text effects.
Canva’s advanced features empower you to take your designs to the next level, adding professional touches that captivate your audience. In this article, we’ll explore how to use Canva’s animation tools, background remover, and advanced text effects to create stunning visuals that leave a lasting impression.
How to explore animation tools in Canva
Add dynamic flair to your designs with Canva’s animation features. It’s very simple, and here’s how you can get started:
How to use pre-set animation styles in Canva
Selecting Elements for Animation: Click on the text or object in your design that you wish to animate.
Applying Animations: In the top toolbar, find and click the ‘Animate’ button. Choose from a variety of animation styles like ‘Rise,’ ‘Breathe,’ ‘Fade,’ and more.
Preview and Adjust: Preview the animation and adjust the duration or intensity as needed to suit your design’s pace.
How to create animated social media posts
Starting with a Template: Choose a social media template. Add your elements such as text, images, or icons.
Animating Your Post: Apply animations to different elements. Use subtle animations for a professional look or more dynamic styles to increase engagement.
How to design simple animated videos
Video Template Selection: Pick a video template or start with a blank canvas.
Adding and Animating Elements: Place text, images, or other elements on your canvas. Animate each element as desired.
Adding Video Clips: Insert video clips from Canva’s library or upload your own, and apply animations for smooth transitions.
Utilising Canva’s background remover tool to create standout images is nothing short of magic. Here’s how to remove the background effectively….
How to remove background for professional headshots
Uploading an Image: Upload your headshot or subject image to Canva.
Applying Background Remover: Click on the image, then select ‘Effects’ from the toolbar above. Choose ‘Background Remover’ to automatically remove the background.
Refining the Edges: Use the erase or restore tool to clean up any rough edges if necessary.
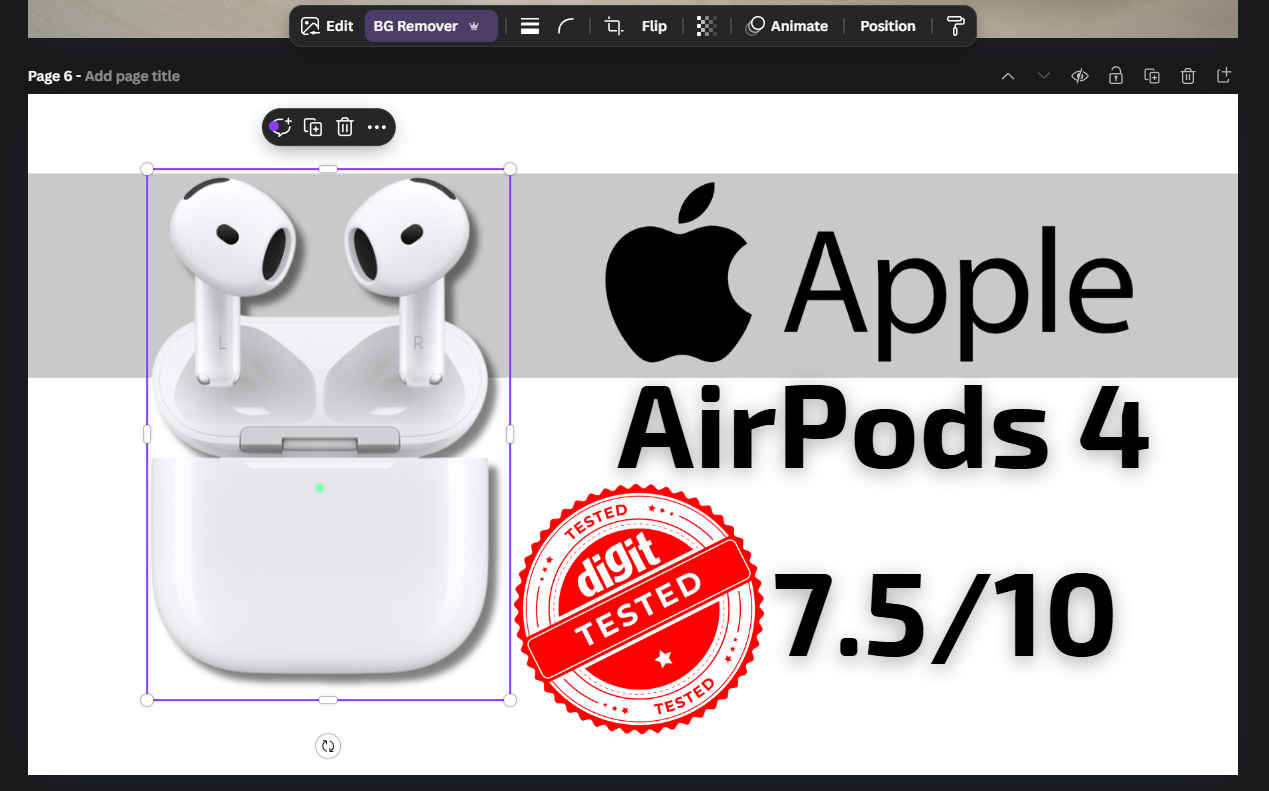
Creating product images and graphic compositions
Product Image Preparation: Upload your product image. Apply the background remover as described above.
Designing the Composition: Place the product image against different backgrounds or within various scenes to showcase the product effectively.
Canva’s advanced text and font features
Explore Canva’s advanced typography capabilities to elevate your designs to the next level.
Uploading custom fonts in Canva
Accessing the Font Library: In your Canva Pro account, go to ‘Brand Kit’ and select the ‘Fonts’ tab.
Uploading Fonts: Click ‘Upload a font’ at the bottom of the screen and select your font files. Ensure you have the rights to use these fonts.
Adding Text Effects: Select a text box in your design. Click on ‘Effects’ in the top toolbar to explore options like shadows, curves, or spacing.
Customising Effects: Adjust the size, colour, and transparency of your text effects to match your design’s style.
Canva’s advanced graphic techniques
Dive deeper into Canva’s graphic capabilities for visually striking designs.
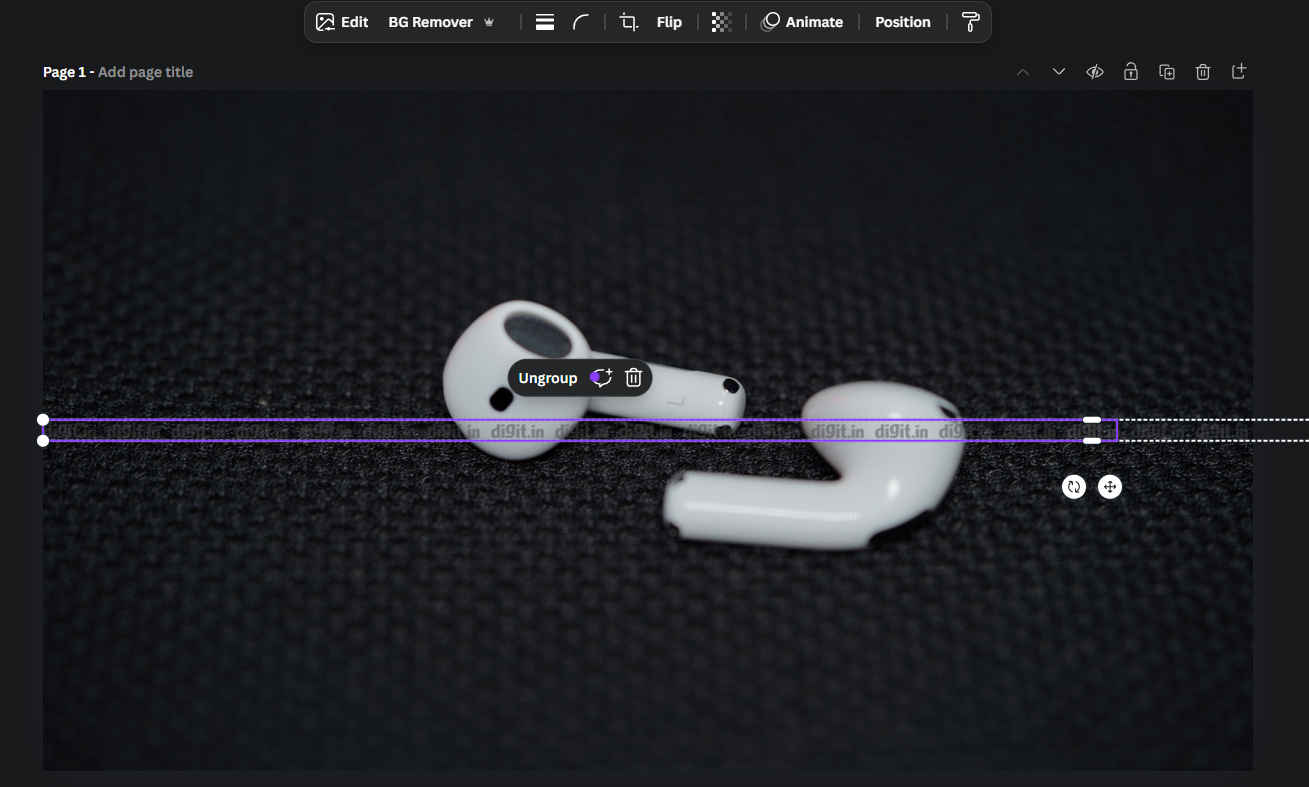
Master layering and grouping in Canva
Layering Elements: Add various elements to your canvas. Click on an element and use the ‘Position’ button to move it forward or backward, creating a layered effect.
Grouping for Organization: Select multiple elements, right-click, and choose ‘Group.’ This is useful for managing complex designs efficiently.
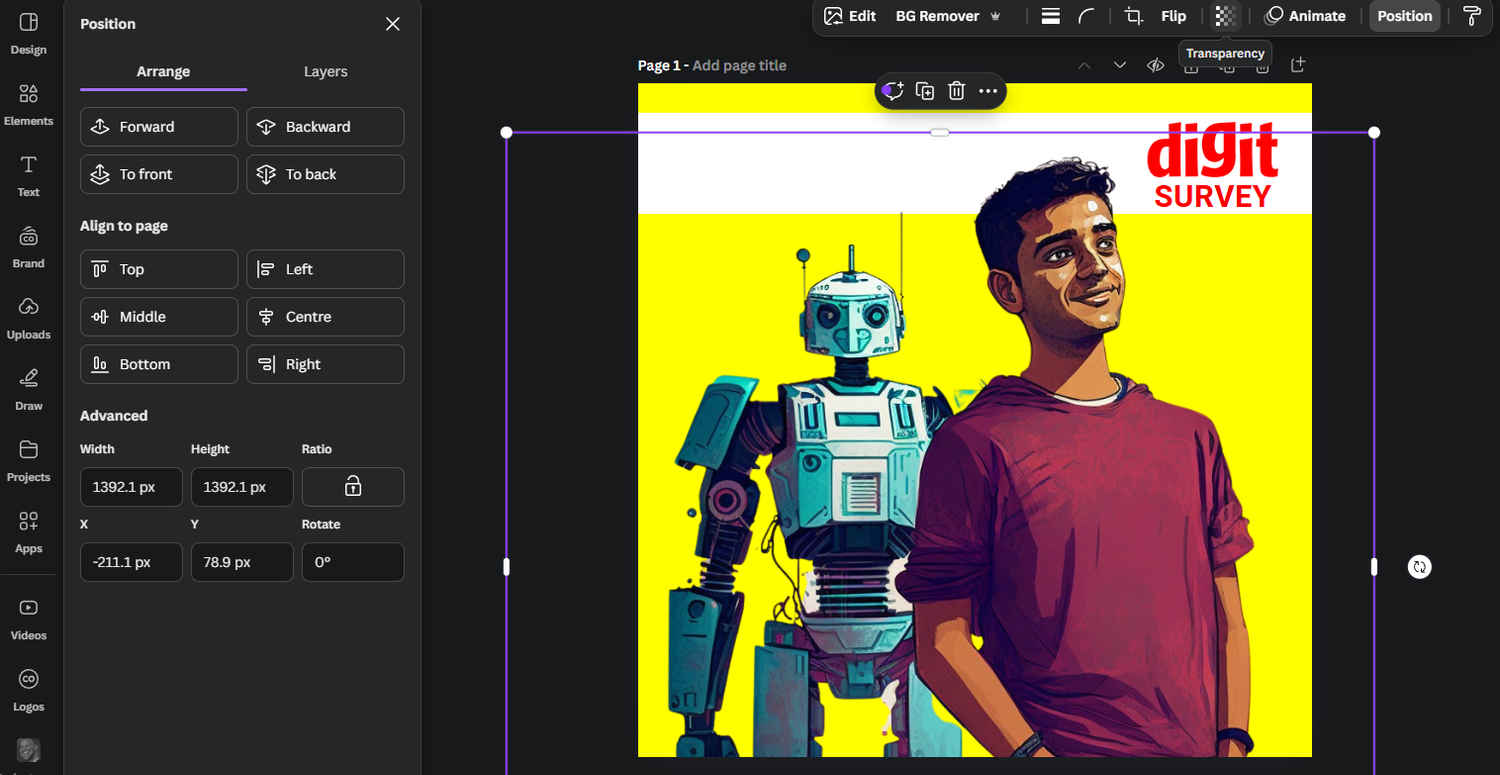
Canva’s blending modes and transparency
Applying Blending Modes: Select an image or element, then click on the ‘Transparency’ button. Experiment with blending modes like Multiply, Screen, or Overlay.
Adjusting Transparency: Use the transparency slider to adjust how opaque or transparent an element is, adding depth to your design.
Canva’s advanced grid systems
Setting Up Grids: Under the ‘Elements’ tab, find ‘Grids’ and select a layout. Place your images or elements within these grids to ensure alignment.
Custom Grids: Combine individual grid boxes to create unique and flexible layouts, ideal for collages or mood boards.
By mastering Canva’s advanced graphic features, you can transform your designs into professional-quality visuals that captivate and engage your audience. Whether you’re animating elements, removing backgrounds, or applying sophisticated text effects, these tools open up a world of creative possibilities. Start experimenting with these features today and watch your designs reach new heights.