Here is a complete guide on how to process images and footage produced by the Magic Lantern Custom Firmware.

We recently wrote about how you could install the highly experimental custom firmware for the 5D Mark III onto the camera so that you could shoot HDR video and expand the dynamic range of the camera to a blistering 14 stops. If you’re smart, you stayed away from installing the firmware, but if you’re the adventurous kind, then you probably did and ended up with photos and footage that would be totally unusable. Fret not, for we have here a complete guide on how to process that data into useable footage and photos.
Before we begin, here are a few disclaimers.
1) Since this entire custom firmware deal is major hackery, there is some degradation in quality. While you gain a few stops of dynamic range, what you also gain is moiré and aliasing.
2) The process of converting the footage and CR2 (raw) files into something usable is quite intense. We recommend a powerful system to handle the task, something that can easily run Adobe Premiere AND Photoshop side-by-side.
3) The process is somewhat time-consuming, so you might want to refrain from shooting a wedding or any other bulk-image assignment using this technique.
4) Magic Lantern Nightly Build CFW for the 5D Mark III is HIGHLY EXPERIMENTAL and should be used with extreme caution as neither we, nor the Magic Lantern guys take responsibility if you fry your sensor.
Unfortunately, since the custom firmware is altering the way the CR2 (RAW files) and the movie files are being created, normal RAW converters or video editors can’t do much with them. They first need to be “normalized” before you can do anything usable with them and for that, the ML guys have written custom code. You will need two separate modules, one for video and the other for photo, to achieve this. You can download CR2HDR (the photo module) from here and the video module from here. Extract the contents of the respective zip files into separate folders. We extracted the video stuff into a folder named Video Work and the photo files into Photo Works. This will help keep your workflow very streamlined (and avoid conflict between files).
Dual ISO Photo Mode:
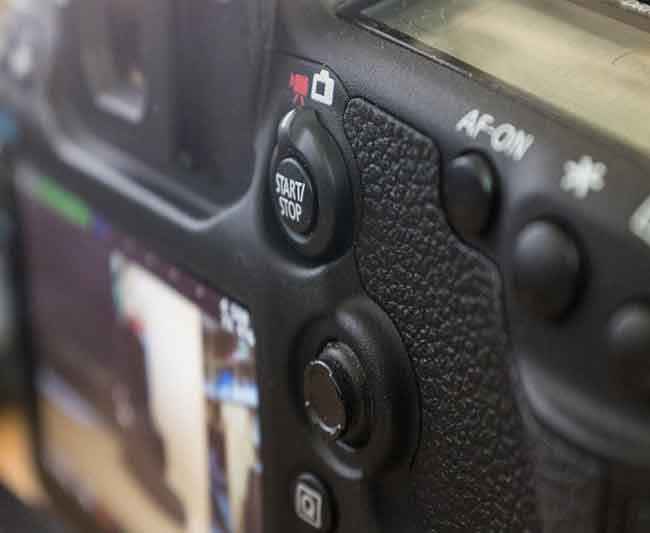
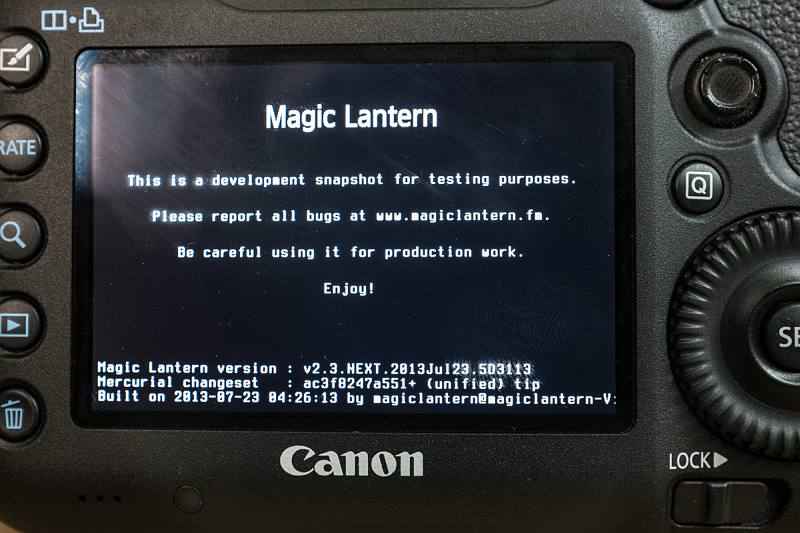
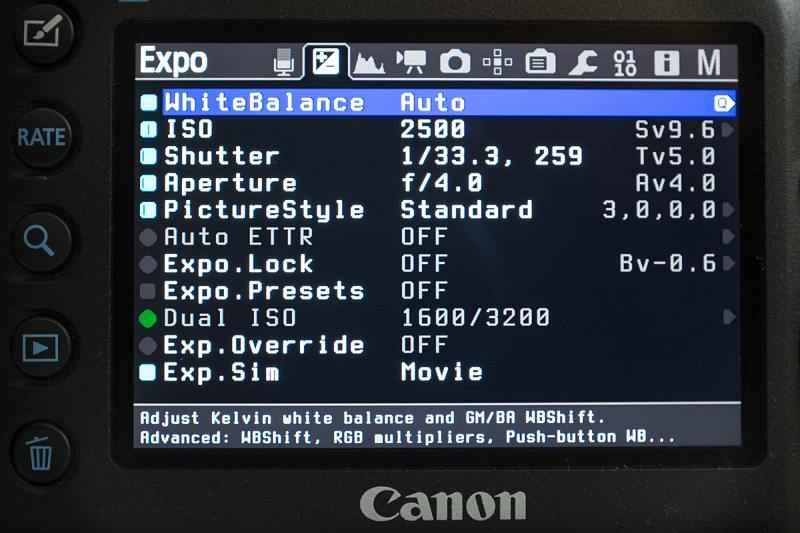
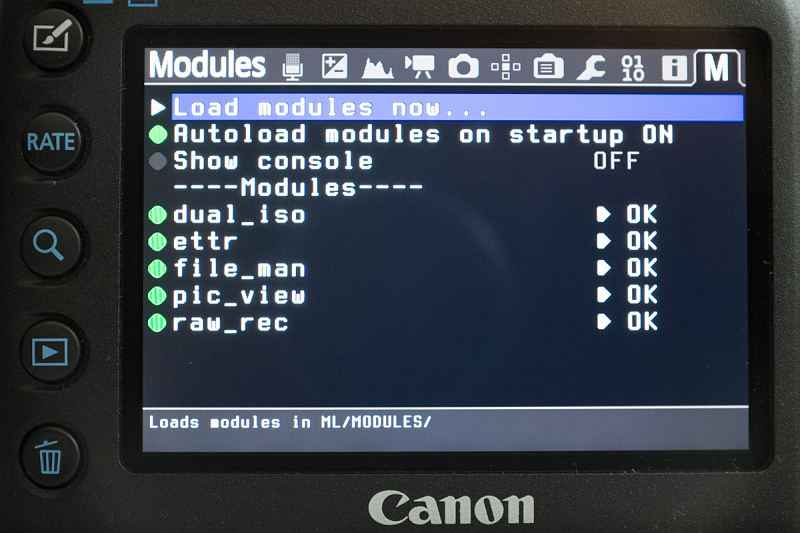
In order to get your camera to shoot photos on Dual ISO mode, you need to ensure that the video toggle on the back of your camera is set to photo mode. Once you do that, you should bring up the Magic Lantern menu by pressing the delete key. Once in the menu, browse over to the “Expo” menu and go to the Dual ISO option and press the set button. A green dot next to the option means the setting is enabled. The first ISO value is something you set on camera, through the ISO button on the top and the second ISO value is done from the Magic Lantern menu.
 |
 |
 |
 |
 |
 |
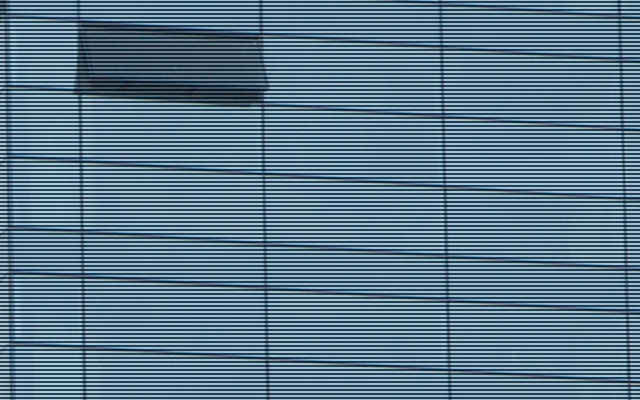
One thing to keep in mind is that the bigger the gap between your two ISO values, the lesser the dynamic range will be in the midtones. So the key is to strike a good balance. We’ve been shooting at 100/1600, 400/3200 and 800/6400 and we find the results to be rather well balanced. Once you’re through with your shooting spree, you will get RAW files with a very strong purple cast and opening this file in Photoshop or Lightroom will not fix that. Also, if you zoomed in to 100%, you will see your image is riddled with scan lines. Let’s fix that shall we?
 |
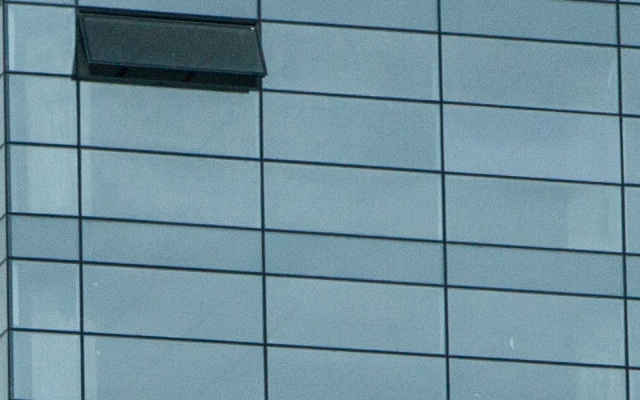 |
| Unprocessed | Processed |
Processing Dual ISO RAW Photos
Here is a step-by-step guide to processing your CR2 files shot in Dual ISO mode.
1) Copy the RAW files into the Photo Works folder.
2) Select all your RAW files and drop them onto the CR2HDR.EXE file
3) The CR2HDR.exe will reprocess all the RAW files into Digital Negative files (DNG)
4) Delete the CR2 files as the DNG files are just as good for adjustment.
5) Open the DNG files in Photoshop. Lightroom seems to throw errors around when trying to read these DNG files.
6) Use Adobe Camera Raw to give the image the desired look.
 |
 |
| Unprocessed | Processed |
 |
 |
| Unprocessed | Processed |
 |
 |
| Unprocessed | Processed |
 |
 |
 |
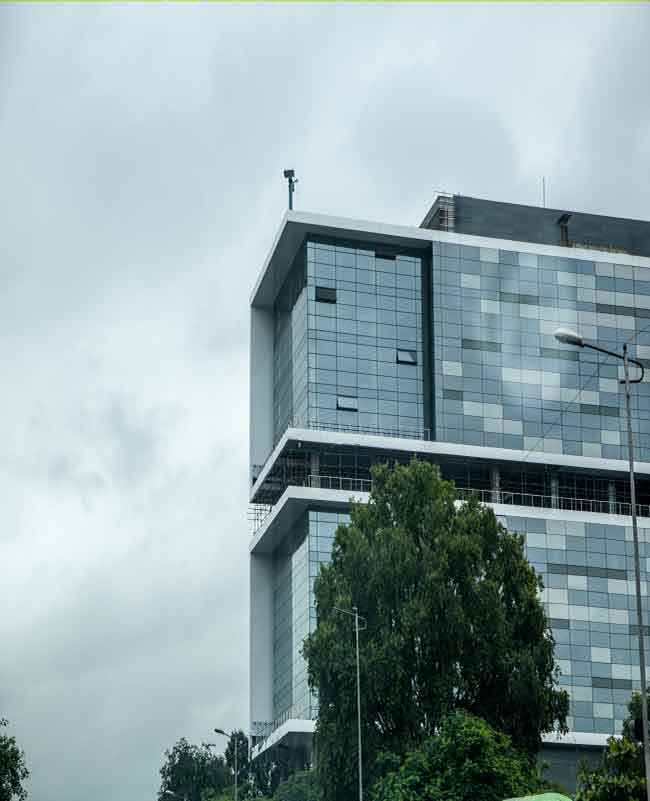
| Unprocessed | Processed | Processed (Edited) |
Dual ISO Video Mode
Now this is the really, really cool side of the Dual ISO mode. If you look through the menus, it may look daunting at first, but in actuality, it is rather simple. We will tell you here how to get the ball rolling.
1) Turn the switch on your 5D Mark III to video mode.
2) Press the Delete key on the back of the camera to access the ML menu
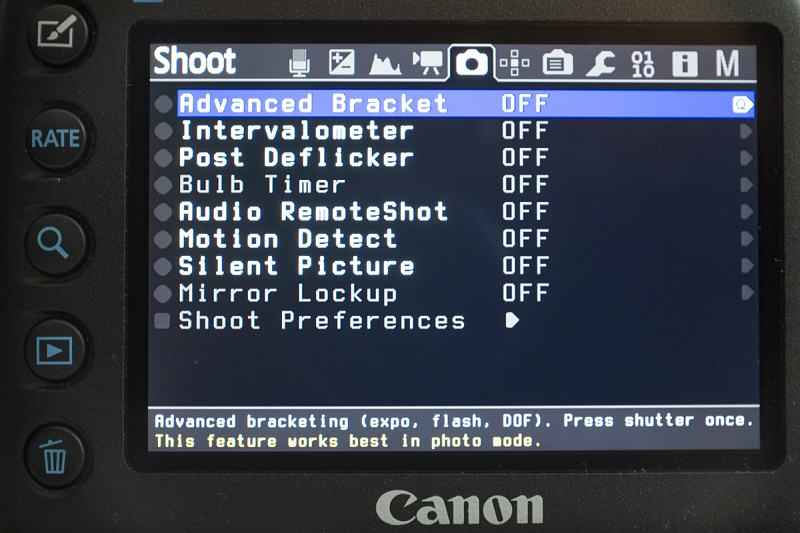
3) Scroll to Movie pane and then enable HDR Video by pressing the SET button on the camera.
4) Set ISO A through the camera and ISO B through the Magic Lantern Menu. Some combinations that worked out rather well for us are ISO100/1600, 400/3200, 800/6400.
Once the footage is transferred over to your PC/Mac, and you play it back, there’s a strong possibility that you might have a seizure. The footage will look like it was shot using a strobe light in play, and you may be inclined to delete it, but don’t. Here’s how you make this footage go from “seizure inducing” to awesome sauce.
Processing HDR Video Files shot in Dual ISO Mode:
Before we break down the steps, you should know that this is somewhat a cumbersome and time-consuming. For this leg of pre-post-work, you will be needing the Video Work folder. Here’s how you go about making your footage awesome:
1) Go into the Video Work folder and install AVI Synth (it is included in the folder).
2) Now Copy ONE video file from wherever you store it on your machine and paste it in the Video Works folder.
3) Rename this file to RAW.
4) Click on Main.cmd. This process will start AViSynth, which will start splitting the dark frames from the light ones and they will be copied into a folder named Frames (within your Video Works folder).
5) Once AviSynth is done splitting your footage into A and B frames, a command prompt window will open. This is the script that fuses the light and dark frames together to yield frame C, the one with high dynamic range.
6) Delete ALL A and B frames (for the sake of simplicity and avoiding any errors while merging the C frames).
7) Once all the C frames are generated, you can close AviSynth and fire up Adobe Premiere Pro (this is what we used).
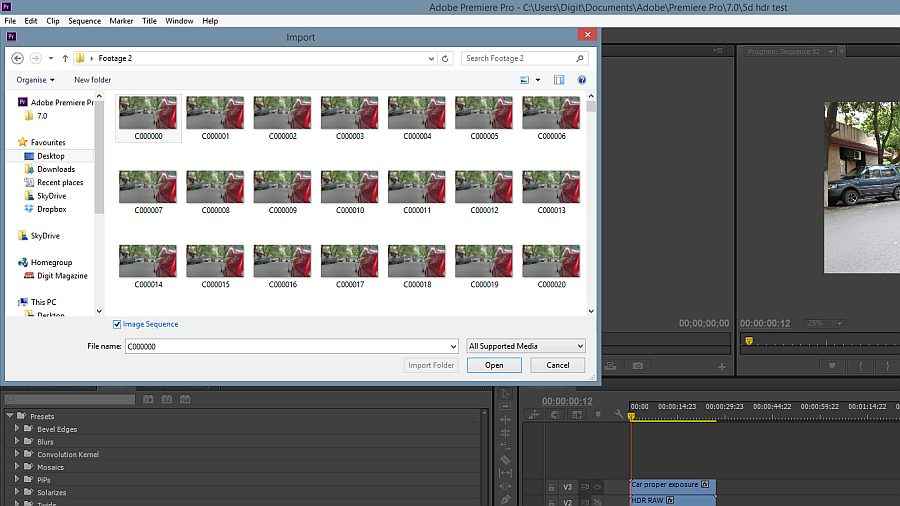
8) To merge individual frames into a movie clip, simply go to File>Import>Browse to Video Work/Frames and select the first C frame. Make sure to check Image Sequence option.
9) Premiere will import your image sequence into the media bin as a movie clip, which will play normally.
10) All you now have to do is do whatever colour correction you may want to do and export the footage and VOILA!
Some Final Thoughts
The Magic Lantern custom firmware for the Canon 5D Mark III opens up a few doors to some really amazing possibilities, however, the journey could be a treacherous one. Some users of the firmware have reported that their Mark III’s had locked up and while instantly removing the battery for a few minutes did solve the problem, Canon has officially stated that damage due to custom firmware are not covered under warranty. You have been warned! Now go forth and create some amazing photos and videos. If you have any questions regarding the custom firmware, please feel free to drop your questions in the comments below, or write them to me on twitter @digitallphoenix.
Swapnil Mathur
Swapnil was Digit's resident camera nerd, (un)official product photographer and the Reviews Editor. Swapnil has moved-on to newer challenges. For any communication related to his stories, please mail us using the email id given here. View Full Profile