Getting Started and Ahead with Microsoft Azure
Now that we know what Azure is all about, it's now time to officially get started with the platform. In this article, we'll learn how to get a free Microsoft Azure subscription and then how to build an ASP.net application based site and deploy it using Azure.
You can read the previous article here.
Now that we know what Azure is all about, it's now time to officially get started with the platform. In this article, we'll learn how to get a free Microsoft Azure subscription and then how to build an ASP.net application based site and deploy it using Azure.
Before we begin, here is the list of essentials required:
-
A Microsoft Account
-
Microsoft Azure Subscription
-
Visual Studio 2013 (VS Express 2013 for Web)
-
Azure SDK for Visual Studio 2013
-
Microsoft Visual Studio Express 2013 for Windows Desktop with Update 3
-
Windows 7 or 8.1 operating system
-
.NET Framework 4.5
-
A valid Credit Card (VISA or MASTER CARD or AMEX)
Creating a Microsoft Account
Creating a Microsoft Account is simple, easy and of course, free. E-mail, and the ability to backup all your photos and documents on the cloud, are added benefits that come with it.
All the user will need to do, is create an account by visiting either one of the following sites:
www.outlook.com
www.signup.live.com
Downloads
To develop a website however, there are certain tools available online for free, that need to be downloaded. We’ve made it easy, and given below an exhaustive set of all the links for the tools that are required. Follow the link and install all these tools to get started. Make sure you select the upgrade option during installation if the previous version of the tool is already installed.
http://www.visualstudio.com/en-us/products/visual-studio-express-vs.aspx (Express Edition)
http://www.visualstudio.com/en-us/products/free-developer-offers-vs (Community Edition – released few days back)
http://www.microsoft.com/en-in/download/details.aspx?id=43733
Also, the latest version of Azure SDK needs to be downloaded. This should be a breeze as well, as a web installer gets automatically installed to guide the user through the installation process.
Creating a Microsoft Azure subscription
Once you have an Outlook or a Microsoft live ID, going to one of the links given below will let you create your free Microsoft Azure subscription. Just click on “Free Trial” or “Manage Account” and login with your existing credentials:
www.azure.microsoft.com
www.account.windowsazure.com
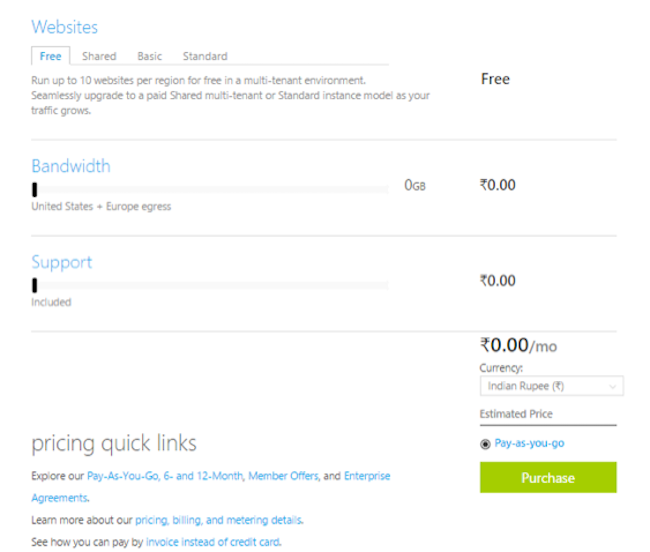
Once logged in, clicking on the Pricing tab will lead to the pricing calculator page.
Ensure the tabs Websites and Free are highlighted and then click the Purchase button.
Even though the subscription is free, you will need the details of your credit card – so make sure you have it at hand.
There are three steps to finish the process after clicking the purchase button.
-> The mobile number that was entered will need to be verified through a verification code received either via sms or a phone call.
-> After verification of the number, you will need to fill in a valid credit card number, and accept the agreement.
-> Once complete, click the Purchase button again, and if a valid credit card number was given earlier, you will be taken to a confirmation page.
By now, you should have been alerted by the credit card company about a purchase of $1. Not to worry though, as this amount is debited and credited immediately, just to verify the validity of the given credit card.
And we’re good to go! We have all the required tools, and a Microsoft Azure subscription – time to create an Azure website on the cloud now.
Creating an Azure Website
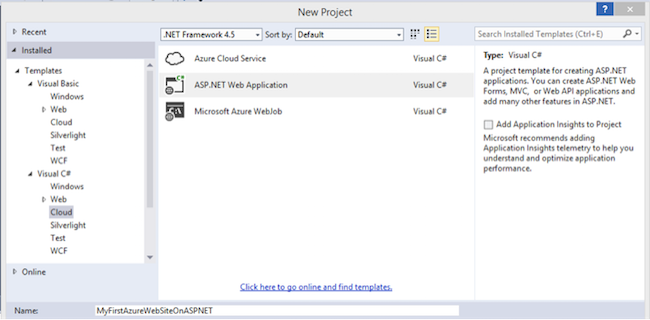
Now let’s get down to creating the website. Start up by opening VS Studio 2013 for Web. Once you’ve opened VS Studio 2013, go to File>NewProject to start a new project. Click on ASP.NET Web Application and make sure you’re using .NET framework 4.5 and have chosen the Visual C# Cloud templates.
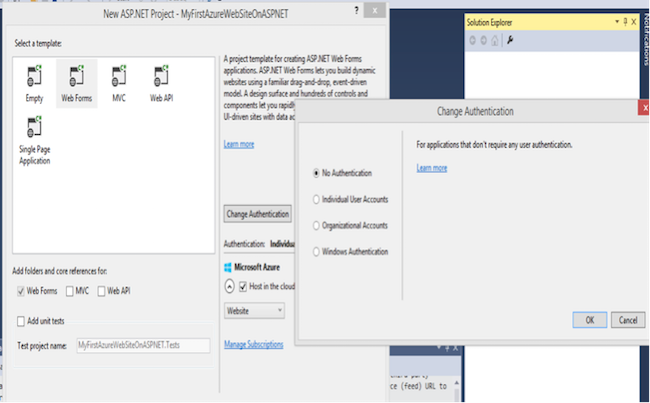
Give your application a name. For example, here we’ve named it as “MyFirstAzureWebSiteOnASPNET”. In the next screen, select Web Forms as a template and click Change Authentication to set No Authentication for the website. This is just to ensure that the site doesn’t ask for any credentials while logging in.
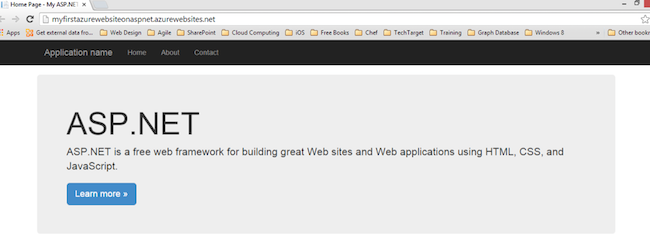
Click Ok and voila! Your new website is created. By default Azure will create pages such as ‘Application Name’, ‘Home’, ‘About’ and ‘Contact’ (or .vs files) under your project. You can view these under the Solution Explorer.
Before testing your new website however, you will have to deploy it to Azure.
Deploying the Website
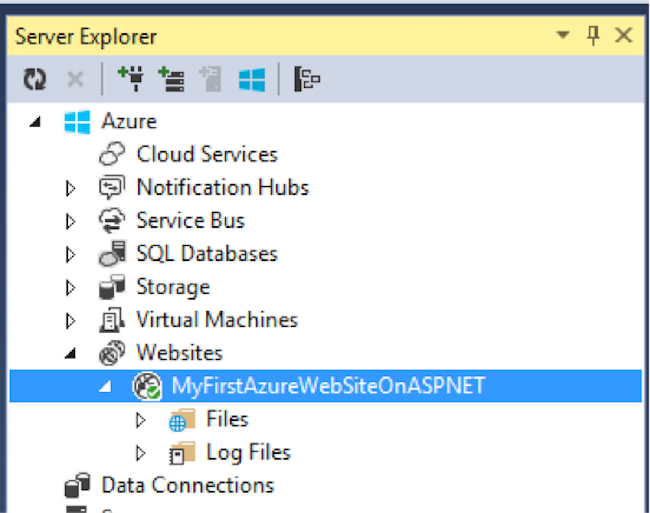
Go to Server Explorer and you will see the newly created website listed there.
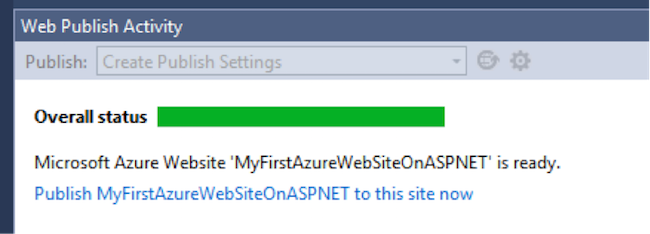
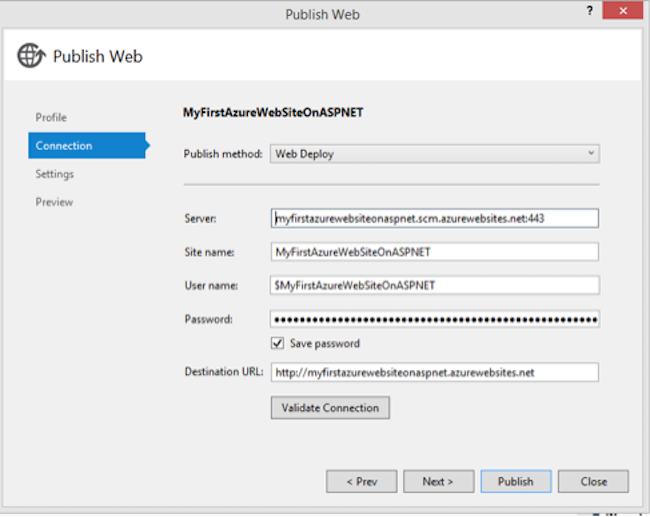
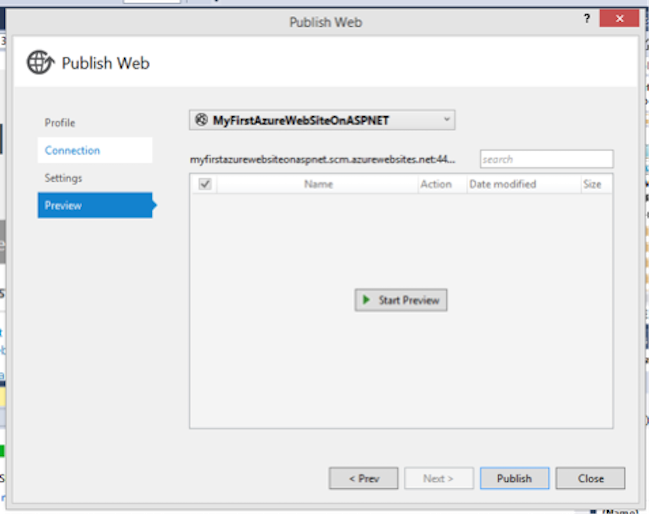
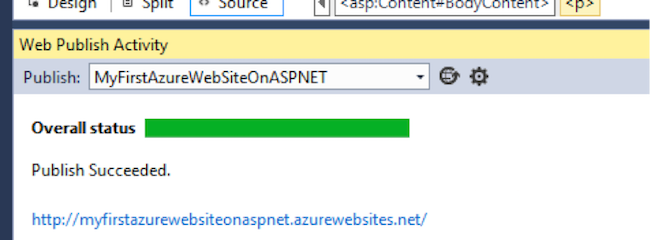
The Web Publish Activity window is where you can actually deploy the website to the cloud – all you need to do, is to click on Publish. Just follow the wizard after that, and it will guide you through the publishing process. Upon publishing successfully, your newly opened site will automatically open in a pop-up window.
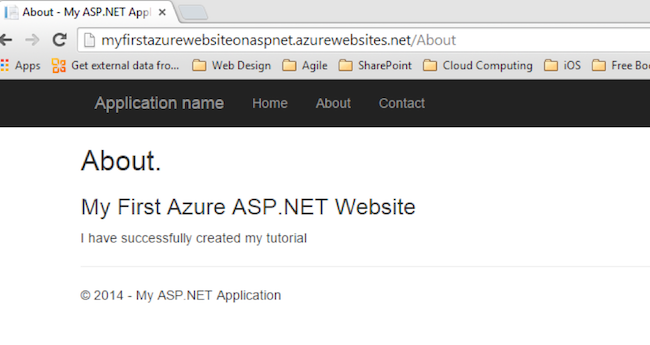
For any changes that you need to make to the site, just open Solution Explorer and edit the corresponding .aspx file you see under the project. For example, here we are shown editing the About.aspx file. And once you save the changes and publish it, the website is as you intend it to be.
And that – Ladies and Gentlemen – is how easy it is to create your own website with Microsoft Azure.
You can read the next article in the series here and our third bonus article here

