Tips, tricks and hacks for using Google Photos
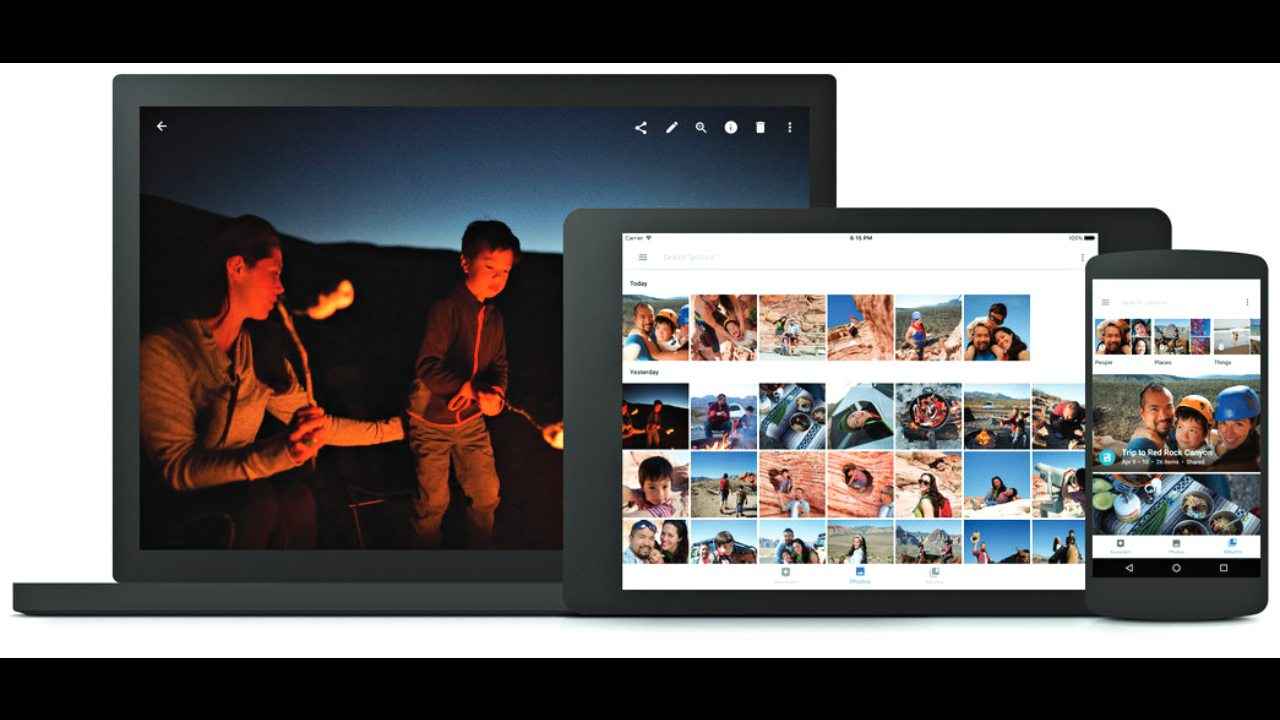
Amongst one of the most popular cloud-based photo backup and storage apps, Google Photos has a ton of functionalities that can benefit everyone from casual to power users. Since its inception back in 2015, the app has been competing with other giants in the space including Dropbox, OneDrive, iCloud and more. You get a nice, chronological cloud backup of all your media (photos and videos) and it also allows you to free up space in your device, which is especially useful for those of us with a meagre 16 or 32GB of internal storage. Sometimes, ardent photographers and content creators shooting on the phone even find 256GB/512GB storage limiting and Google Photos offers a solution to this pressing issue.

What’s more, is that storage is completely free of charge with one caveat. Your images must be under 16MP and your videos must have a maximum resolution of 1080p. If not, then they get added to your allotted 15GB of free online storage with Google. However, the app does have the capability to downgrade images and videos to fit the free criteria, after asking your permission first, of course. Google Photos allows for tons of functionalities such as creating collages, albums, animations and more. It even supports Live Photos, if your phone has the ability to take those. Additionally, Google Lens is embedded in the app and can recognise places, products, and more, consequently giving you more information about what you’re looking at. Its powerful search algorithm makes finding old photos a breeze since you can use extremely specific search terms such as ‘blue top’ and ‘beach’ to get you the very picture you’re looking for. Apart from these pretty well-known features, there are a host of lesser-known tricks you can use to enhance your experience. Here are a few tips and tricks for Google Photos.
Back up other apps’ images
Ordinarily, Google Photos will back up and sync your photos and videos from your device’s main image folder. However, on Android, you can set up Google Photos to backup images from other folders as well. So, your Instagram, Snapchat and WhatsApp images can also be securely stored here. To do this go to Google Photos and click the hamburger menu. Choose Settings, then go to Back up & sync. Over here you can select Back up device folders and toggle on every other folder you want Google Photos to begin backing up.
Scan photos
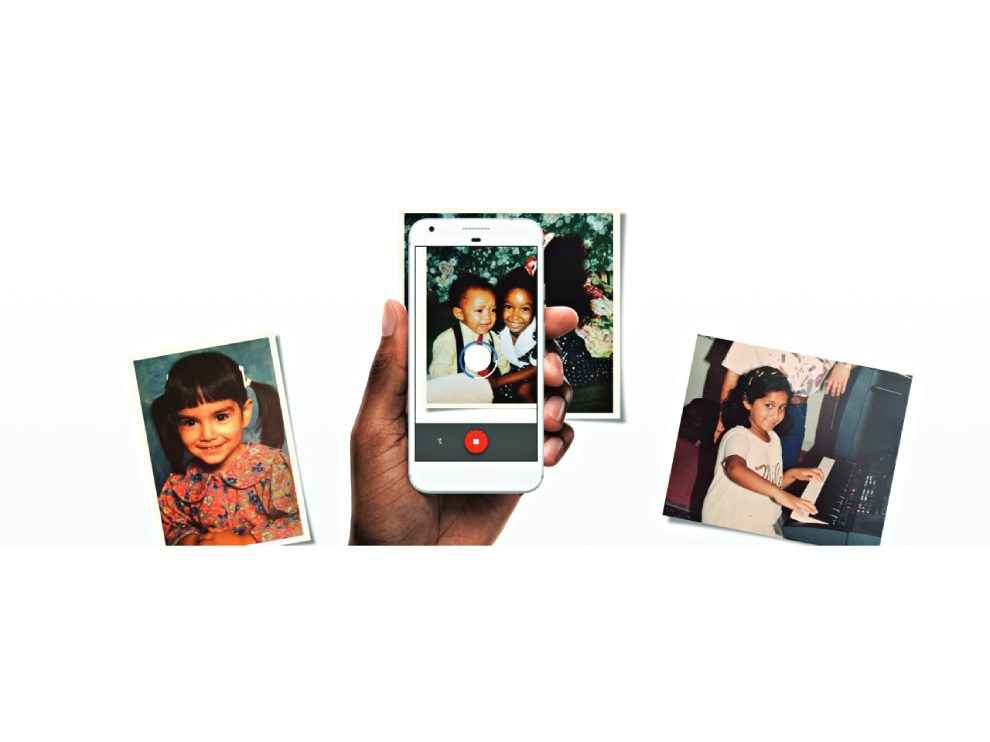
Google Photoscan is an in-built option that comes with Google Photos, however, to access it you will need to download the app. You can do this from the Photos app itself. Once Photoscan is installed, you can easily access it right from the hamburger menu and scan documents, old photographs and more. The best part is that the app utilises a special method to avoid glare in a scanned image, enhance resolution and accurately detect edges of the picture. We tried this app quite extensively and it worked perfectly well in most cases.
Keep your location private in shared photos
Location data is almost always saved with every picture you click on your smartphone. If you are sharing a picture from Google Photos, the app will also share all the photo details with the recipient which includes the location it was clicked at. You may not always want this sensitive information shared and there is a simple workaround to ensure that it is hidden.
Go to photos.google.com/settings and click on Sharing. Toggle on the option that says ‘Remove geo location in items shared by link’. This ensures that any photo shared through Google Photos does not have geo-data attached to it.
Quick select photos
The most harrowing task after returning from a long trip is often sharing the wealth of images you have accumulated over the course of the trip on your smartphone. Selecting each photo, one at a time, is mind-numbingly tedious. There has to be a better way! Well, there is.
On Google Photos, you have a nifty quick select option to select multiple images with ease. Hold your finger on a picture and then drag it to the last image you want to send. All the images between these two points will get selected. Batch deletion, moving and sending just got a whole lot easier!
Edit deep blues or skin tone
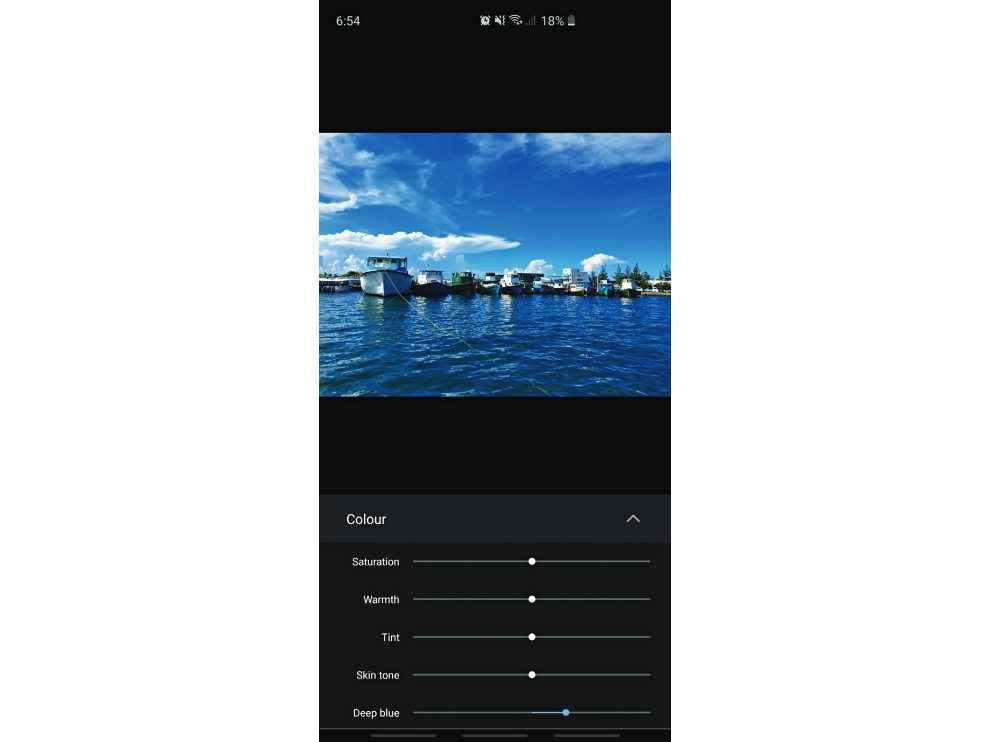
Basic editing on Google Photos is clearly visible in plain view, however, some of the more intricate editing processes can be slightly veiled. Two such examples include editing ‘Deep Blues’ and ‘Skin Tones’ in your pictures. You can make deep blues in pictures of beaches, the ocean and lakes pop out dramatically and adjust skin colour tone to your liking as well, which is especially useful for portrait images. To do this, simply choose an image and click on the Edit icon on the bottom (the second icon from the left). You will see a host of filters you can use here. Toggle to the second tab on the page which gives you options such as Light, Colour and Pop.
Click the down arrow next to Colour and you will find options such as Deep blue and Skin tone. The first ‘Deep blue’ slider only increases or decreases the intensity of the blues in the image while keeping everything else the same and, similarly, Skin Tone tweaks only the skin colours and nothing else.
If you want your photo to crank up the intensity of greens, just turn up Saturation and decrease Deep Blues and even Skin Tone. You can really play around with these settings to get visually-attractive images that are Insta-ready!
Copy and paste edits
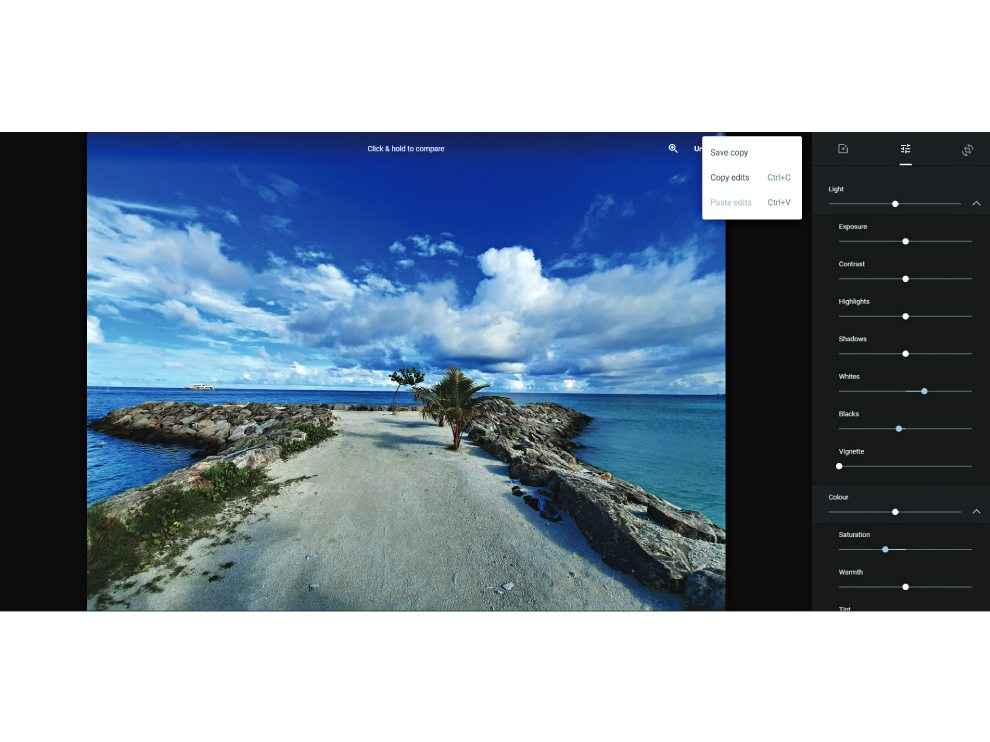
This is only possible on the desktop version of Google Photos. It comes in handy if you’re editing multiple photos for which you want the same edits. Simply edit one image in the batch to perfection and then you can apply this edit to other images with a single action. After you’ve edited the first image, click on the three dots menu on the top right of the screen and select Copy Edits. You can also simply use the copy-paste keyboard shortcuts – Ctrl+C and Ctrl+V, which is extremely convenient.
Don’t show memories for everyone
Hopping onto the ‘rediscovering memories’ bandwagon on social media, Google Photos has also come out with a feature called ‘Rediscover this day’. It allows you to see the pictures you clicked on the same date during the yesteryears and is a form of nostalgia many users enjoy. However, there are possibly some people you don’t necessarily want to rediscover, say an ex boyfriend/girlfriend or an old friend you had a fallout with. To stop seeing memories featuring them, head over to Settings in Google Photos. Go to Memories and then you can remove certain faces you don’t want to see in the future. In order to do this, however, you need to turn on the ‘Face Grouping’ feature.
Dhriti Datta
Perpetually sporting a death stare, this one can be seen tinkering around with her smartphone which she holds more dear than life itself and stuffing her face with copious amounts of bacon. View Full Profile

