
In the digital age, creating captivating content is essential for engaging audiences online. Learn how to design engaging digital content for various platforms using Canva’s versatile tools. Worry not, because here you’ll find detailed guidance on using Canva to design a variety of digital materials, including social media graphics, professional presentations, infographics, e-commerce visuals, and educational content.
Also read: What is Canva and how does it work?
Whether you’re promoting a business, enhancing learning materials, or boosting your online presence, these sections will help you utilise Canva effectively for your digital design projects.
How to design engaging Social Media Graphics on Canva
Whether it’s a thumbnail for your Instagram Reel or attempts to make an infographic viral on X.com (Twitter), here’s how you captivate your audience with the help of Canva by designing eye-catching social media visuals tailored for each platform.
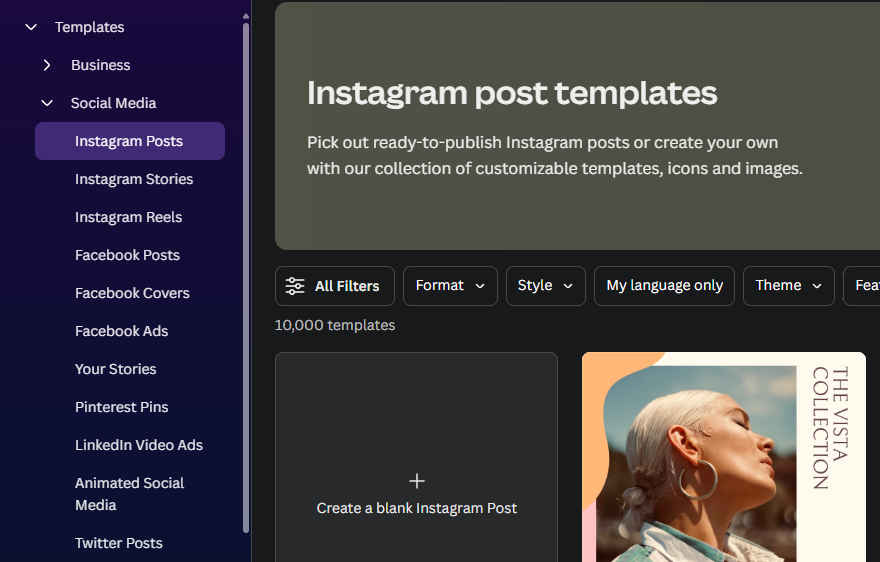
How to select the right Canva template for each social media platform
- Identifying Platform Needs: Recognize the unique requirements of each social media platform – Instagram prefers square images, while Facebook may need landscape-oriented banners.
- Choosing Templates: Use Canva’s search function to find templates specific to each platform. For instance, search for “Instagram Post” or “Facebook Cover.”
Get the right balance of text and imagery
- Visual Harmony: Combine text and images to create a visually pleasing composition. Ensure text is readable against the background – use contrasting colours or text shadows if needed.
- Appropriate Use of Space: Avoid clutter. Leave breathing room around your elements, especially text, for better readability.
Use Canva to optimise graphics for social media
- Size and Resolution: Check the recommended image sizes for each platform (e.g., 1080×1080 pixels for Instagram squares) to ensure your graphics look great on all devices.
Exporting: Export your design in the appropriate format, typically JPEG or PNG, for optimal quality and load times on social media.
How to make professional presentations on Canva
Using Canva, it’s very easy to create visually appealing presentations that effectively convey your message – be it for a school project or creating a pitch-deck at work. Here’s how…
Select and customise Canva presentation templates
- Choosing a Template: Select a presentation template that aligns with your topic and audience. Canva offers a range of professional templates suitable for various themes.
- Customising Slides: Personalise your chosen template by adding your own text, images, and brand elements. Ensure consistency in fonts and colours across all slides.
How to add visuals and data
- Adding Charts and Graphs: Use Canva’s chart tools to visually represent data. You can input data directly or import from an existing file.
- Visual Storytelling: Incorporate relevant images, icons, and videos to support your narrative. Use Canva’s media library or upload your own visuals.
Also read: Explained: Design principles in Canva for beginners
Ensure consistency and engagement in your Canva design
- Consistent Layouts: Maintain a consistent layout across slides. Use the same margins, font sizes, and alignment rules.
- Interactive Elements: Add interactive elements like hyperlinks or embedded videos to engage your audience and enrich your presentation.
How to make infographics and reports on Canva
Perhaps one of the best uses of Canva is to transform complex information into easily digestible visuals with the help of cool reports and infographics, which you can start creating in seconds…
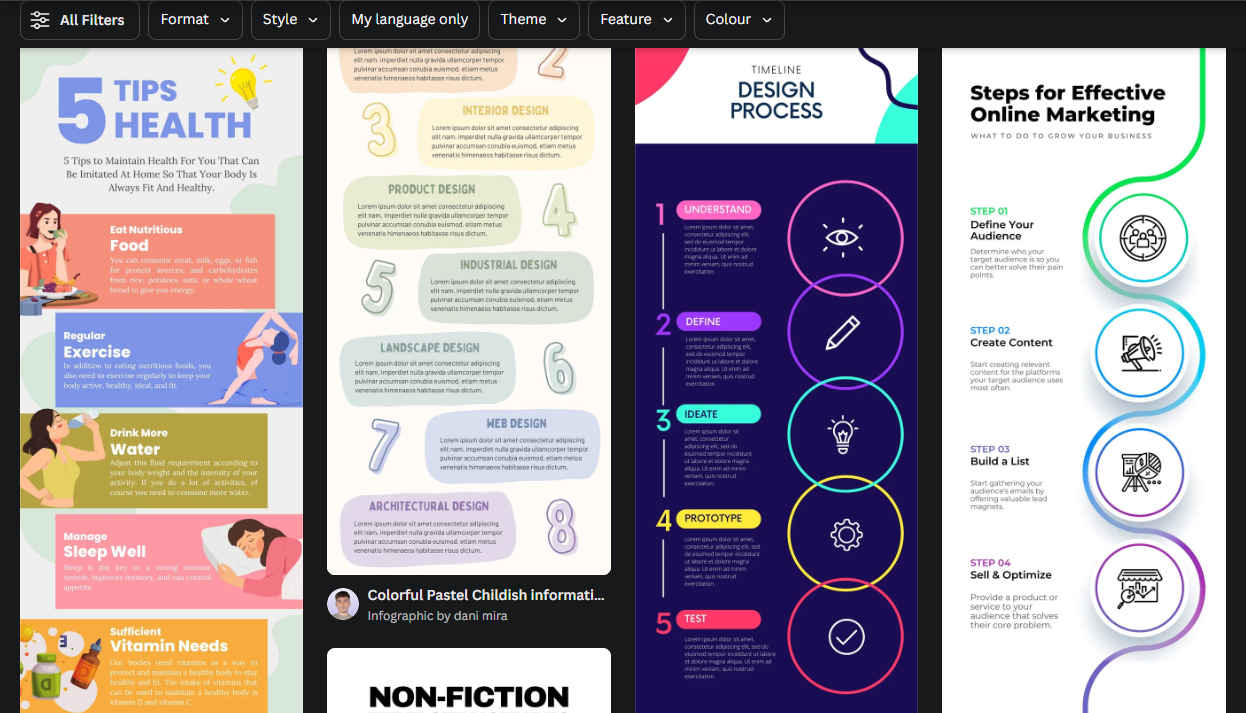
How to design infographics on Canva
- Selecting a Template: Start by choosing an infographic template in Canva that matches the style and tone of the information you’re presenting.
- Organising Information: Break down your content into key points. Use headers and bullet points to organise information logically.
- Incorporating Data Visualization: Utilise Canva’s chart and graph tools to turn data into easy-to-understand visuals. Input data directly or import from spreadsheets.
- Adding Icons and Elements: Enhance your infographic with relevant icons and elements from Canva’s library to illustrate concepts and maintain visual interest.
Craft professional reports on Canva
- Choosing a Report Template: Select a report template that aligns with your business or educational needs. Consider the layout and amount of text versus visuals.
- Customising with Text and Data: Fill in your report with text, ensuring clarity and readability. Use headings and subheadings to structure content.
- Visual Enhancements: Insert charts, graphs, and images where appropriate to support and clarify the information. Keep visuals consistent with the report’s overall style.
Finalising and sharing designs through Canva
- Review and Edit: Proofread your content and check the alignment and layout of all elements. Ensure consistency in fonts, colours, and styles.
Exporting: Export your infographic or report in a suitable format (PDF for print, PNG or JPEG for digital use) and share or print as needed.
How to create e-commerce graphics on Canva
When a picture is worth a thousand words, with Canva’s designs you could stand a chance to boost your online sales with compelling e-commerce visuals.
Also read: Master advanced Canva techniques for Customisation and Branding
Design product images using Canva
- Selecting Templates: Choose a clean, minimal template in Canva that allows your product to stand out.
- Photography Tips: Upload high-quality product photos. Use Canva’s editing tools to enhance these images – adjust brightness, contrast, and apply filters for consistency.
- Adding Descriptive Text: Include brief product descriptions or prices using readable fonts. Ensure the text complements the product image and doesn’t overshadow it.
How to create promotional banners with Canva
- Banner Template Selection: Select a template for your promotional banner. Consider the banner’s placement – website, email, or social media.
- Incorporating Offers: Clearly highlight any offers or discounts. Use bold text or contrasting colours to make these stand out.
- Call-to-Action (CTA): Add a strong CTA button or text. This could be “Shop Now,” “Learn More,” or “Limited Offer.”
Social media integration with Canva designs
- Platform-Specific Designs: Customise designs for different social media platforms. Use Canva’s resizing tool to adapt your graphics for platforms like Instagram, Facebook, or Pinterest.
- Engaging Content: Combine product images with engaging copy that speaks to your audience. Use trending themes or hashtags to increase visibility.
How to create educational content on Canva
Enhance learning experiences with engaging educational designs using Canva’s vast learning focused template collection.
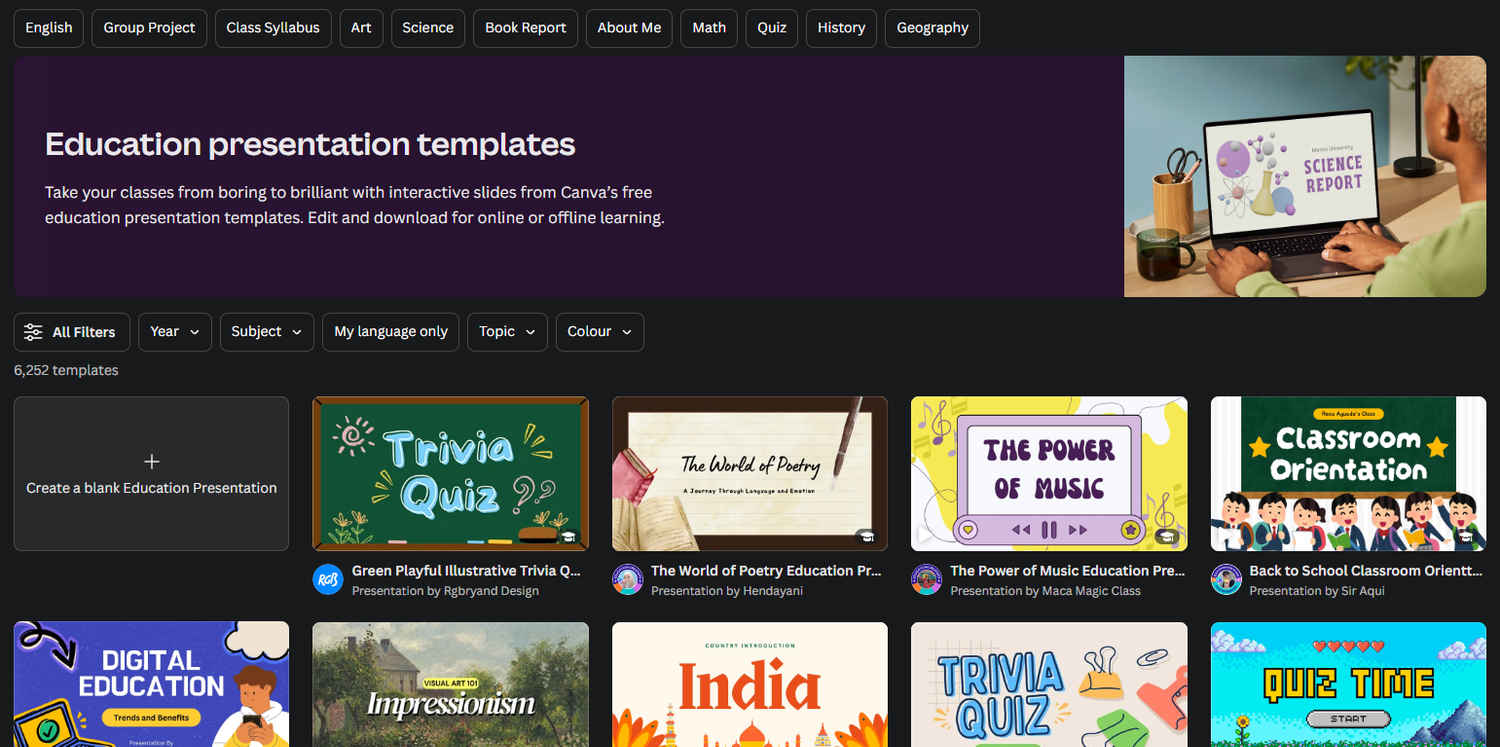
How to design worksheets and study aids using Canva
- Template Selection: Choose from Canva’s range of educational templates suitable for your topic or age group.
- Content Layout: Organise information in a clear, logical manner. Use bullet points or numbered lists to present facts or steps.
- Visual Aids: Incorporate relevant images, diagrams, or icons to complement and clarify the educational content.
How to make educational posters on Canva
- Poster Templates: Pick a template that aligns with your educational theme – be it science, literature, or maths.
- Information Hierarchy: Prioritise key information through font size and colour. The most important details should catch the eye first.
- Interactive Elements: Consider adding QR codes linking to additional resources or videos, making the poster an interactive learning tool.
By mastering these techniques for creating digital content with Canva, you can effectively engage your audience across various platforms. Whether you’re enhancing your online presence, promoting products, or facilitating learning, these strategies will help you create impactful and professional designs. In the next chapter, we’ll explore how to design print materials and event collaterals using Canva’s powerful tools.
Team Digit
Team Digit is made up of some of the most experienced and geekiest technology editors in India! View Full Profile


