7 Tips to Take Your Travel Photography to a Higher Level — from DroneHeroes
DroneHeros is a Dutch company that started out as an Instagram community for sharing drone-generated images
It’s not the camera that shoots wonderful pictures; it’s the photographer. The seven tips the DroneHeroes team details below will help you to create unforgettable images that will turn your competitors green with envy.
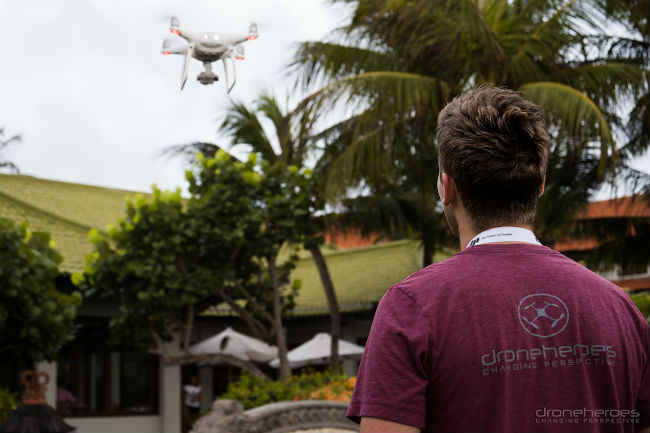
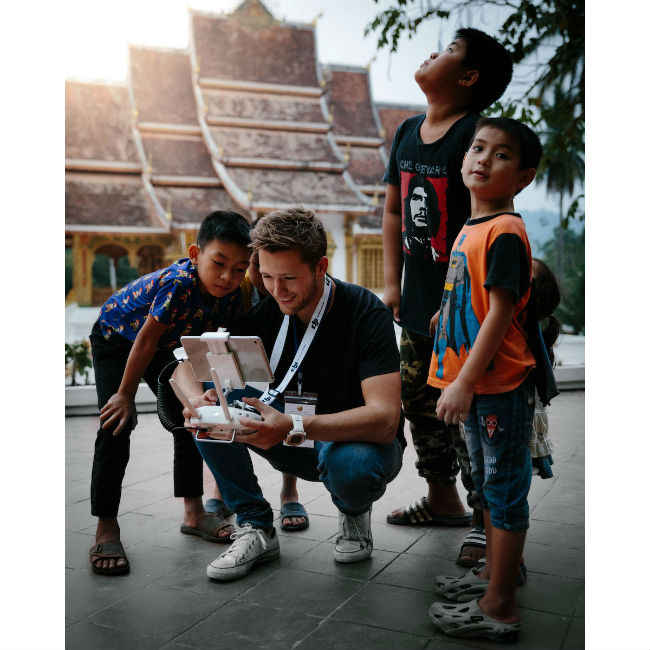
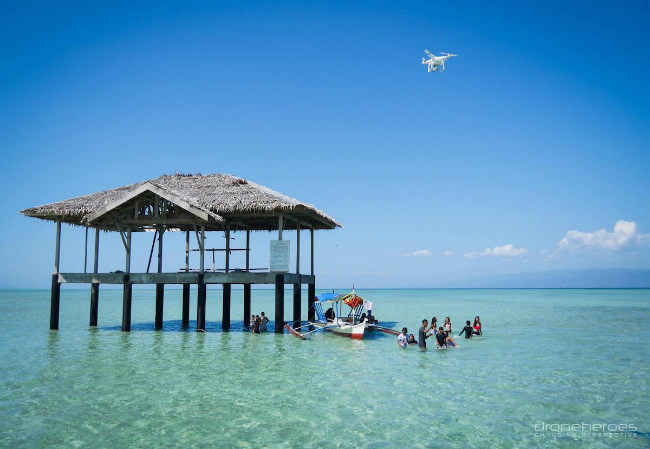
Photos from regular SLRs, videos, drone-generated images: DroneHeroes knows better than anyone how to deliver the best possible results, regardless of the conditions you are working under. This Dutch company started out as an Instagram community for sharing drone-generated images. Then, after investing in a number of drones, DroneHeroes began accepting professional assignments and within a short, action-packed period of just three years, the company has already acquired an international reputation for the quality and versatility of its work. Today, DroneHeroes takes photographs and shoots videos for clients such as hotel chains and holiday resorts. They serve the Asian market out of their office in Thailand.
LaCie talked to Ronny Brouwers, owner and creative director at DroneHeroes. This passionate drone photography expert spoke to us from Thailand, where the company has opened a second office, explaining how DroneHeroes manage to produce the best possible images — time after time.
1. The equipment matters
A good camera will not make a good photographer; but you do need the right tools for the job. It is vital to have all equipment available and working reliably at all times. That’s why you need to draw up a checklist of all the material required. There’s nothing worse than arriving at that magnificent rock only to find out one of your drone’s propellers is missing and so you can’t do the shoot.
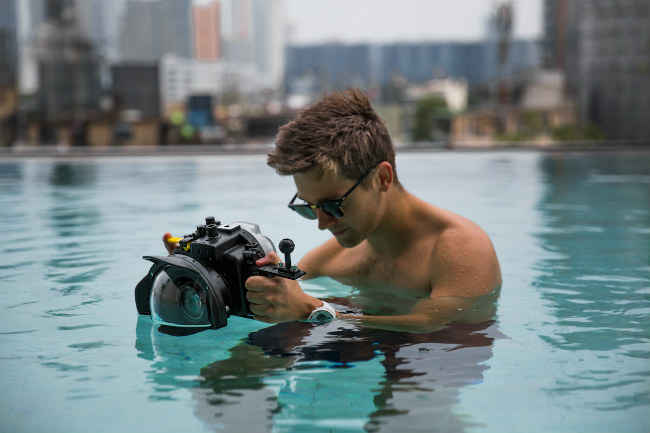
Protecting your equipment is also crucial. Don’t underestimate the power of the natural elements. More specifically, the beach and the ocean can easily have a detrimental impact on sensitive equipment. At all costs you want to avoid having an ambitious grain of sand succeed in damaging your tele-zoom lens. Whenever we go to a harsh environment, we make sure that our cameras and lenses are all protected individually. As prevention is better than cure, it is better to take too many precautions than too few.
2. Embrace the circumstances
The weather will always be the biggest unreliable factor that any photographer has to deal with. How the weather will affect your shoot is different each time and depends on the environment to a large extent. You will need all of your photographic creativity to make the most of your shoot. So accept and embrace the situation — and don’t try to apply a sunny touch to a grey sky.
It is far better to emphasize the threatening clouds of an approaching thunderstorm in your photos, instead of desperately trying to add an unrealistic touch of sun to your pictures. Of course, when you’re editing your shots afterwards, you may want to modify the colors subtly.
3. Don’t forget your filters, especially when traveling towards the sun
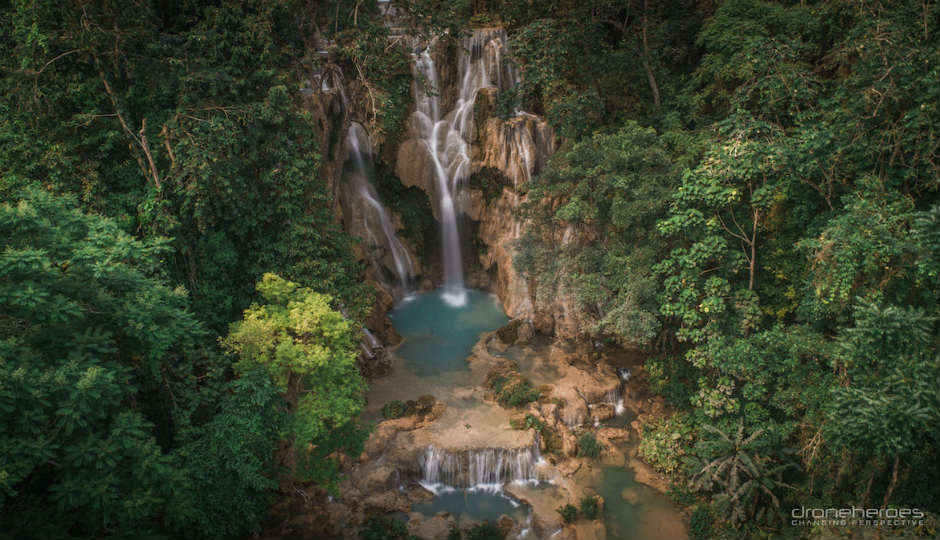
Filters are vitally important. We’re not talking Instagram filters here, but neutral density (ND) and polarizers. As a photographer, you can easily tweak the shutter time, aperture and ISO values to your needs, but each tweak also comes with side-effects. When shooting a waterfall on a bright day, you may want to opt for a short shutter time and a small aperture to achieve an optimal lighting effect. But this will cause the water to be very sharp, with each drop visible to the eye. A longer shutter time makes the water appear much softer, but may lead to your photo being overexposed.
An ND filter enables you to work more creatively and ensures that the lens captures less light without it affecting the surrounding colors. This in turn allows you to select settings such as shutter time and aperture, according to the ambience and depth of field you want to create in your photo — without being held hostage by an overly clear environment.
4. Mind the light
If you need to finish a job within a tight timeframe, you won’t always have the luxury of working during the “golden hours” — that time of the day when the ambient light is softer and very diffuse, resulting in better pictures. At noon, the light is a lot harsher.
Try to arrange your day around that harsh light, so that you can avoid it. We usually try to have lunch between noon and 2 pm. That way, we can avoid the hard shadows created at this time of the day, especially when you’re working with drones. Drones always cast a shadow in your images.
Only when you can’t avoid shooting around the midday period of the day should you consider using the right filters to soften the effect as much as possible. But at least try to arrange your day so that you don’t have to shoot important images when the sun at its highest.
5. Work the magic in post-production editing
Most of the creative work is done at the post-production editing stage. This is where you can make a difference as a photographer and stand out from the competition. We usually only modify the colors and contrast in our images, without too much additional tweaking.
You can of course decide to go much further. Many photographers and cinematographers add their own touch to the shoot by highlighting specific colors. Don’t feel constrained by the image created by your camera: shooting the picture is only half of the work, at most.
6. Back up your backups
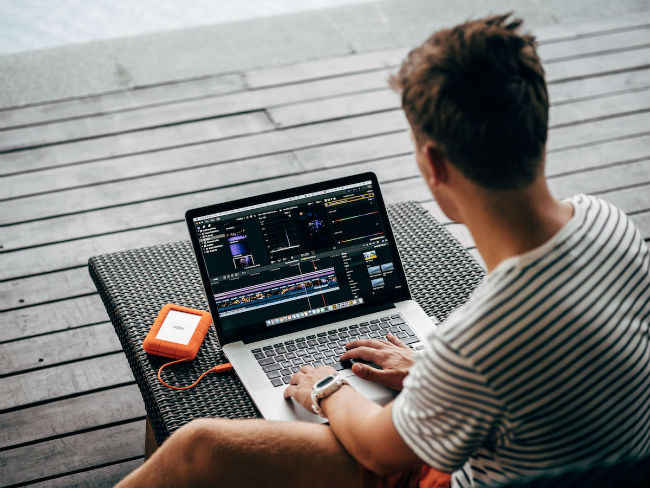
Make sure your work hasn’t been in vain and devise a cast-iron backup strategy. The backup process starts immediately after shooting the images, while still on location. On location, we always use LaCie Rugged drives. These are external hard drives that can withstand even the roughest conditions. We also always carry a 5TB LaCie Rugged and a 1TB LaCie Rugged SSD with us. This allows us to store our critical images in at least two places.
External drives like the Rugged and the new LaCie DJI Copilot ensure extra peace of mind. LaCie drives include the unique Rescue Data Recovery Services — even if your drive fails, you know that the LaCie experts will work to recover all of your images. Additionally, the DJI Copilot acts as a power bank, so you don’t need a laptop on the set to select your images: the app can help you with that.
As soon as we get back in the studio, the backup speed shifts to a higher gear. We copy all images to our LaCie 6big, which contains 48TB of hard drives in total. They are configured in RAID 5, preventing data loss should any of the drives be damaged. We edit the images out of the 6big using the lightning-fast Thunderbolt 3 connection. We then keep all our source images on the 6big, even after a project has been completed. You never know when an archived image may come in handy.
As an additional security measure, we also store the source images on separate 5TB LaCie Rugged disks. These are never deleted and so serve as the ultimate backup. Finally, in our Dutch office we use a NAS to back up our project files.
7. Get organized — before it’s too late
If you shoot a lot of photos, you need to be able to manage a million files. All too often, people only realize the importance of good workflow after they have got lost in their own file structure. That’s why you need to act proactively: organize your shoots as quickly and in as much detail as possible. Which is the best way to organize things? That entirely depends on the type of photographer you are.
For starters, we make a distinction between private images and shoots for a client. Next, we split up the structure for each client and organize based on the location for the shoot. Within each location, we then further divide up each shooting day according to the device being used to produce the images. This means that if the client asks us to, we can very easily retrieve the source material shot by one specific drone on one particular shoot.
[Sponsored Post]


