
Is your game not running smoothly? Feel like you’re playing a PowerPoint presentation instead of a video game? Well, we’ve got some tweaks you can use to improve your gaming experience and the most FPS in just about any game.
It’s not uncommon for older PCs to have trouble running the newer and more graphically intensive titles out there. Worst case, they don’t run at all which is a bummer. In the situations where they do run, it’s so laggy it’s literally unplayable. This is when you jump into the in-game settings and mess around in order to try and get a few more frames.
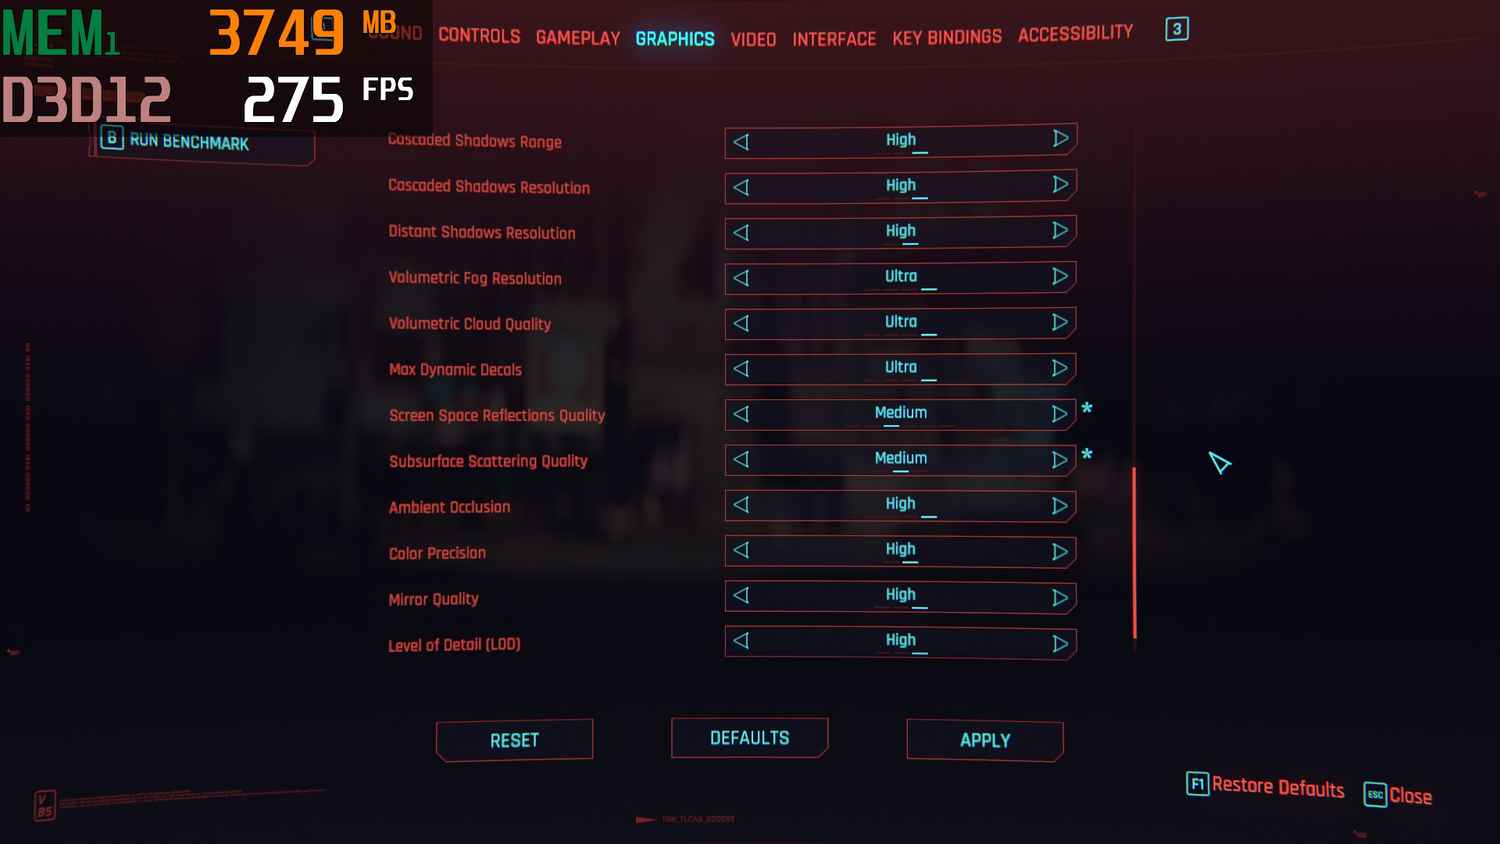
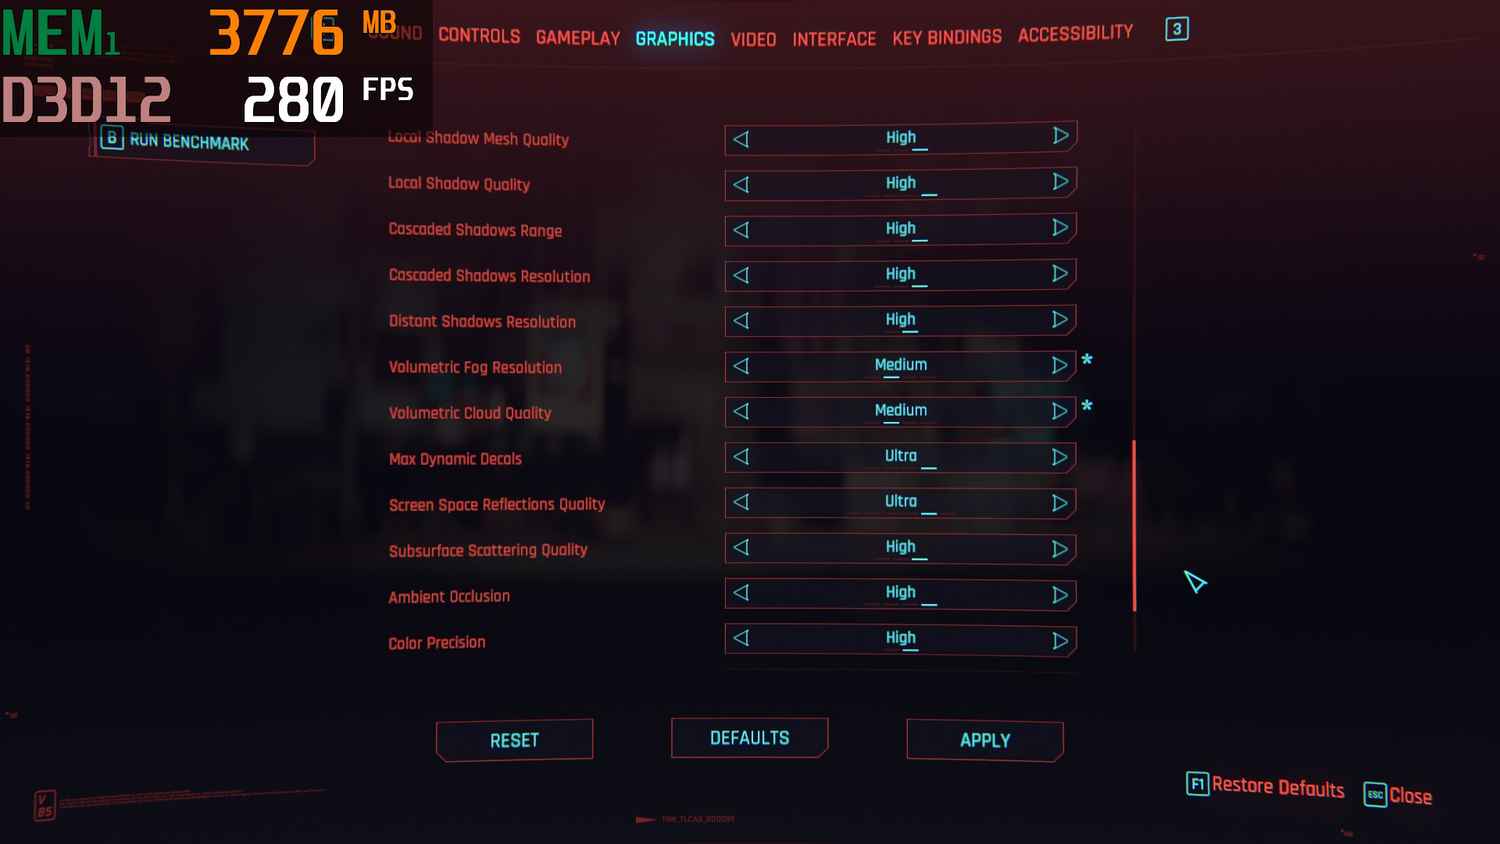
Most games don’t really do a great job of telling you what exactly a setting does or how much it actually impacts game performance. Well, we’re here to change that. In this article, we’re going to break down what each graphics setting actually does, and how much it both impacts performance and overall visuals.
You can get a pretty significant bump in FPS by tweaking the right in-game settings. Plus, when it comes to in-game graphics settings, most games are built the same meaning all of these tricks will work on pretty much EVERY game out there!
Before we get started, we tried all of these methods on an Alienware X14 which features an NVIDIA RTX 3050 Ti with 8 GB of VRAM. Not an older system or GPU by any means, but the changes will work with any system regardless.
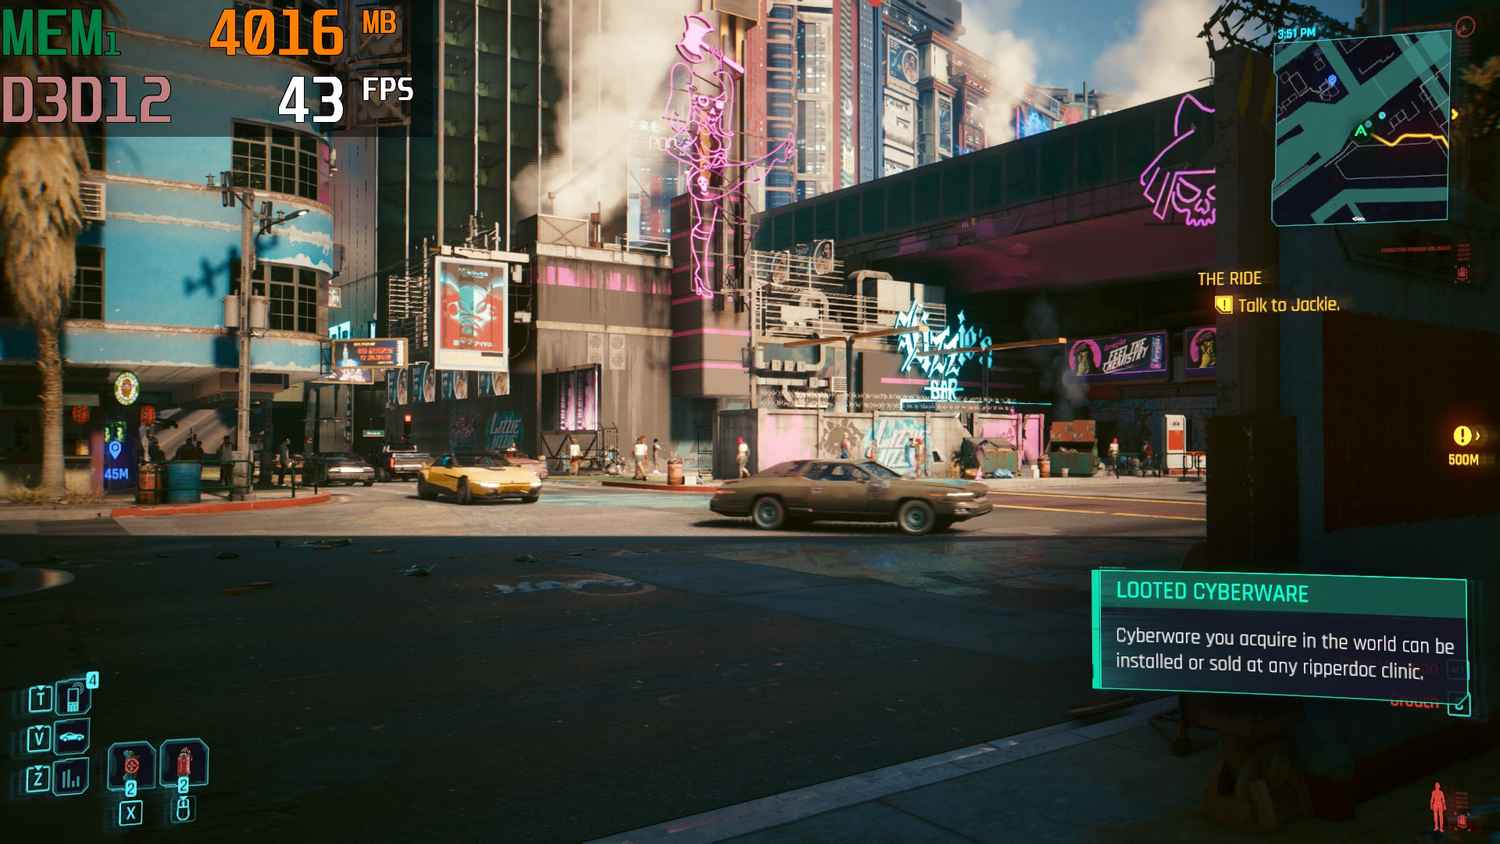
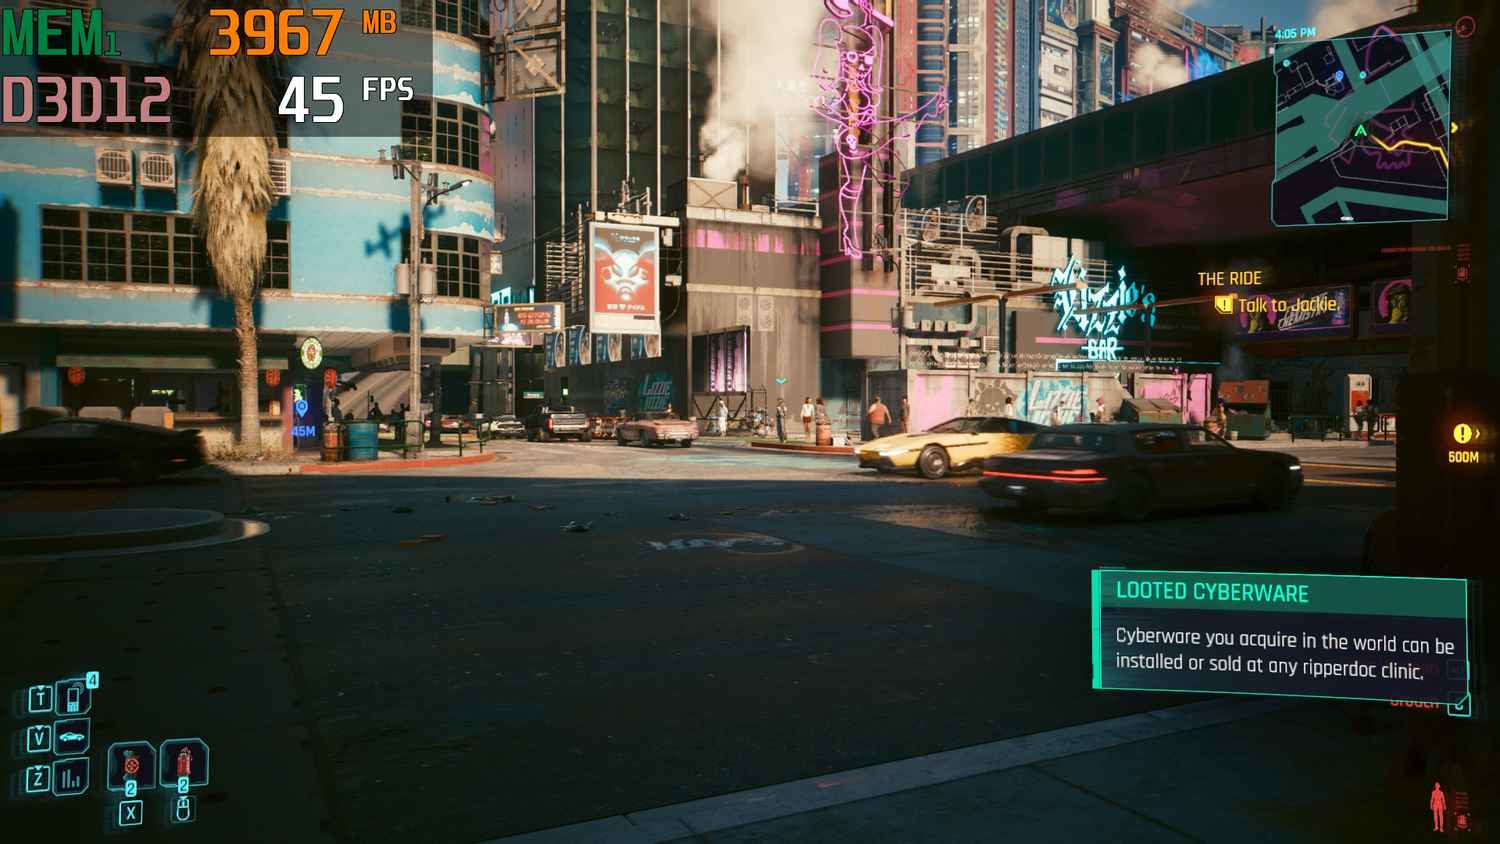
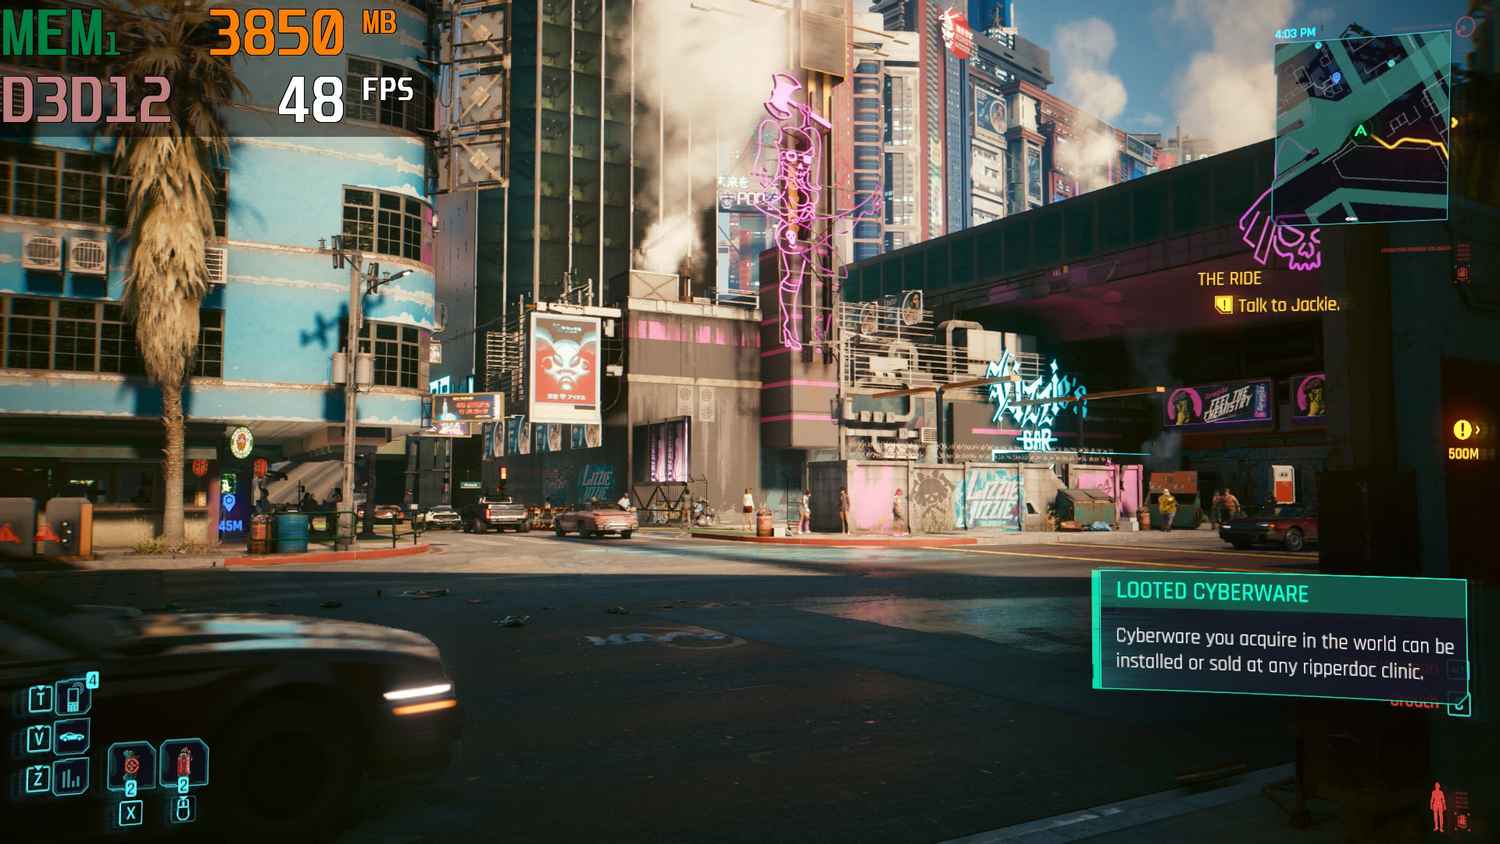
We started off at the Ultra Preset in-game, and as you can see above, we’re sitting at around 43 FPS.
With that out of the way, let’s get started!
Resolution – easiest FPS gains
Resolution is probably the most important setting that can get you the most FPS from your game. The resolution is basically the number of pixels being rendered on the screen. The higher the resolution, the more the number of pixels being generated. Dropping your resolution is a surefire way of getting more FPS from your game. However, the impact on your visuals is also huge. At lower resolutions, everything starts looking blurry due to the lack of detail. Backgrounds, menu text, characters, everything starts looking like you might need a pair of prescription glasses even though your eyes are probably fine.
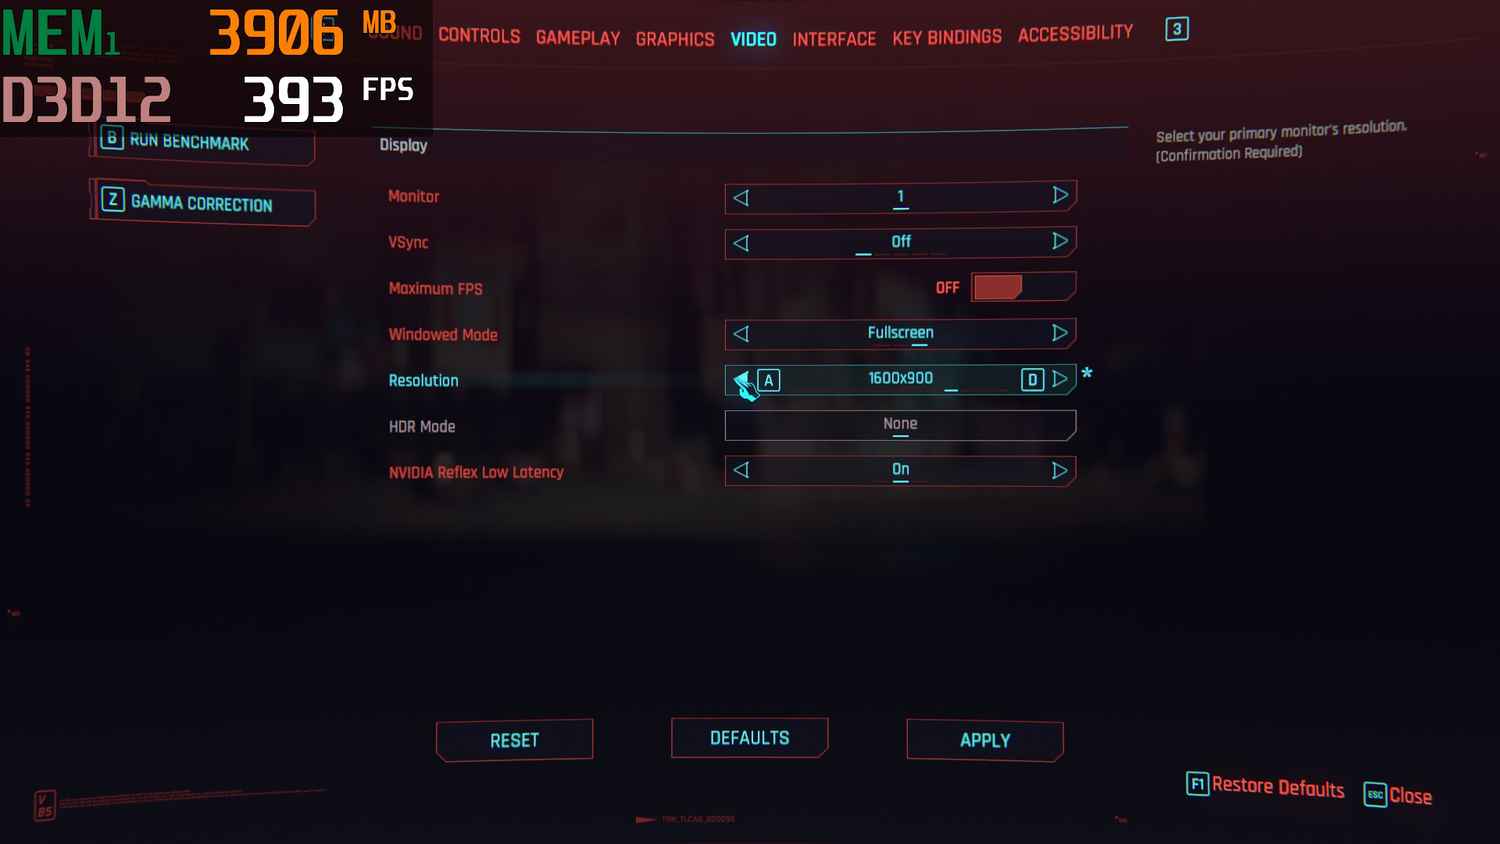
Ideally, you want to keep a game at the native resolution of your display. Meaning if you have a 1920 x 1080 screen, you ideally want the game running on the same resolution. However, if you have to drop your resolution, try and find a middle ground where you don’t lose out too much on detail. Something like 1600 x 900 might still look tolerable while giving you a bump in FPS numbers.
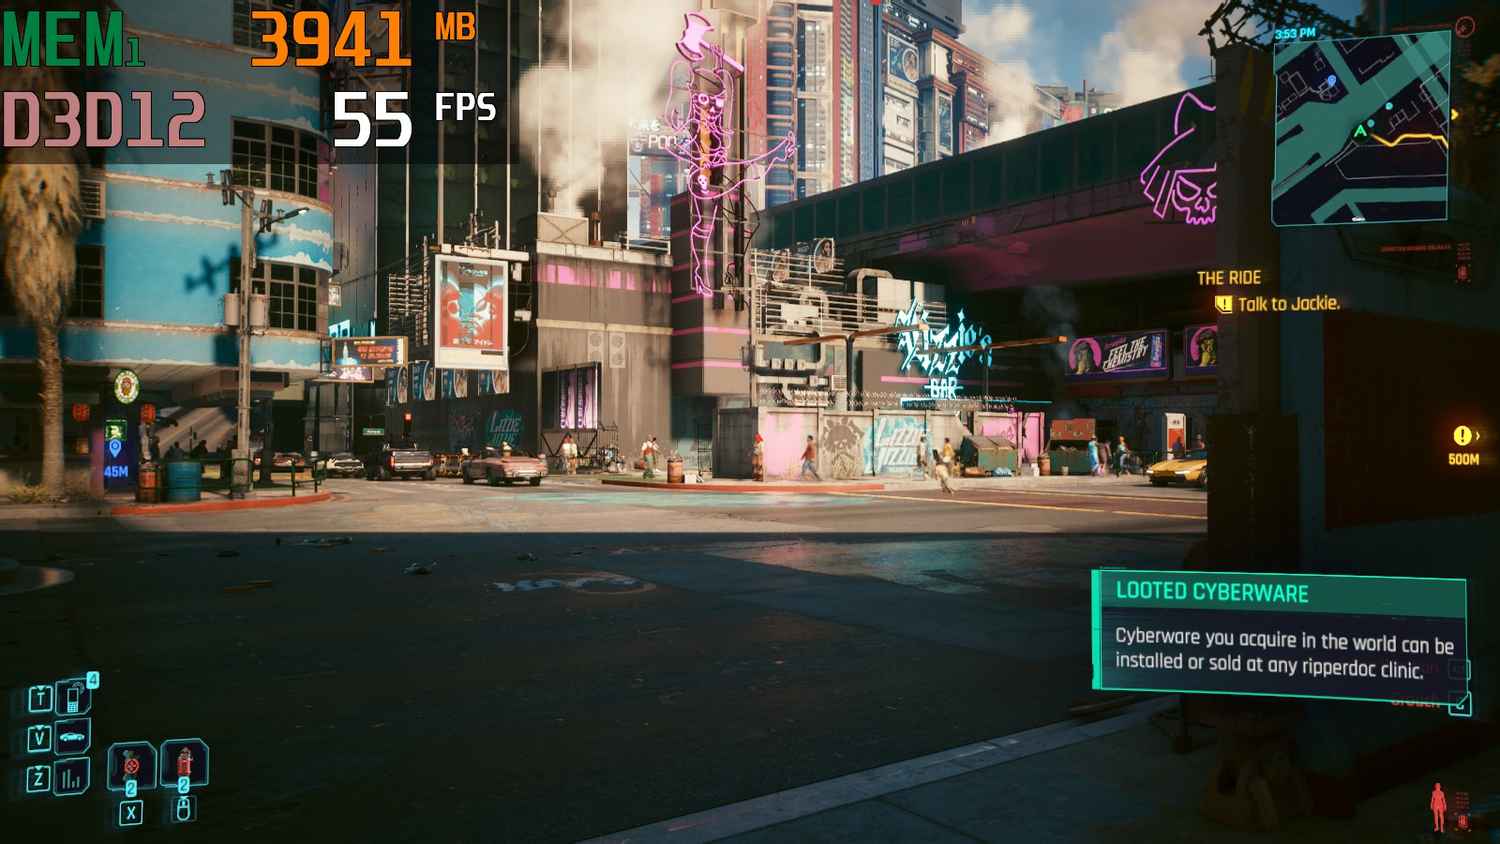
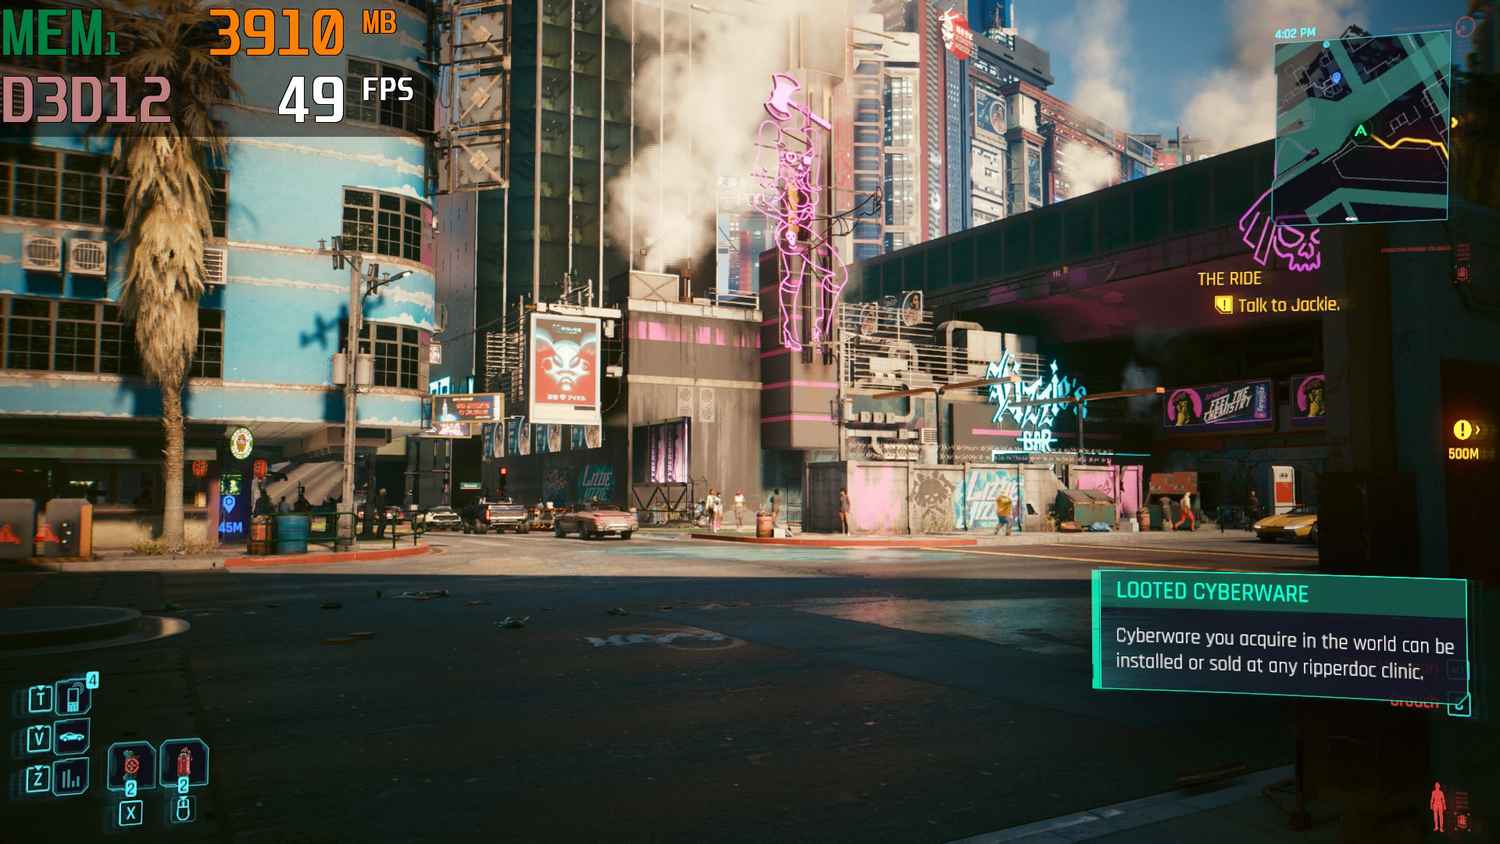
As you can see, dropping our resolution from 1080p to 900p in Cyberpunk 2077 shot us up from 43 FPS to 55 FPS which is pretty significant on its own.
DLSS and FSR (and RSR) – technology to the rescue
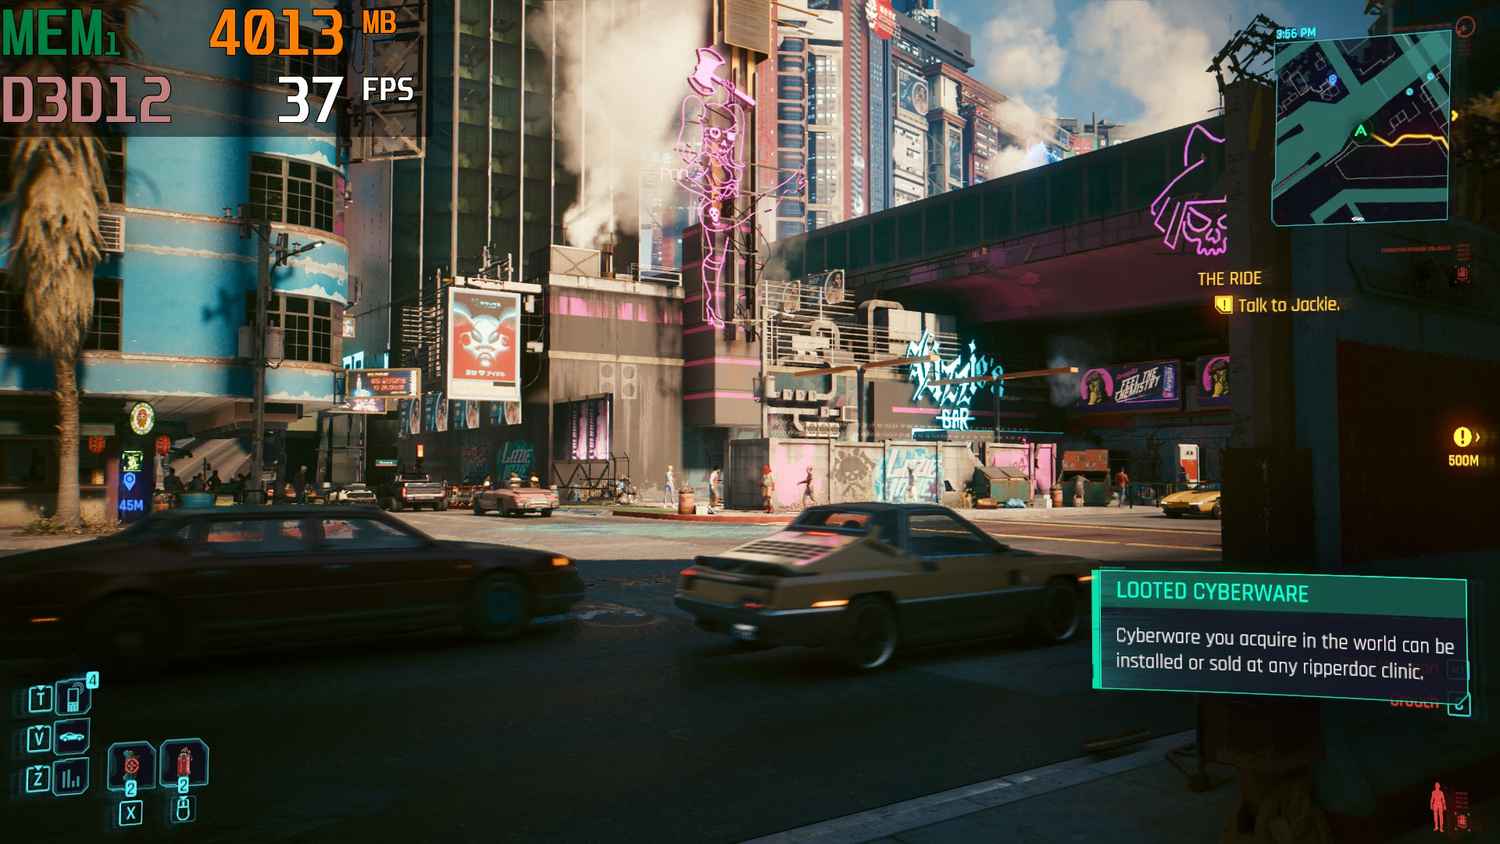
The Ultra Preset has FSR on by default, the above FPS is what you get if you turn if off entirely.
Upscaling, or is it downscaling? Both? What exactly does DLSS or FSR do? Basically, Deep Learning Super Sampling (NVIDIA DLSS), or AMD FX Super Resolution (FSR), makes the game render at a lower resolution and then uses AI to artificially upscale the visuals. While it may not be as much as a straight drop in resolution, upscaling can give you massive gains in the FPS department. It’s like you’re playing the game at a lower resolution without the drawbacks. Of course, there is still loss of detail, but it’s much less noticeable.
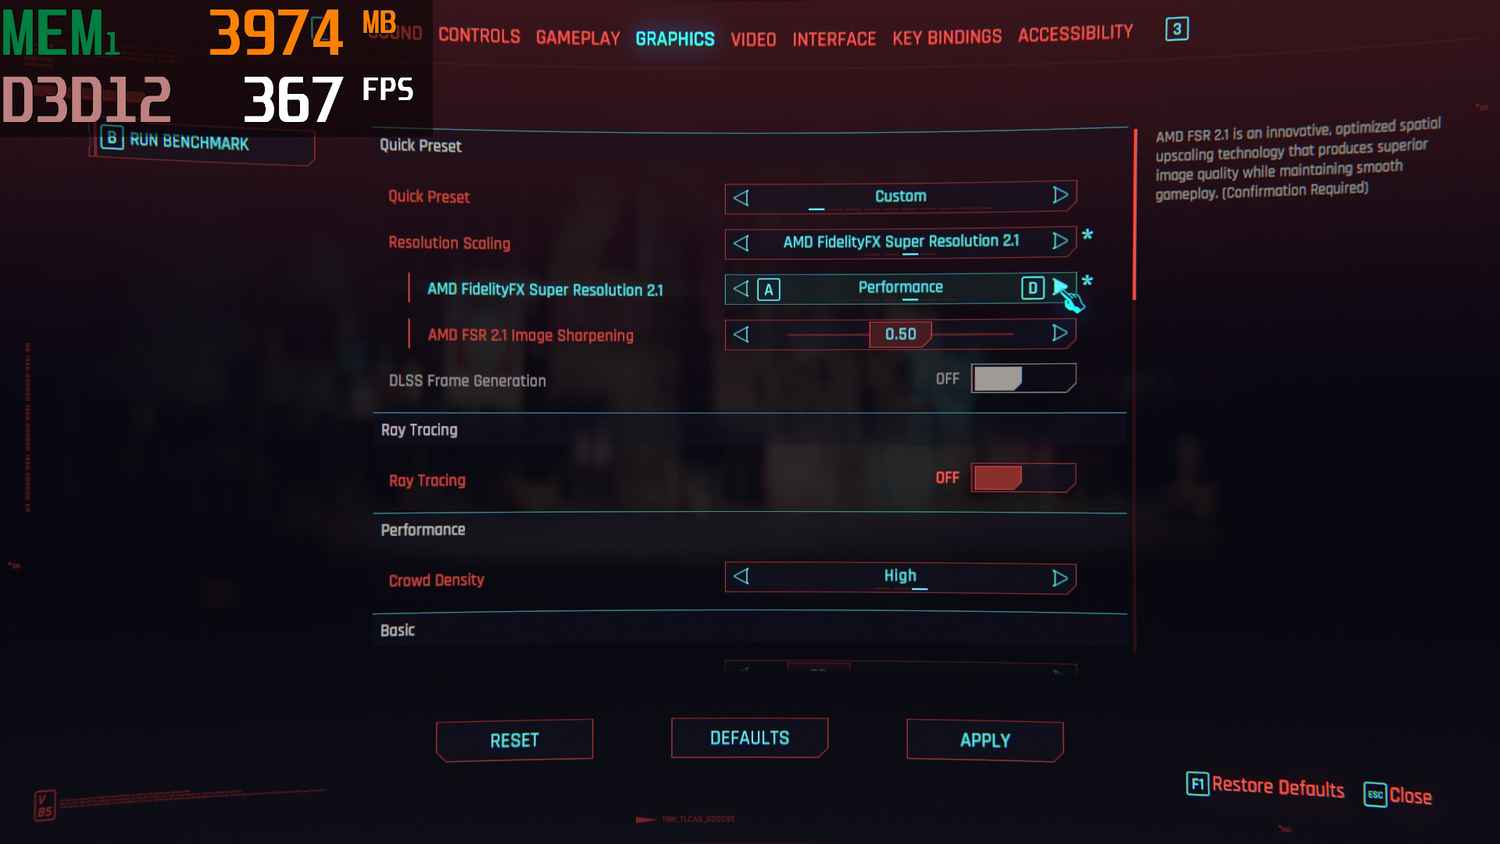
Note that these features can be limited to certain hardware. DLSS for example requires an NVIDIA RTX GPU, but AMD’s FSR doesn’t have this restriction and instead depends on whether or not a game supports it. There is, however, an alternative for AMD called RSR, or AMD Radeon Super Resolution, which only needs you to have an AMD driver that supports RSR. This allows you to use resolution scaling regardless of whether a game supports it or not. This can certainly help with FPS -especially for games that don’t have support for it – but note that it isn’t as effective as FSR.

As you can see above, simply moving from Quality to Performance in FSR, we get equivalent, if not better, FPS gains than actually turning down the resolution, taking us from 43 FPS to 58 FPS at 1080p.
Frame Generation – only for the new kids on the block
Frame Generation can lead to massive performance improvements in games you’re playing however, the hardware limitations are a lot stricter. For NVIDIA, you need to have an RTX 40 series or higher GPU in order to use Frame Generation. Meanwhile, for AMD’s Fluid Motion Frames, you need to have an RX 6000 series or higher GPU in order to use it.
If you happen to have the hardware to utilise frame generation, the FPS gains you can get out of it is massive. While supersampling or super resolution use AI to upscale lower resolution visuals, frame generation uses AI to generate entirely new frames. These filler frames then “fill in the gaps” giving a massive boost to FPS numbers. We’re talking close to 50 percent or more! Of course, that kind of calculation requires more powerful hardware, hence the hard limitation on which GPUs can use the feature.
Texture Quality
Simply put, texture quality determines the resolution at which the textures render in-game. The higher the resolution of the textures, the higher the quality of details in in-game textures. The interesting thing about texture quality is that it doesn’t have a big impact on performance, but there’s a caveat. It depends on your VRAM. If you find that a higher texture quality is using up most of your VRAM, dropping it can improve performance. On the flip-side, if you have VRAM to spare, you can bump this up with a minimal drop in performance.
Level of Detail (LOD)
Level of Detail or LOD is another setting you might see in some games. Very simply put, this setting determines the level of detail or complexity of 3D models depending on how near or far you are from them. Another term used frequently is Draw Distance. Basically, games automatically drop the resolution of models that are further away to save on resources and keep performance high. Reducing LOD reduces the distance at which objects start to lower in quality. This does however help improve performance.
Weirdly, in the case of Cyberpunk 2077, this seems to make little to no difference, but should still give you some FPS in less optimised titles.
Texture Filtering (Anisotropic filtering)
With LOD we’ve established that games focus resources on objects that are closest to you. Meaning there’s a visible drop off in quality as things move farther away from you. Texture filtering helps make this transition smoother and less noticeable. You have Bilinear, Trilinear and several levels of Anisotropic Filtering. Basically, each stage of Anisotropic Filtering, be it 4x, 8x and so on adds additional layers to the transition to make it less noticeable as you move away from objects. This is another setting that you can safely keep on at max as it has very little impact on overall performance while helping improve overall visuals.
Anti-Aliasing
We’ve established that everything you see on your screen is a bunch of pixels put together. Pixels are well, square shaped. This can be a problem when rendering curved or diagonal lines. This could be anything from the outline of plants, to buildings, wires, ropes, you get the idea. They end up looking jagged and ugly in-game. What anti-aliasing does is smoothen out the edges by adding pixels to the edges. Surprisingly, this doesn’t impact performance as much as you might think, especially if you pick the right anti-aliasing for you. You’ve got several types to choose from, starting with FXAA, to TAA and finally MSAA/SMAA in order of quality.
Shadows – throwing your FPS in the shade
This is a big one. Rendering shadows takes up a lot of resources. One of the first things you should drop if you’re struggling with FPS is the shadows. One thing we’ve consistently noticed with many games is that even at low or medium shadow quality they don’t look too different from high or ultra quality shadows. Of course, if you’re playing at higher resolutions like QHD or even UHD then the difference is a lot more noticeable. But if you have a system that can game at those resolutions what are you doing here?
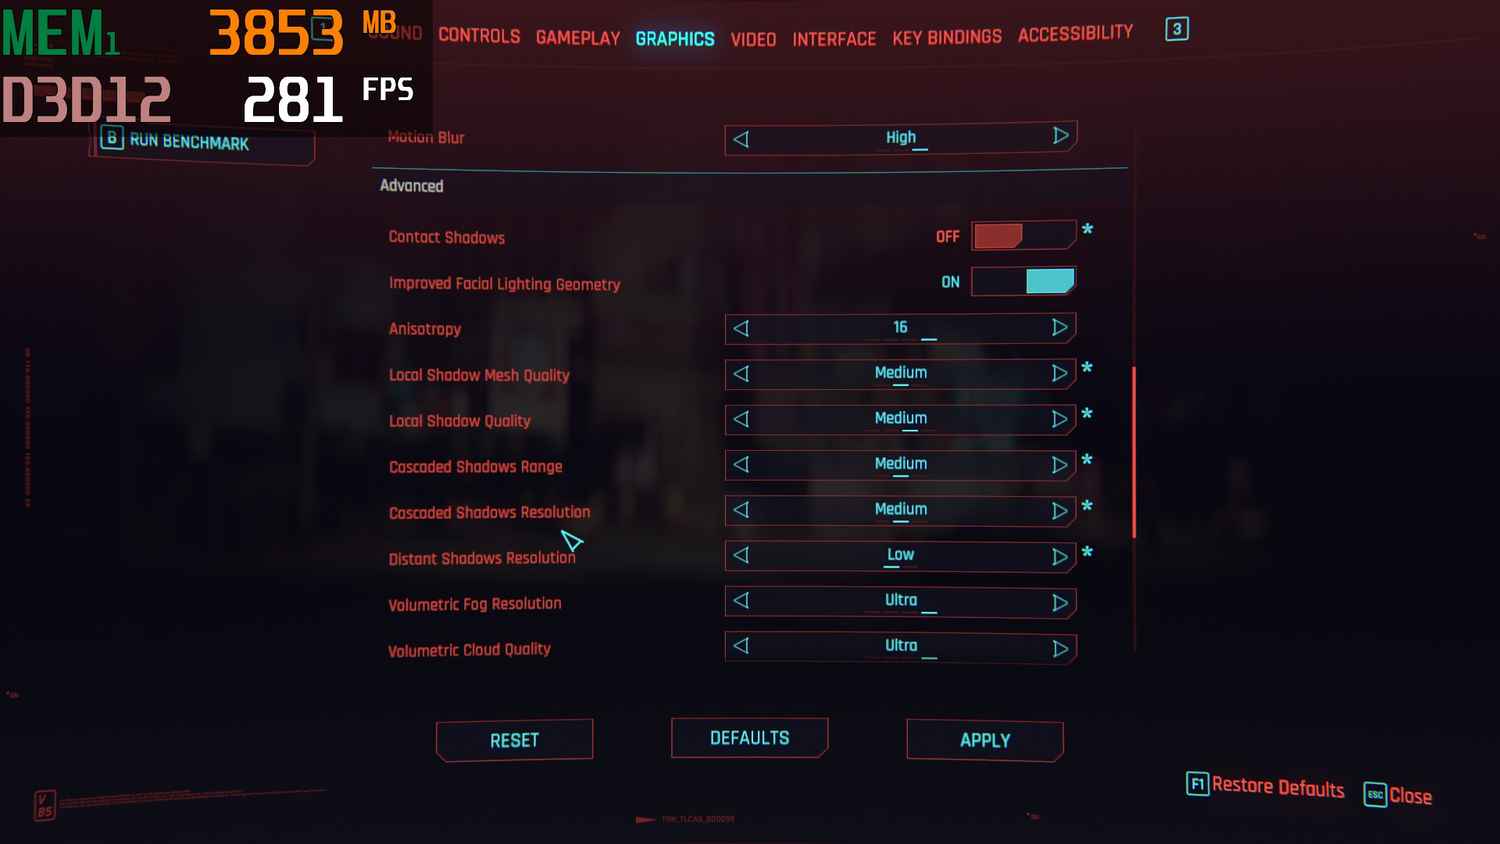
Jokes aside, keeping shadows low will definitely help you get more FPS out of your game. Turning them off entirely will net you even more FPS, but keep in mind that games can look pretty bad with shadows turned completely off. But hey, you gotta do what you gotta do, right?
Simply going from High to Medium shadows in Cyberpunk 2077 bumped us up from 43 FPS to 49 FPS. Taking the shadows down further to Low will net you even more FPS.
Ambient Occlusion
Ambient Occlusion is an interesting setting that artificially simulates shadows for in-game objects. This definitely helps when it comes to in-game immersion. The shadows created by Ambient Occlusion aren’t the same as the shadows being rendered in the setting we just spoke about above, hence a different setting entirely. Here you have two main options, SSAO – which is Screen Space Ambient Occlusion, and HBAO – Horizon Based Ambient Occlusion. SSAO is fairly lightweight and calculates shadows based on two factors. How close to the camera objects are, and the proximity between objects. If two objects are close together, SSAO will artificially simulate shadows on each of them. HBAO uses the depth of objects instead of the literal distance between them or the camera. This looks a lot more realistic but at the cost of more FPS. There’s also HBAO+ which is just HBAO but better. Here, opt for SSAO if you want minimal FPS loss, or turn it off entirely.
Modern games like Cyberpunk only use HBAO or HBAO+ for Ambient Occlusion. As such, the impact to FPS is around 2-3 FPS, taking us up from 43 FPS to 45 FPS. Might seem like less, but everything together does add up.
Reflections – double the work, half the FPS
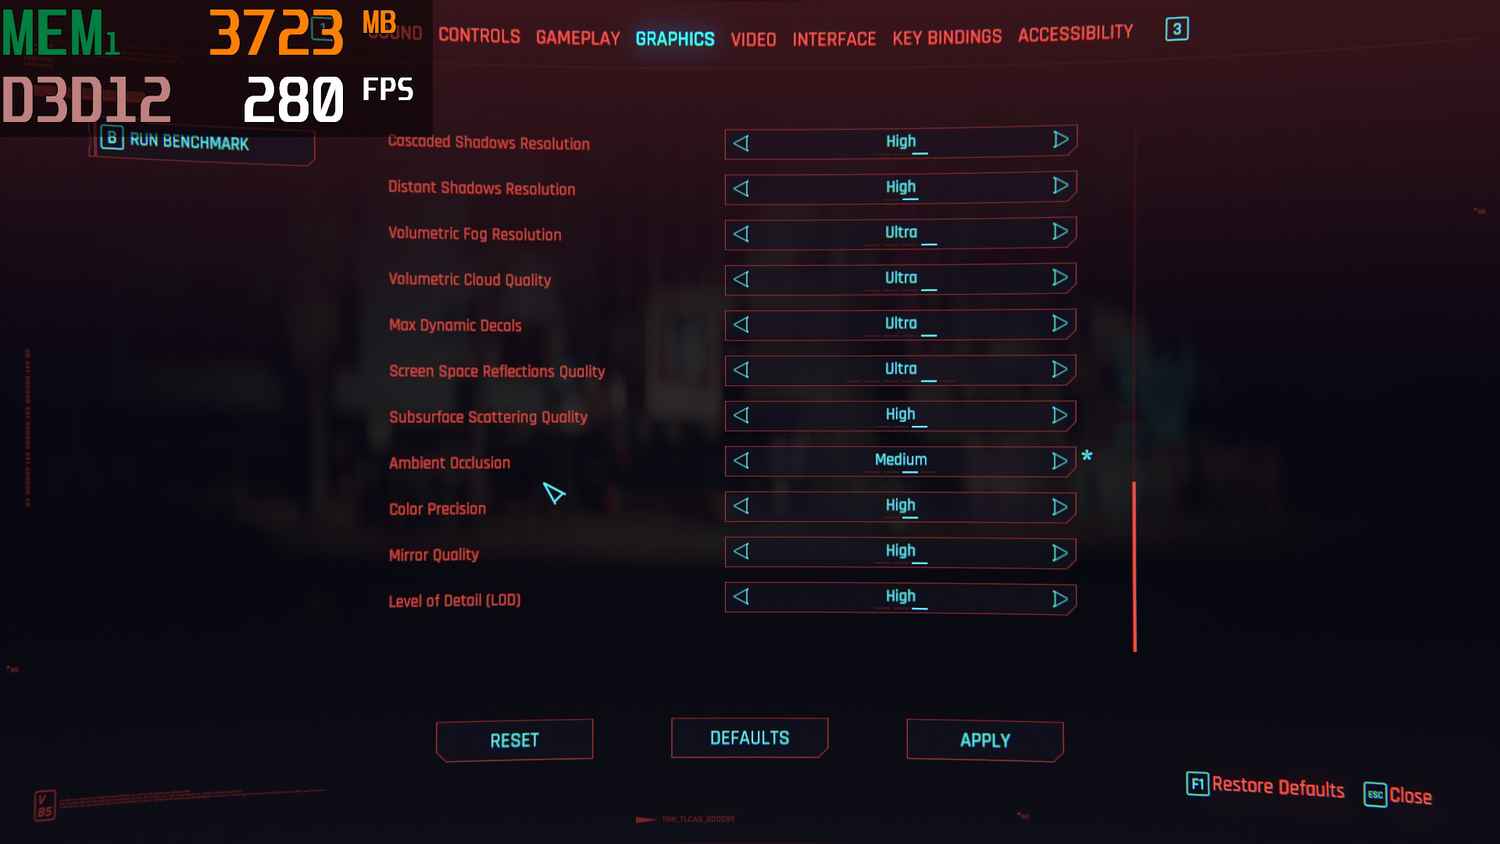
This is non-raytraced reflections FYI. Same with shadows in case we didn’t mention it there. There are two main ways of doing reflections outside of ray tracing. The first and more lightweight option is a reflection map. Basically, a pre-rendered map of the area that’s reflected on the surface of the water. However, if you stop to pay attention, you’ll notice that the reflection is inconsistent with what it’s actually reflecting; a lot of things won’t line up. The other more accurate option is screen-space reflections. Here, the objects are literally rendered again in the reflection. You’re essentially rendering the same thing twice, mirrored. You can understand why this would be a lot more demanding. In most cases you won’t even notice the difference between a reflection map and screen-space reflections, especially if you’re hunting for whatever frames you can get from your game. Keep reflections off for the most gains.
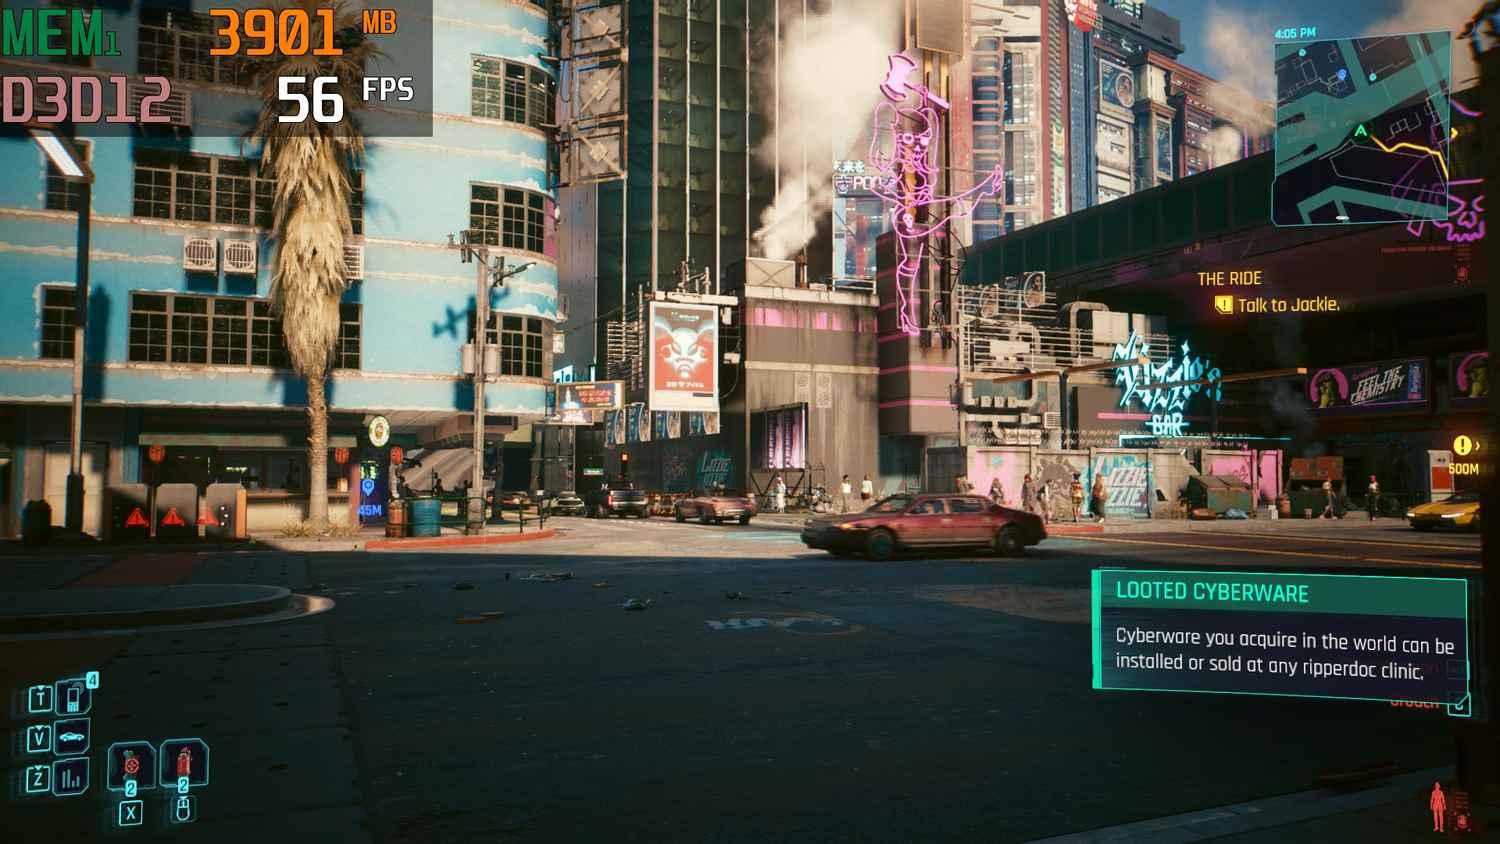
Games like Cyberpunk 2077 only use Screen-Space Reflections. This will be the case with most modern AAA titles. While it’s not as intensive as raytracing, it’s still pretty resource heavy. You can see above that just adjusting the settings to medium gave us a massive FPS boost from 43 FPS to 56 FPS.
Volumetric Lighting and Effects – Don’t fog up your FPS
This is what allows you to see God rays in-game (you know those beams of light shining through curtains or tree canopies, with dust particles floating in them) among other things. The effects that fog, clouds and mist have and how they dissipate light that passes through them, all of that falls under volumetric lighting. On its own volumetric lighting isn’t too graphically intensive, but when it ties into other lighting settings it can impact performance. For more FPS you want to turn it down or keep it off entirely.
There are a lot of volumetric effects in Cyberpunk 2077. Turning all of these down to medium nets us around 5 FPS. Putting them off entirely, like we mentioned above, will gain a lot more FPS, but keep in mind that for games like Cyberpunk 2077 it’ll really hamper your overall visual experience.
Effects – FPS vs shiny sparkly particles
Screen effects are usually very lightweight with little to no impact on performance. These range from water drops on the screen when it’s raining in-game, or film grain which adds some noise to the scene, chromatic aberration which adds a distorted colour outline, bloom which adds a glow to light sources and lens flare which well, adds a camera lens flare, among other things. The hit to FPS is minimal with most of these effects and more subject to personal preference.
Field of View
A pretty straightforward setting that increases or decreases your Field of View. In most games, this has a negligible effect on FPS. This is because the amount of data being processed remains the same. The game is simply stretching or squishing what you were already seeing. In games where the FoV actually requires additional resources to render more information, you will notice a drop in FPS.
Depth of Field
A setting that applies a focus effect, where the edges of your screen get blurred out, while the centre appears crisp. If you’ve ever watched a phone review, then you might have come across the word – BOKEH. Preference for DoF is subjective, but most of us prefer it off, and you want to keep it off for better FPS anyway.
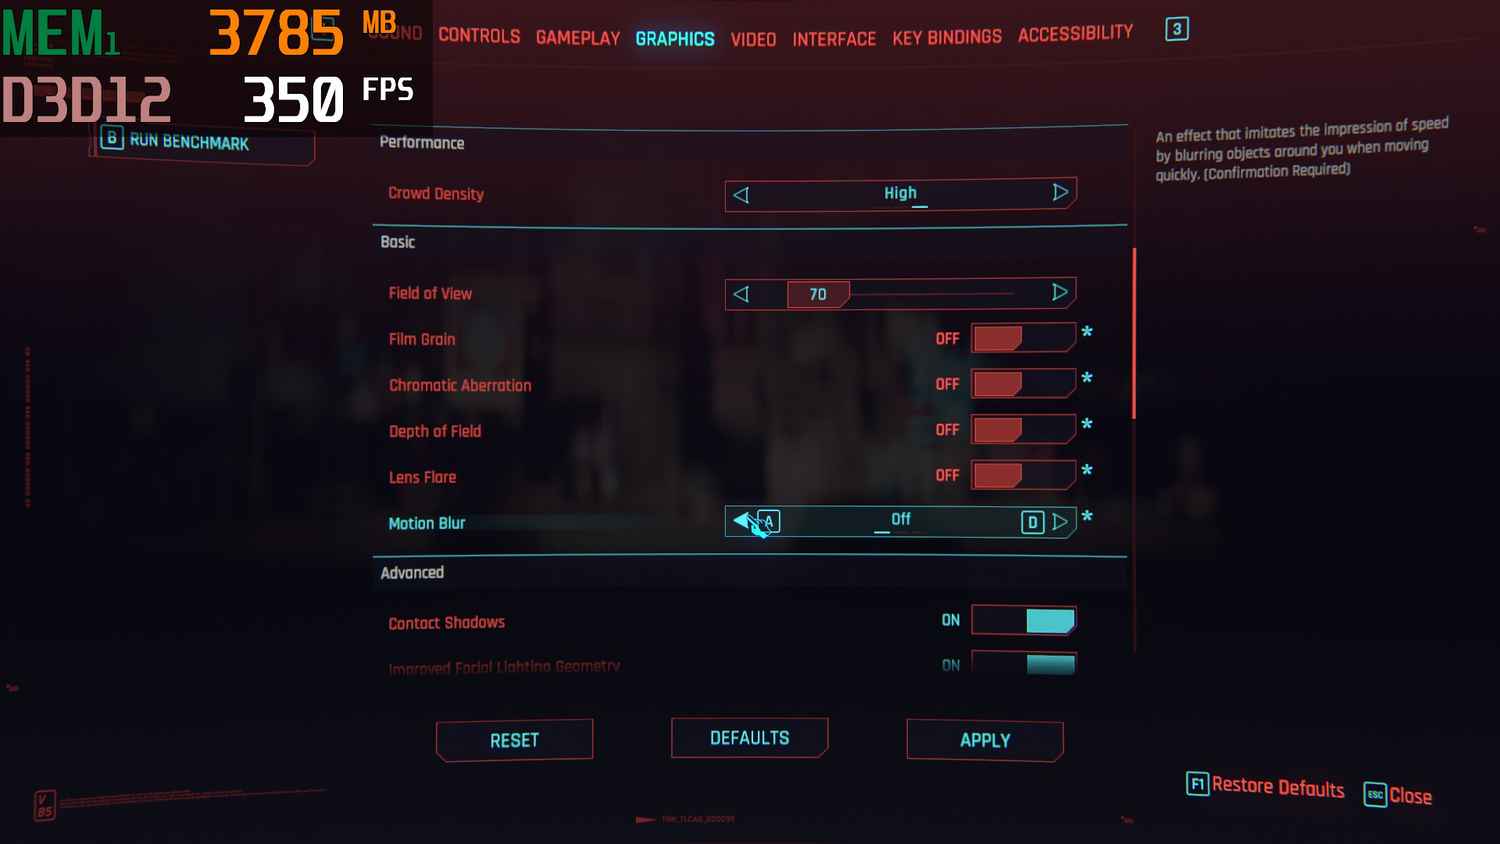
Motion Blur – motion sickness, the setting
A hotly debated setting. We most frequently see this in racing games, where your surroundings blur out when you’re moving. In action games this can get jarring if you’re in a fast-paced action or combat sequence. Most people prefer to keep motion blur off, and you probably want to keep it off if you want to improve your FPS anyway.

While testing, everything other than Depth of Field and Motion Blur gave us at most 1 FPS. Turning off Depth of Field and Motion Blur however net us another 2 FPS. For a combined 3 FPS it’s not a very big sacrifice to make.
Tessellation – old school FPS sink
Tessellation is an older technology that can have a pretty significant effect on performance. Game textures are usually drawn flat. Tessellation layers these flat textures to create a more realistic 3D texture by adding depth. Things like large boulders and tree trunks would look more realistic with tessellation turned on. However, this is a rather demanding process, which could get you a lot more FPS if turned off. Modern games have moved away from tessellation to technologies such as Unreal Engine 5’s Nanite Virtualized Geometry. These are capable of significantly improving the quality of meshes (the layers which provide depth to textures) while being a lot less resource intensive. These are inherently active and don’t have a toggle in the settings.
V-Sync – not quite for FPS but still
This isn’t necessarily a setting that improves performance, but it’s worth pointing out. V-Sync is a feature that most people see as a bad thing. Why should I keep V-Sync on? I want to see the big FPS numbers! Thing is, no matter how much – or how little – FPS your game gives you, it’s limited by your display’s refresh rate. If you’re using a basic monitor, chances are it has a maximum refresh rate of 60 or 75 Hz. If your game’s FPS doesn’t match your refresh rate, you’re going to experience something called screen tearing. This is where a new scene doesn’t fully render over the old one causing a mismatch. Visually this looks like a line on the screen where the textures aren’t aligned. When V-Sync is turned on it forces the game to run at the display’s native refresh rate. Most modern gaming laptops and monitors have much higher native refresh rate, such as 120 Hz or 144 Hz, so you’re much better off keeping V-Sync on, even if you can get better FPS numbers. Some displays also come with adaptive refresh rates such as AMD FreeSync or NVIDIA G-SYNC, in which case it’s okay to keep V-Sync off and opt for these instead.
There are a few settings that we haven’t covered in this article, like ray tracing for example, which warrant entire articles of their own. That said, we should have covered most common settings that you might encounter when tweaking graphics settings in a game, and hopefully you also now have a good idea of which settings to prioritise in order to get the most FPS out of your game. If this was interesting be sure to let us know and we’ll get on making more such guides in the future.
Manish Rajesh
Manish can usually be found fervently playing video games of all kinds or… no wait he’s pretty much always playing games View Full Profile


