How to set up the Fire TV Stick 3rd gen and Fire TV Stick Lite
The Fire TV Stick and the Fire TV Stick Lite were launched in 2020.
The Fire TV Stick (3rd gen) is priced at Rs 3,999 while the Fire TV Stick Lite is priced at Rs 2,999.
Both devices support 1080p output and HDR.
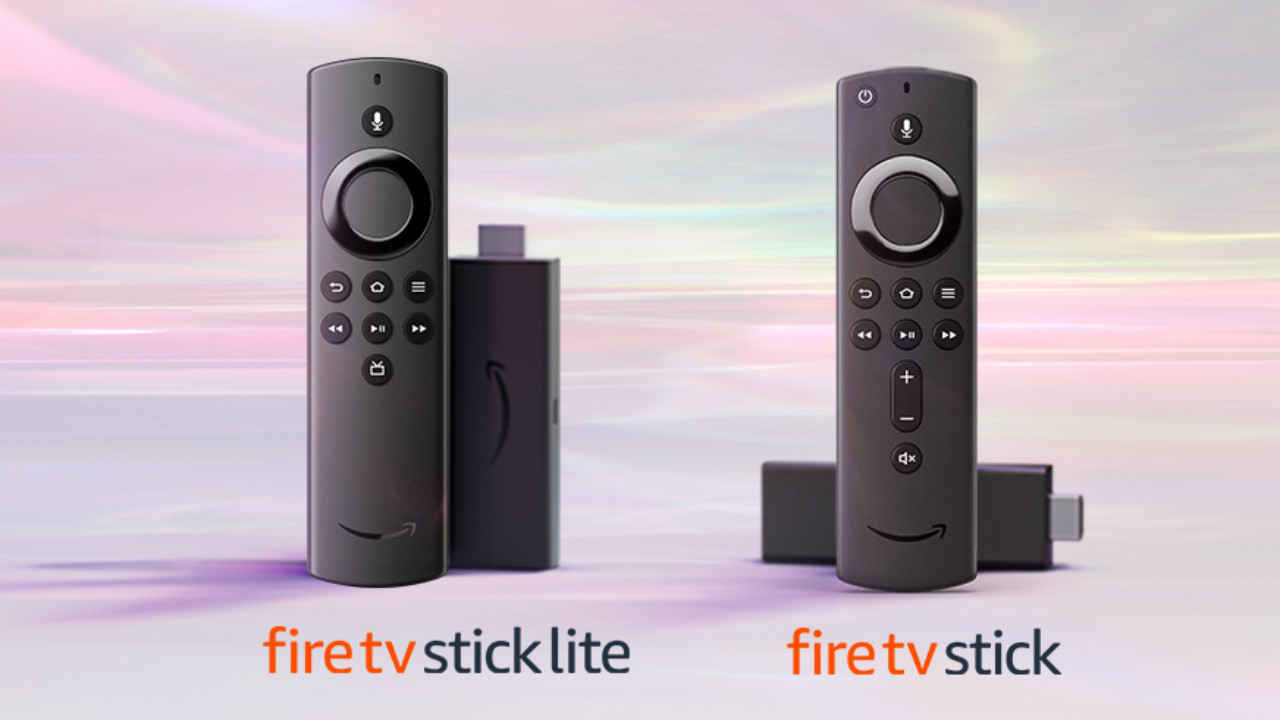
The Fire TV Stick is a great device if you want to turn your old TV into a smart TV or have a smart TV whose features aren’t very smart. A Fire TV can do a lot of things like let you play content from your favourite streaming platform; giving you access to Alexa and can also control your Alexa enabled devices. If you have an Amazon Echo speaker in your house, you can control your Fire TV stick from the Echo speaker too. But before we get into the details of the performance of the Fire TV Stick (let’s save that for the review). Here is a quick and easy step-by-step guide on setting up your new Fire TV Stick. Please note that the setup process for the Fire TV Stick and Fire TV Stick lite is the same except for 1 step, and we will highlight that below.
 Survey
Fire TV Stick and Fire TV Stick Lite: What’s in the box?
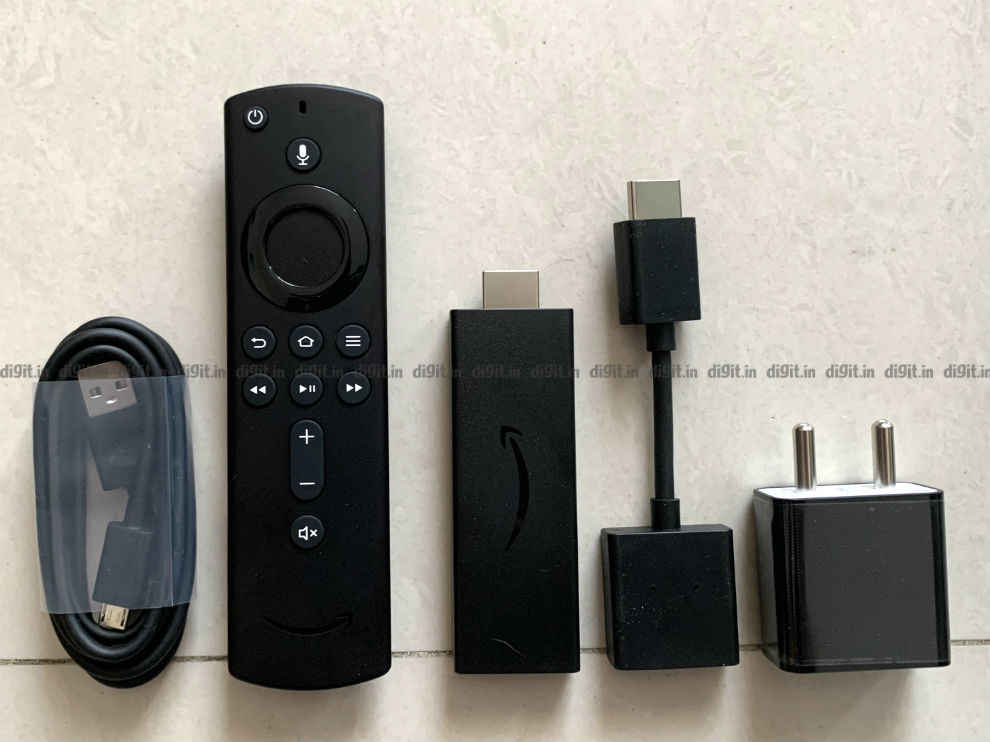
In the box you get the Fire TV Stick device, an Alexa enabled remote control, MicroUSB cable, wall adapter and a pair of AAA batteries. You also get an HDMI extender, which is a must, since the Fire TV stick is thick and can block the other ports on your TV.
How to set up the Fire TV Stick (3rd Gen) and Fire TV Stick Lite,
As mentioned above, the contents of the box and the setup process is pretty much identical for the 2. So here is a step-by-step guide on setting up and making the most of the Fire TV Stick (3rd generation) and Fire TV Stick Lite.
Step 1: Plug it into the wall, please
This may seem like an obvious step, but most people plug the Fire TV Stick into the USB port of the TV for power, instead of the wall. While the device will work this way, it is advisable to plug it into the wall for a more stable experience. This is more stable when updating the Fire TV Stick. Also, chose an HDMI port that’s either separate from the other connectors or in the corner. This way, you should be able to plug the Fire TV Stick alone without the included adapter. There’s nothing wrong with the included adapter, in case you are wondering.
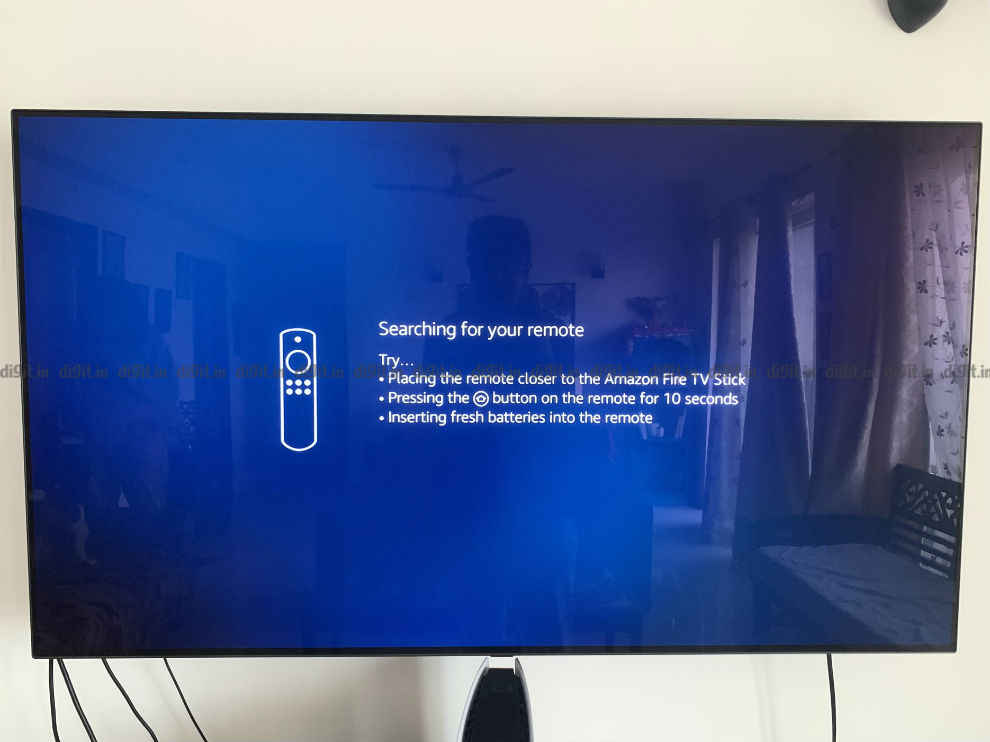
Step 2: Press the home button for 10 seconds
 \
\
Once you have plugged the Fire TV Stick into the TV and the wall, switch on your TV and switch to the HDMI port you have plugged the stick in to. You will be greeted with a message asking you to press the home button for 10 seconds. Doing this pairs the remote with the Fire TV Stick.
Step 3: Connect to Wi-Fi
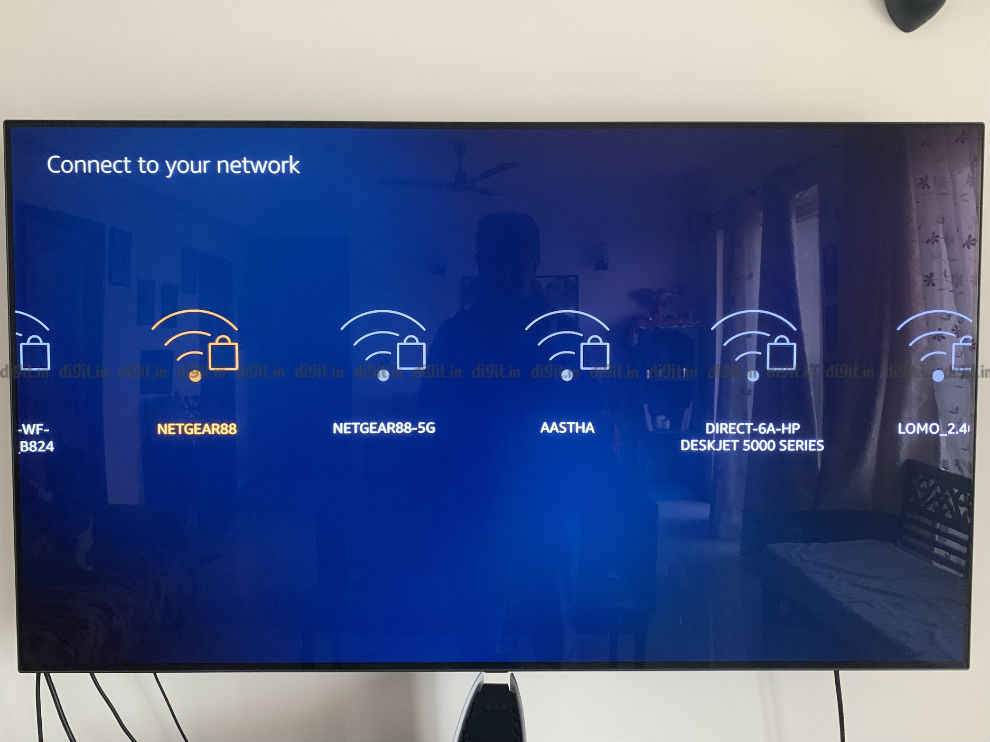
After pairing the remote and selecting your language as English (India) you will need to connect to the Wi-Fi. If you have a dual-band router, we suggest connecting to the 5GHz band as that will offer a more seamless experience. However, note that 5GHz has a shorter range, so if the router is in a different room, you may want to check the signal strength before connecting. Once the Wi-Fi is connected, the Fire TV stick will update. This can take a while if your internet is slow so be patient, maybe grab a cup of coffee and check Twitter while this happens.
Step 4: Log into your Amazon account
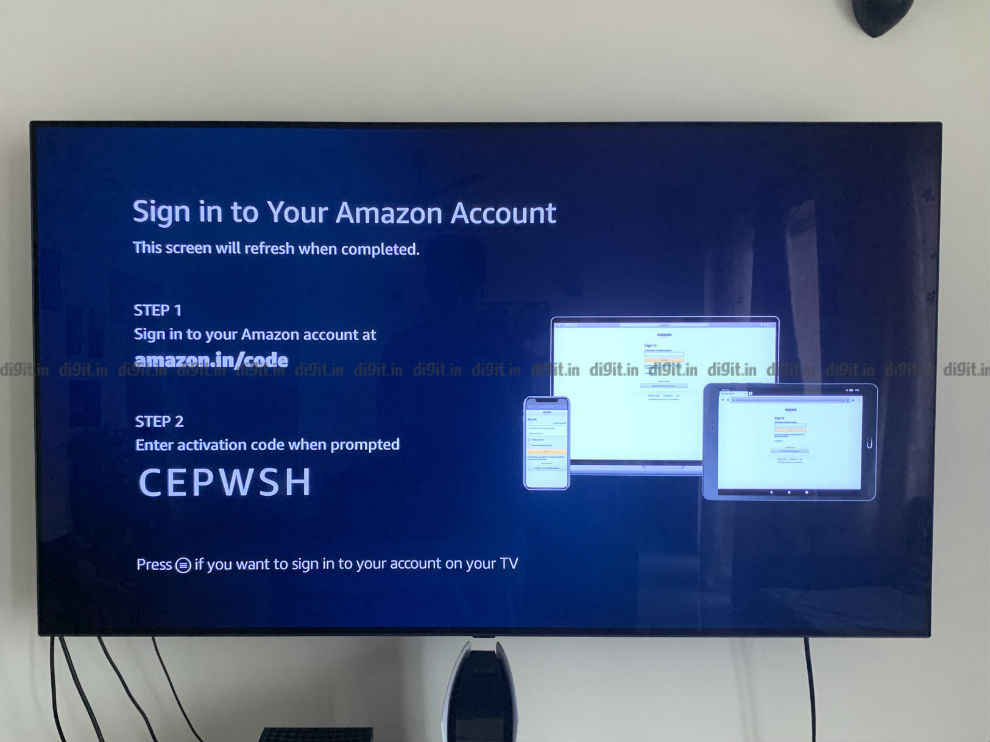
This is pretty simple and straight forward. Open a browser on your smartphone, tablet or computer, and go to amazon.in/code. Enter the code you see on your screen and your account is logged in. After you log in, you will be asked if you would like to enable parental controls or skip.
Step 5: Remote Control
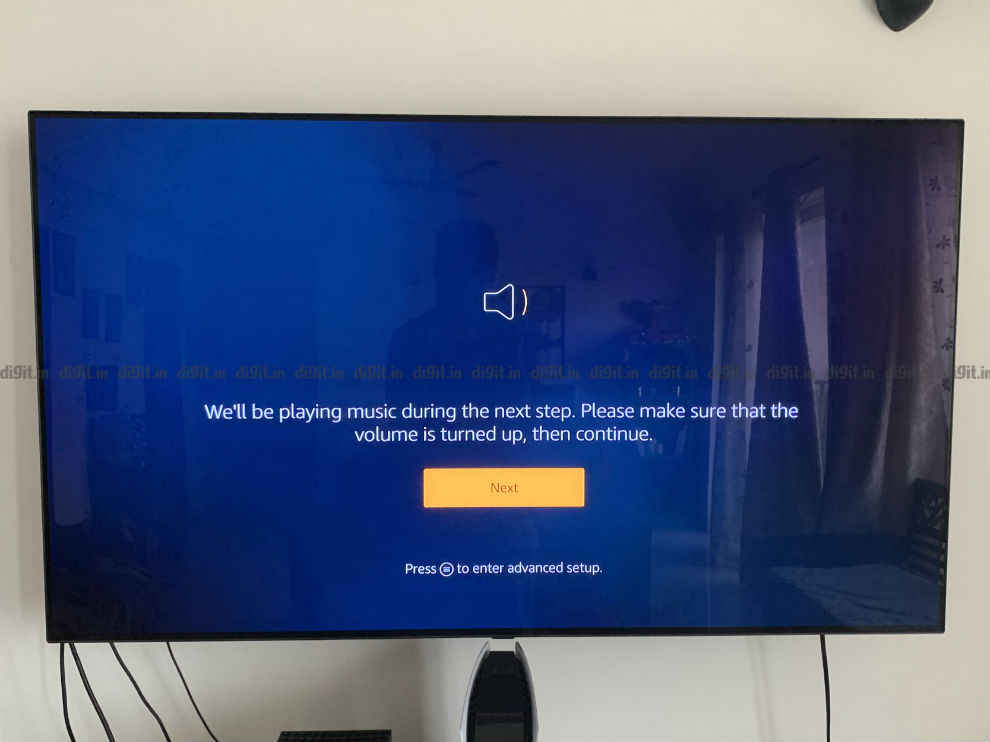
This is where things differ. If you have the Fire TV Stick 3rd gen, it comes with a remote control that has a power button and a volume rocker. A sound will play and you will be asked to control the volume using the Fire TV remote control. If this works, then your remote control is synced with your TV. If it doesn’t, you may be asked to select a brand and model for your TV. One of the advantages of this setup is that the Fire TV can be used to control a soundbar also making the remote control truly universal.
This is the step you will miss if you have the Fire TV Stick Lite as the remote control it comes with lacks the power button and volume rocker.
Step 6: Select the apps
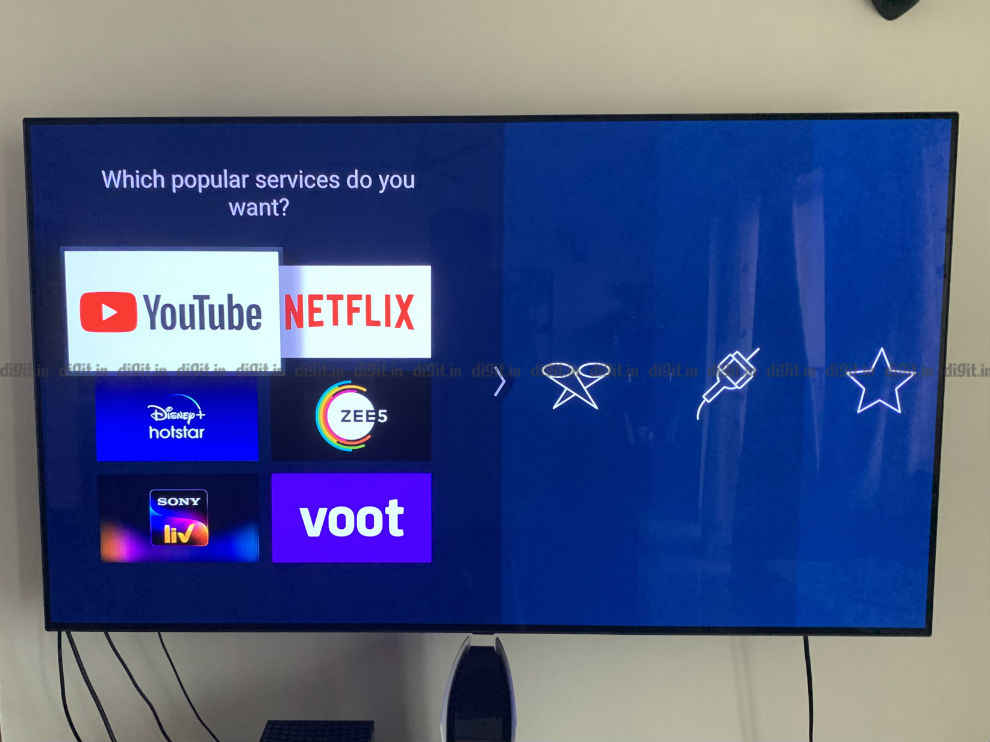
This step will showcase a list of popular apps like Zee5, Netflix, Apple TV, VOOT, and many more which you can choose to download immediately. If your favourite app (like Plex, for example) isn’t here, then worry not. You can always download it later on the device.
Step 7: Monitor Your Data
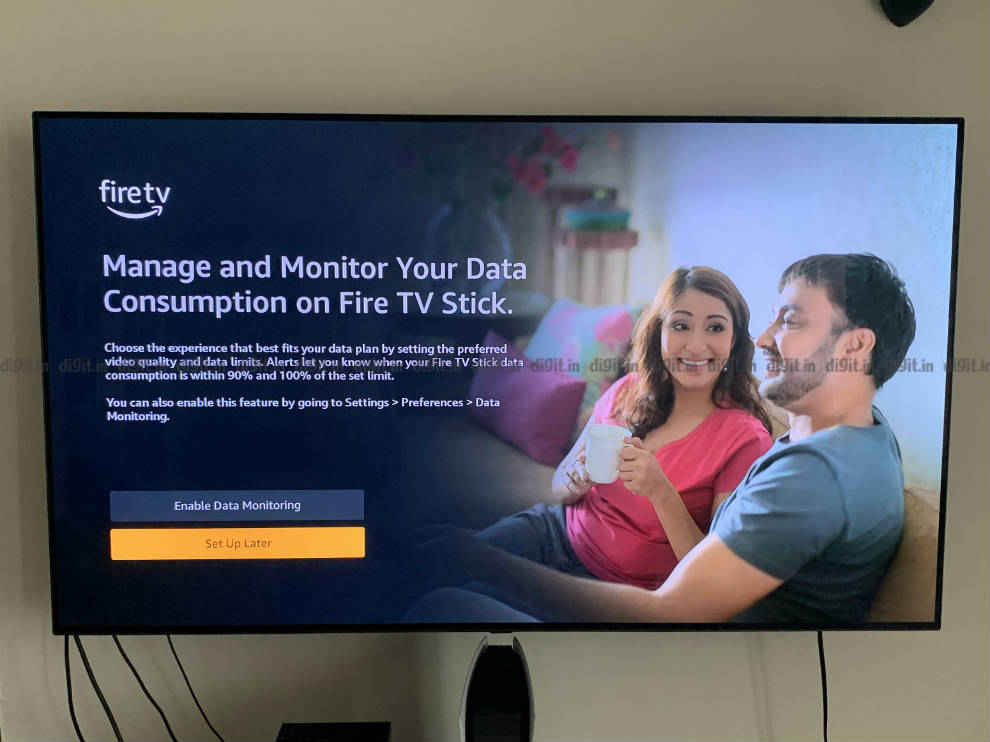
In the next step, you will be asked if you want to enable data monitoring. This is a crucial step for those of you that have a data cap with your broadband connection. In this step, you can not only set the quality of playback (good, better, best) but also set a data limit for the Fire TV Stick. If you like, you can choose to skip this step as well and can revisit it in the Settings menu, later.
Step 8: Make some popcorn
After this, all you need to do is log into the various services you are subscribed to like Netflix, Apple TV, Disney+ Hotstar, etc. and start bingeing.
Sameer Mitha
Sameer Mitha lives for gaming and technology is his muse. When he isn’t busy playing with gadgets or video games he delves into the world of fantasy novels. View Full Profile