

Building a DIY desktop PC is an exciting and rewarding venture. For many, it’s a rite of passage. A DIY PC offers the flexibility to tailor your system to your exact needs and often provides better value for money compared to pre-built systems—provided you avoid marketing gimmicks. Whether you are a novice or a seasoned builder, the process of selecting components can be daunting due to the vast number of choices. This guide will offer a comprehensive overview of key considerations when buying PC components while building a desktop PC across three budgets: entry-level (under ₹50K), mid-range (₹60K-₹120K), and high-end (above ₹120K).
Key things to consider when choosing PC components
Compatibility
Ensuring compatibility between components is essential for a smooth build. This involves making sure your CPU fits the motherboard socket, that your RAM type and speed match the motherboard requirements, and ensuring your power supply is sufficient for all your components. Websites like PCPartPicker can be invaluable in checking compatibility, helping you avoid costly mistakes.
Also, ensure that your case can fit all your components—especially the GPU and cooling solutions, which can be bulky. For example, if you’re opting for a high-end GPU like the NVIDIA RTX 4080, you’ll need a larger case with good airflow.
Value for Money (VFM)
Maximizing value is essential when building a PC, particularly if you’re on a budget. Aim to allocate your budget wisely—spending more on parts like the CPU and GPU, which will impact your performance the most. Storage and RAM are areas where you can find excellent performance without overspending. Look for components that balance cost and performance, rather than the latest and greatest tech with features you might not use.
In the entry-level build, consider AMD Ryzen 5 or Intel i5 processors with integrated graphics to avoid spending extra on a dedicated GPU. The mid-range build should include dedicated GPUs like the NVIDIA RTX 4060, offering great performance without breaking the bank. The high-end build allows for top-tier components like the RTX 4080 and AMD Ryzen 9, but you should still check if high-tier features (such as SLI support or multiple PCIe lanes) are actually necessary for your use case.
Smart Buying Tips and Tricks
- Purpose: Define your use case—gaming, content creation, or general office work. Each has different hardware needs.
- Future-Proofing: Consider buying components that leave room for future upgrades. However, this should not be your primary guide, as technology evolves quickly.
- Second-Hand Components: You can save significantly by purchasing second-hand items like monitors or cooling fans. Always verify their condition.
- Reviews and Research: Always read reviews and performance benchmarks before purchasing. They provide real-world insight into component reliability and performance.
- Warranty: Ensure you get components with solid warranty and after-sales support. Reading forum experiences for specific brands in your country can be helpful.
What to consider when buying a CPU (Central Processing Unit)?
The CPU is the heart of your PC, determining how fast tasks can be processed.
- Entry-Level: A good starting point is the AMD Ryzen 5 4600G or Intel Core i5-12400, both of which offer good performance for general tasks and light gaming. The AMD models include integrated graphics, reducing costs by eliminating the need for a GPU. Budget around ₹10,000-₹12,000 for these processors.
- Mid-Range: The AMD Ryzen 5 5600X and Intel Core i5-12600K are solid options here. These CPUs provide enough power for gaming and content creation, without being overly expensive.
- High-End: For gaming enthusiasts or professionals, the AMD Ryzen 7 7800X3D or Intel Core i9-13900K are excellent choices. However, high-end CPUs can face diminishing returns for purely gaming-focused builds.
What to consider when buying a GPU (Graphics Processing Unit)?
Your GPU plays the biggest role in gaming and content creation.
- Entry-Level: Integrated graphics like those on the Ryzen 5 or Intel i5 should suffice for light gaming and general use.
- Mid-Range: A discrete GPU such as the NVIDIA RTX 3050 or AMD RX 6600 is perfect for gaming at 1080p and 1440p resolutions. These GPUs support modern features like ray tracing, which enhance gaming visuals. Budget between ₹20,000 and ₹30,000.
- High-End: The NVIDIA RTX 4080 and AMD RX 7900 XT are ideal for 4K gaming or resource-heavy tasks like 3D rendering and video editing. Expect to spend ₹80,000 or more on these high-tier GPUs.
When choosing a GPU, ensure your power supply can handle the increased power demand. Use tools like OuterVision to estimate the PSU requirements.
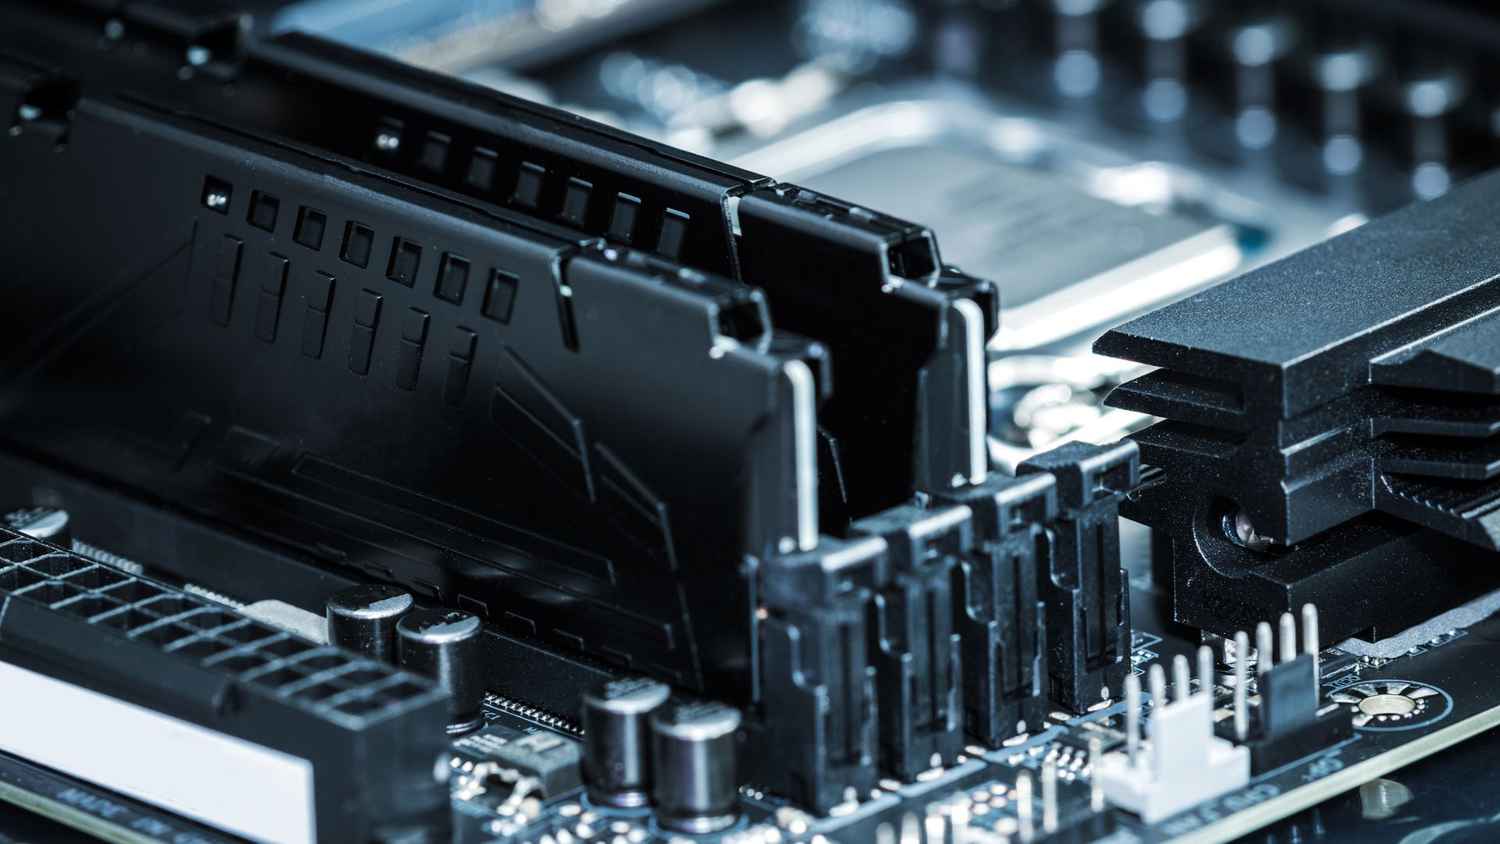
What to consider when buying storage for your PC?
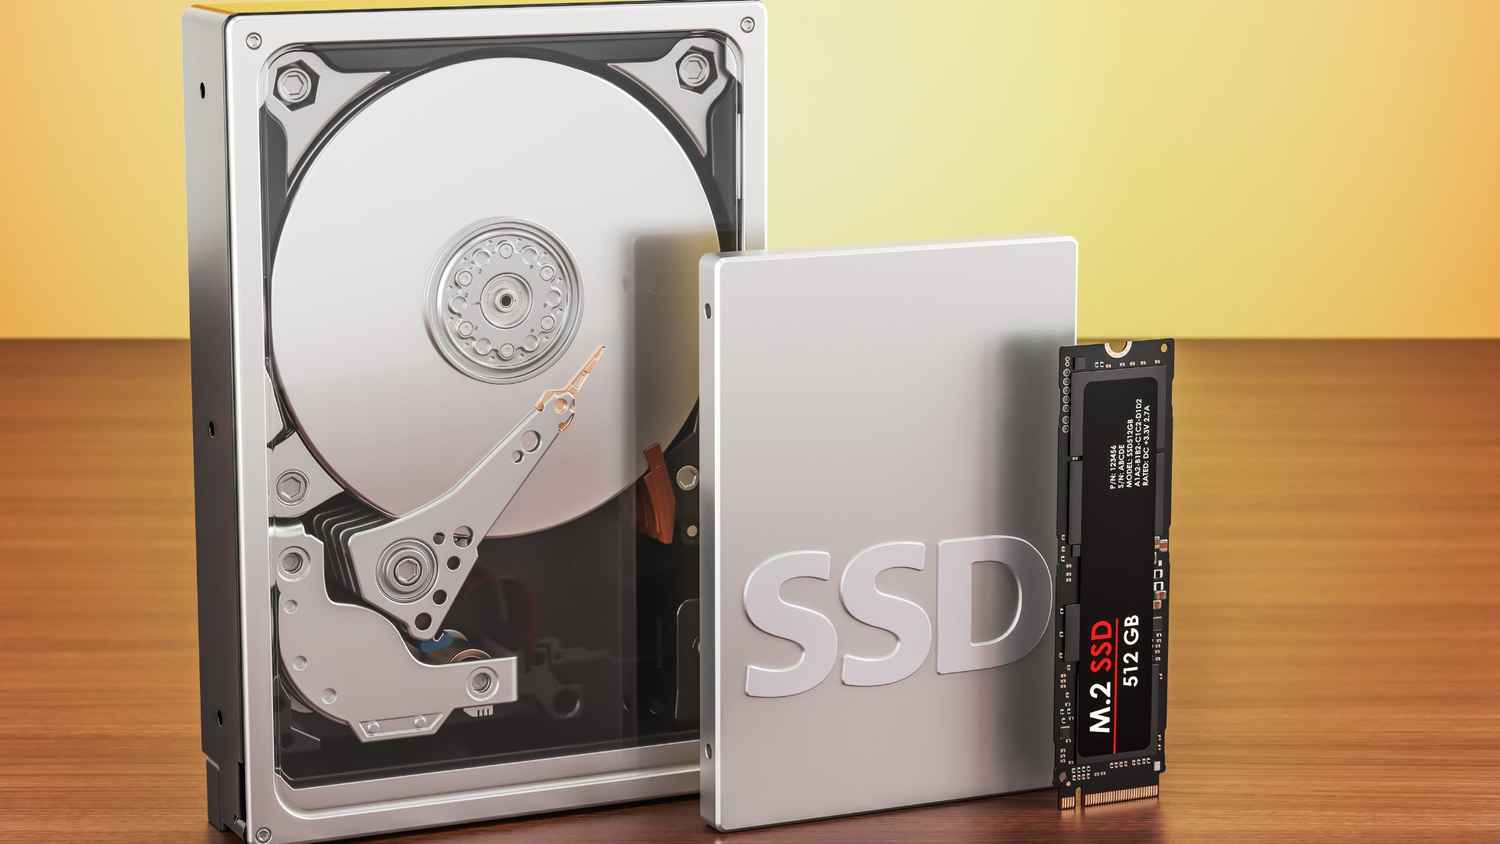
Fast storage is essential for reducing load times and improving the responsiveness of your system.
- Entry-Level: Opt for a 256 GB or 512 GB NVMe SSD. These offer significantly faster boot and load times compared to traditional SATA SSDs or HDDs, especially as your system ages.
- Mid-Range: A 1 TB NVMe SSD paired with a larger HDD (2 TB or more) provides the best balance between speed and storage capacity. This setup allows you to store large files (e.g., videos or games) on the HDD while keeping frequently used applications on the SSD.
- High-End: High-end builds should include multiple NVMe SSDs (1 TB or more) to separate the operating system, applications, and games for optimal performance. HDDs may still be useful for backup or mass storage but can be skipped for a purely speed-oriented setup.
What to consider when buying RAM?
Memory is another key component for ensuring smooth performance, especially when multitasking.
- Entry-Level: At least 16 GB of DDR4 RAM at 3200-3600 MHz is recommended. While 8 GB might seem cost-effective, it will limit your ability to run multiple applications or games simultaneously.
- Mid-Range: Stick with 16 GB but opt for higher clock speeds (3600 MHz and above). DDR5 is an option if your budget allows and you are buying compatible components.
- High-End: For high-end builds, 32 GB of DDR5 RAM at speeds of 4800 MHz or higher will ensure no bottlenecks when running memory-intensive tasks, such as video editing or gaming at high resolutions.
What to consider when buying a motherboard?
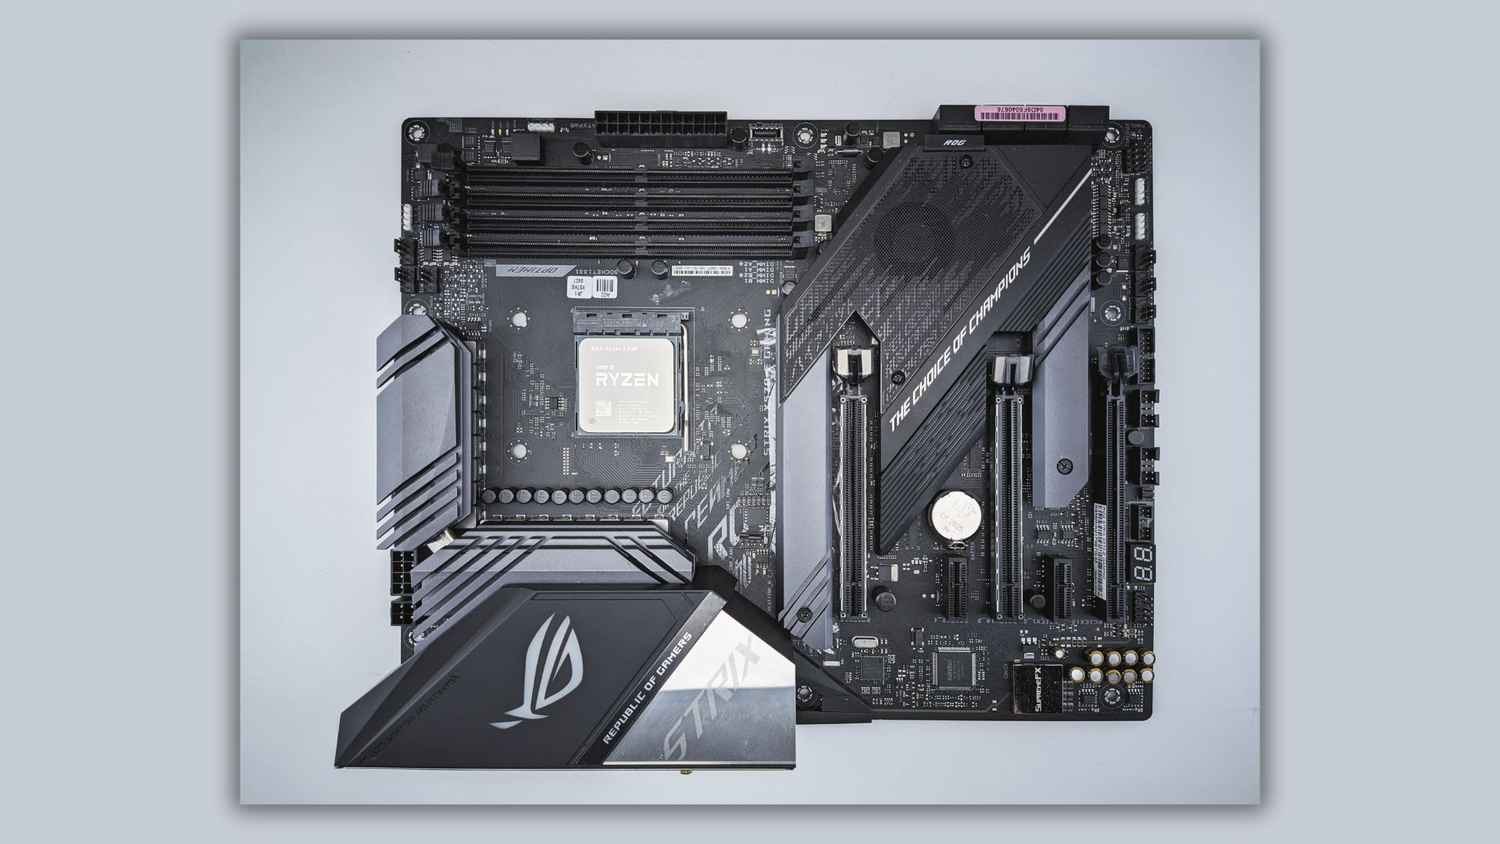
Your motherboard connects all your components, so its features should match your needs.
- Entry-Level: Budget-friendly motherboards like the AMD A520 or Intel H610 offer all the basics—enough USB ports, expansion slots, and onboard audio. Wi-Fi or extra M.2 slots can add to cost but aren’t essential at this level.
- Mid-Range: Look for boards with more PCIe lanes and M.2 slots for future upgrades. Chipsets like the AMD B550 or Intel Z690 are ideal, with more robust VRMs for stable overclocking.
- High-End: Enthusiasts should opt for motherboards with the latest features, such as PCIe 5.0 and Thunderbolt support. Top-tier chipsets like the AMD X670E or Intel Z790 will give you ample room for expansion and fine-tuning performance.
What to consider when buying PSU (Power Supply Unit)?
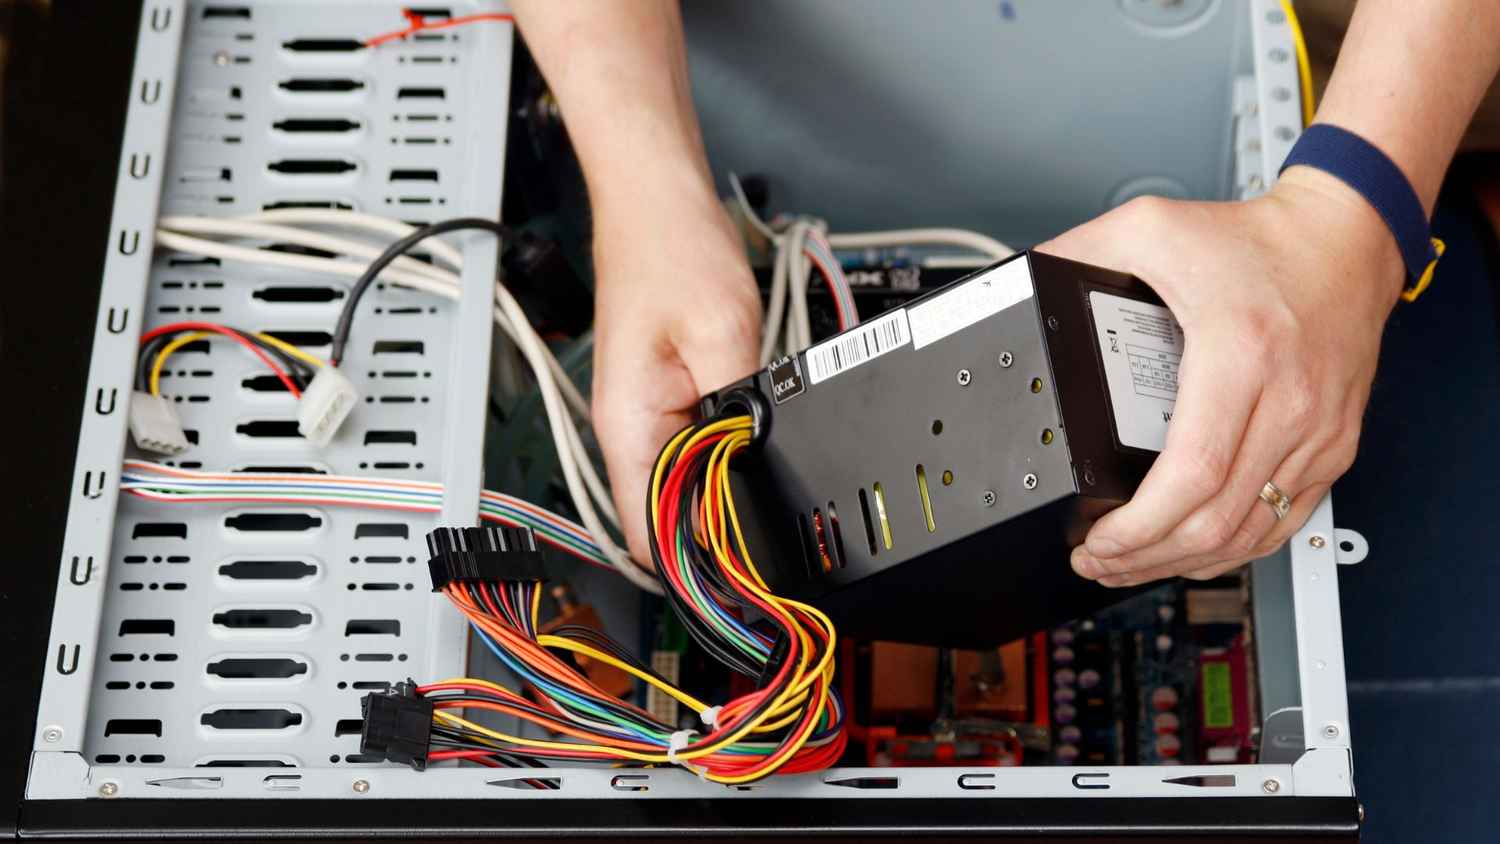
The PSU powers your entire system, so choosing a reliable one is essential.
- Entry-Level: A 450-550 W PSU with 80 Plus Bronze certification should be sufficient for most entry-level builds. Reliable brands include Corsair, EVGA, and Seasonic.
- Mid-Range: A 600-750 W PSU with 80 Plus Gold certification is recommended for mid-range builds. This allows for future upgrades and ensures better energy efficiency.
- High-End: High-end builds should use PSUs of 750 W or more with at least 80 Plus Gold certification to handle powerful GPUs and CPUs. Brands like Corsair, Seasonic, and Cooler Master offer high-efficiency PSUs with great warranties.
What to consider when buying the chassis?
The PC case protects your components and helps with airflow and cable management.
- Entry-Level: A basic ATX or micro-ATX case with decent airflow should suffice. Look for cases that include front or top fans, but avoid spending too much here.
- Mid-Range: Mid-tower cases with tempered glass panels and better airflow control can enhance both the performance and aesthetics of your build. Look for cases with dust filters and good cable management options.
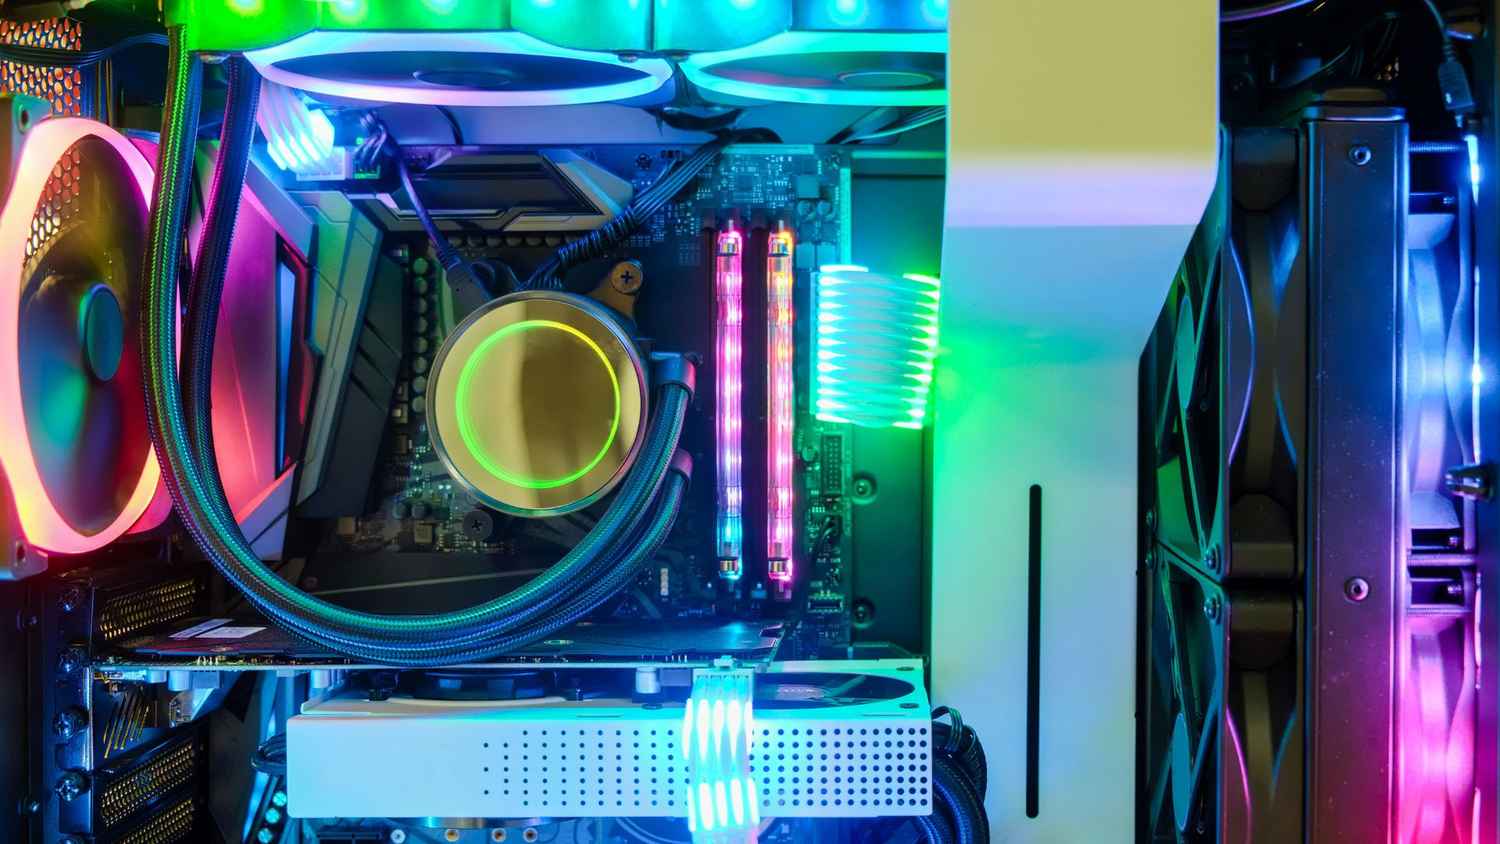
- High-End: High-end cases, such as those from Cooler Master or Fractal Design, provide excellent airflow, cable management, and space for advanced cooling solutions like AIO liquid coolers. High-quality materials, tempered glass, and RGB lighting are standard at this level.
The build
Building a DIY desktop PC is a rewarding process that not only provides you with a powerful custom machine but also gives you a deeper understanding of how computers function. Once you’ve chosen the right components, the assembly process can be straightforward with the right tools and preparation.

Preparing the Workspace
Before you begin, it’s essential to set up a clean, well-lit workspace free from static electricity. An anti-static wristband and mat can help prevent damaging sensitive components. Make sure all your tools, like screwdrivers, are easily accessible, and keep all screws and small parts in an organized manner. So, here’s a quick run-down of the process of putting it all together –
Step-by-Step Assembly
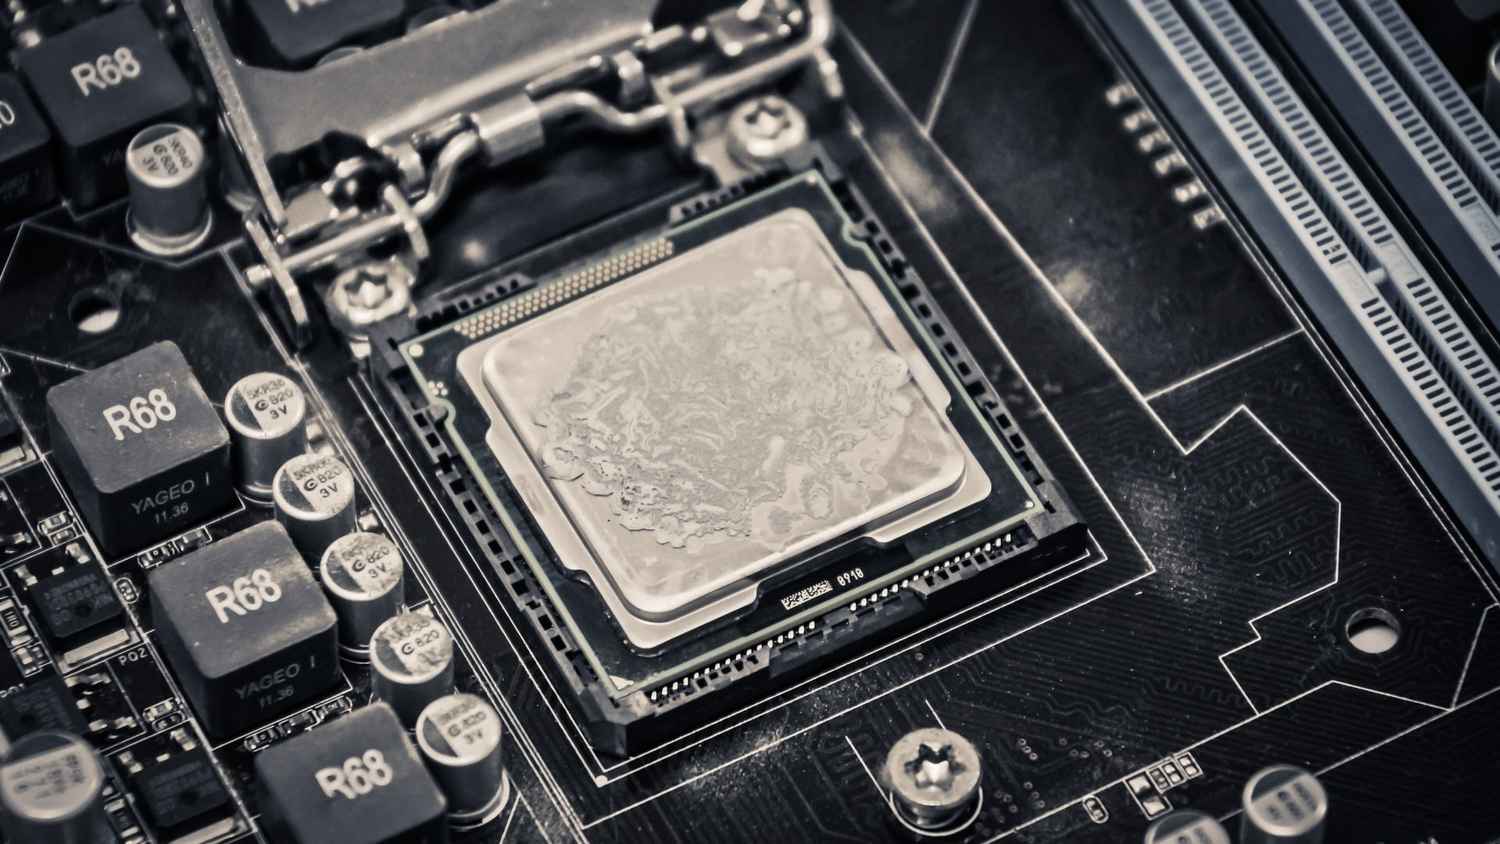
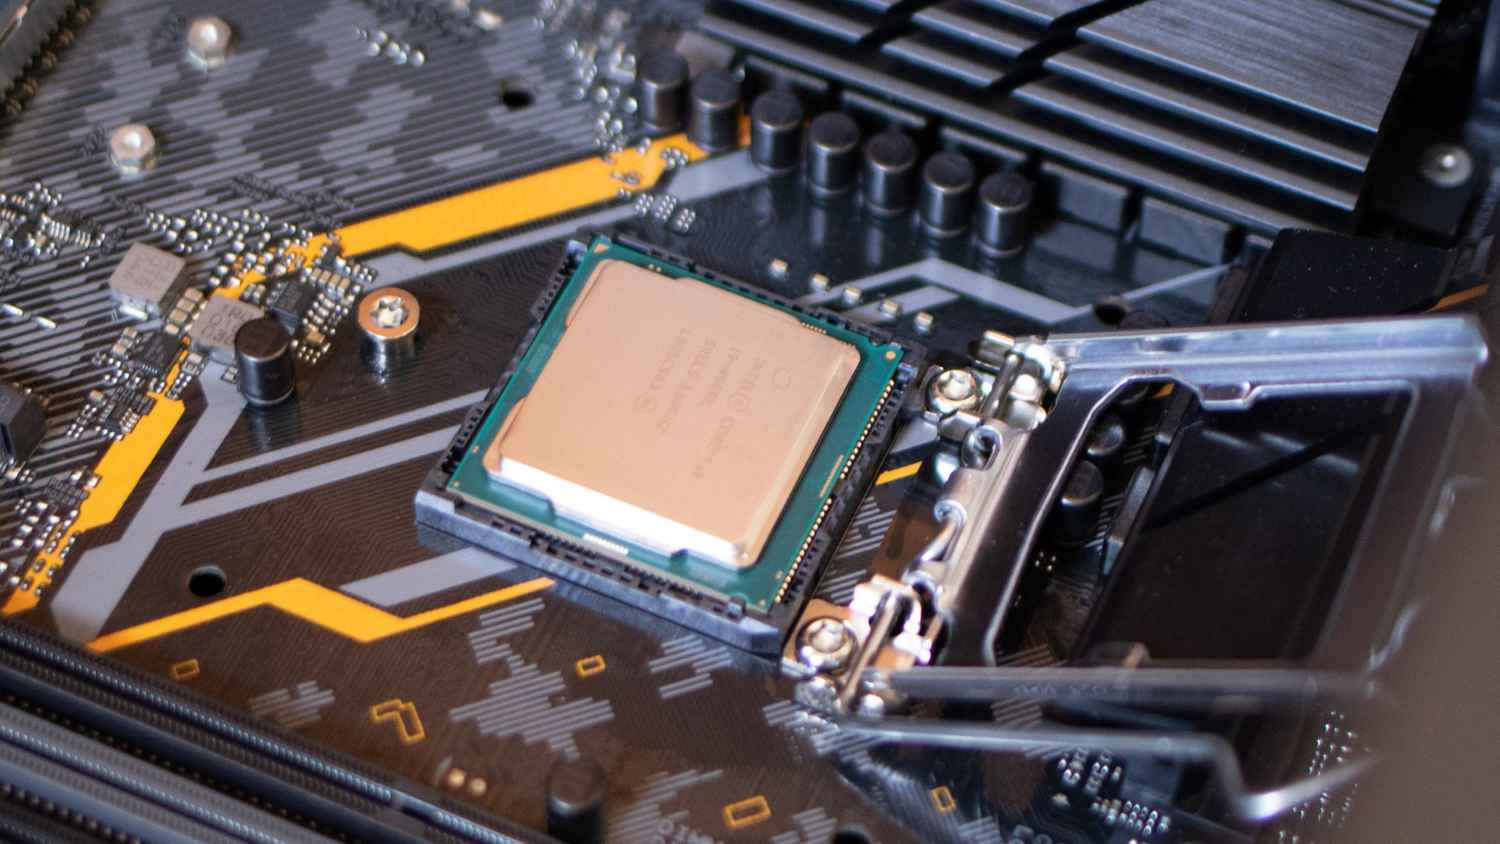
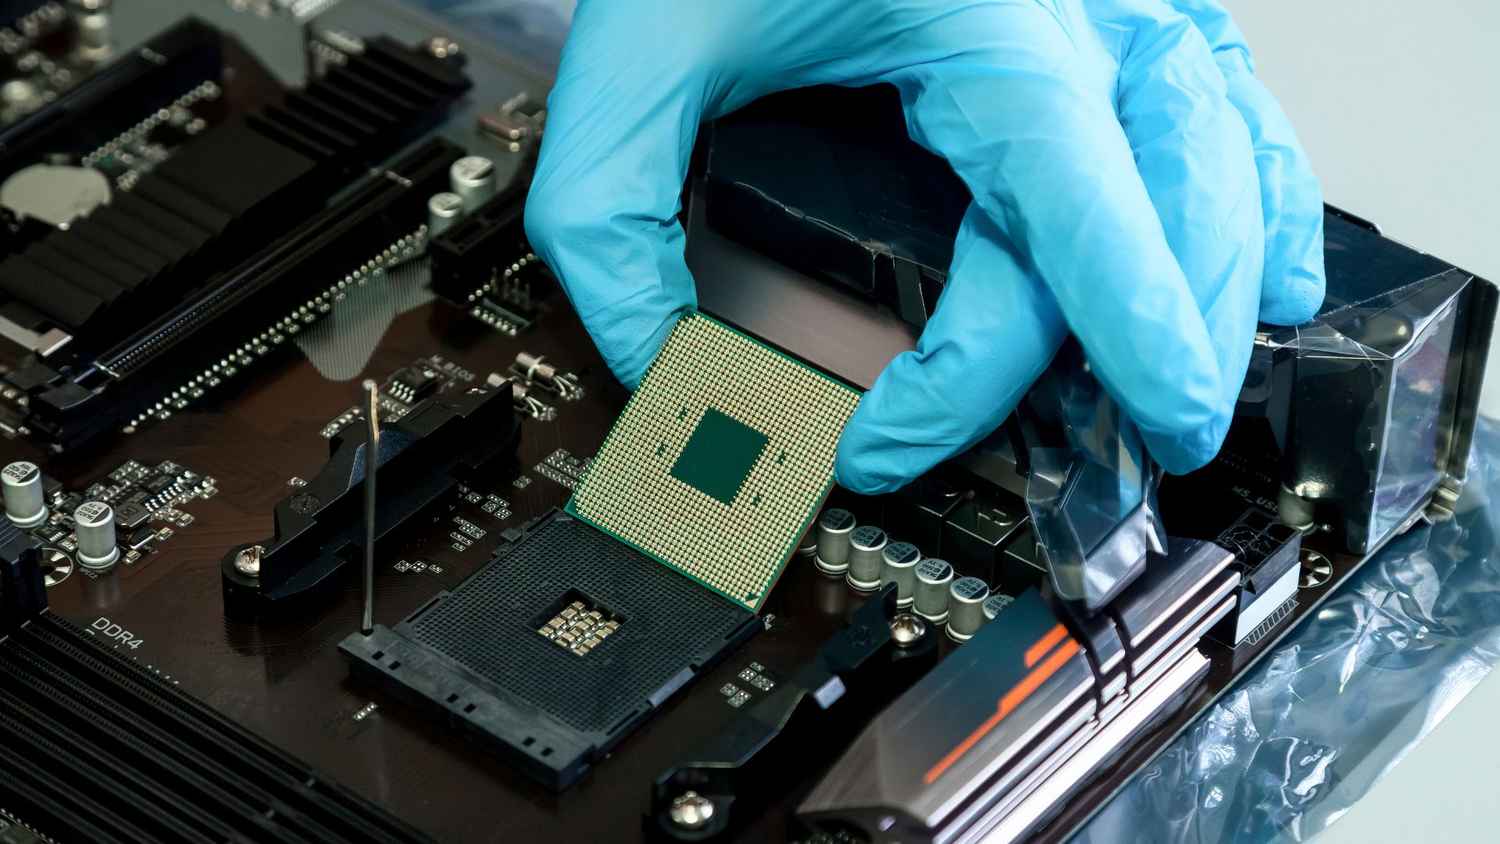
Start by installing the CPU on the motherboard, as it’s easier to do this before placing the motherboard in the case. Gently place the CPU into the socket, aligning the notches to ensure a correct fit, and secure it with the retention arm. Next, install the RAM in its designated slots, ensuring they click in firmly.
Once the CPU and RAM are installed, mount the motherboard into the PC case, ensuring the standoffs are properly aligned with the screw holes on the motherboard. Tighten the screws but avoid overtightening to prevent damage.
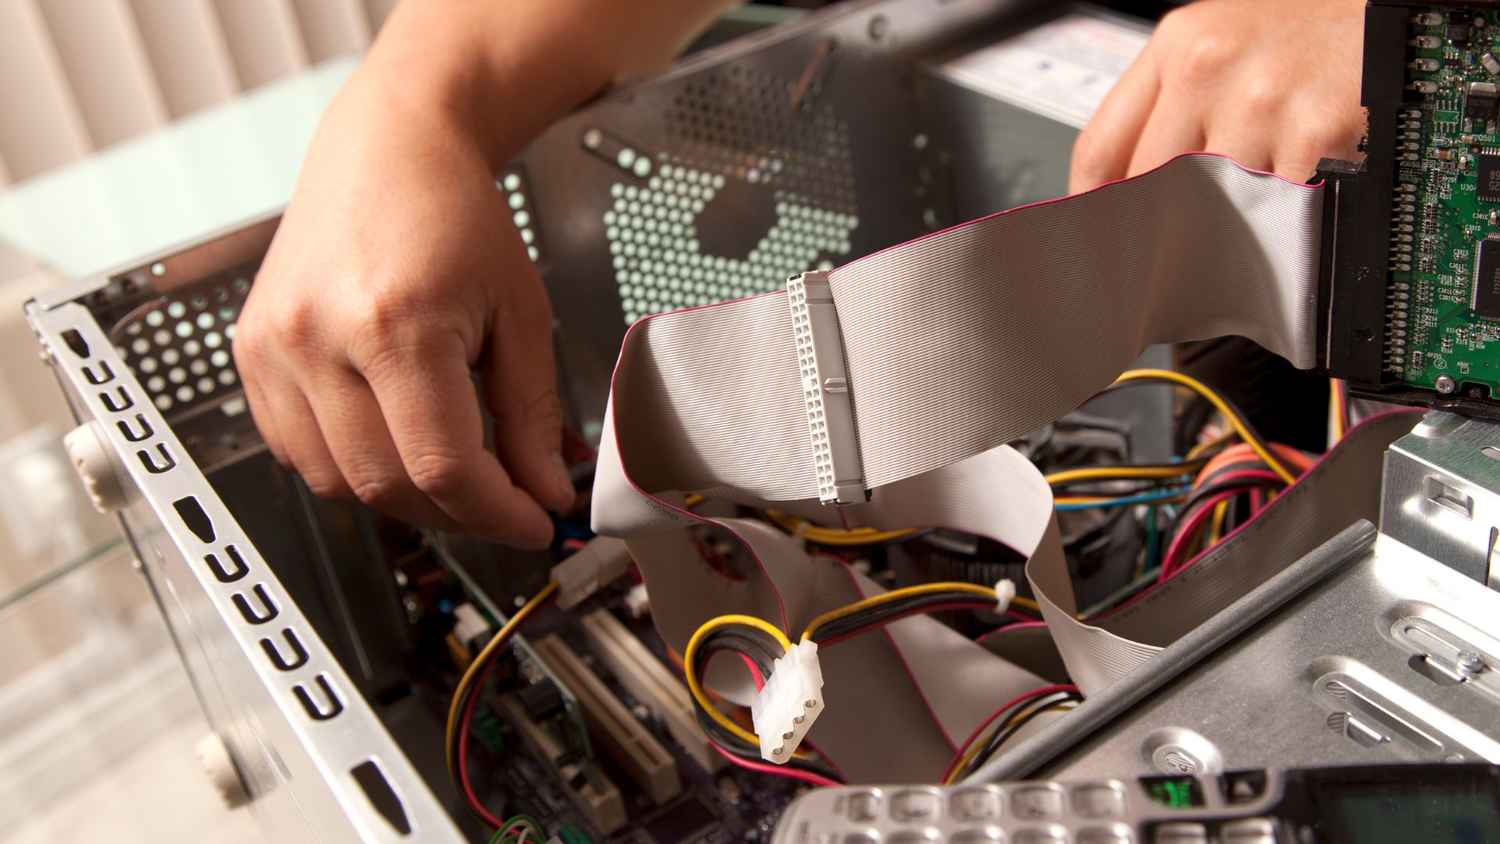
Next, install the power supply unit (PSU) at the bottom or rear of the case, depending on the design. Ensure all the necessary cables, like the 24-pin motherboard connector and the 8-pin CPU connector, are routed efficiently.
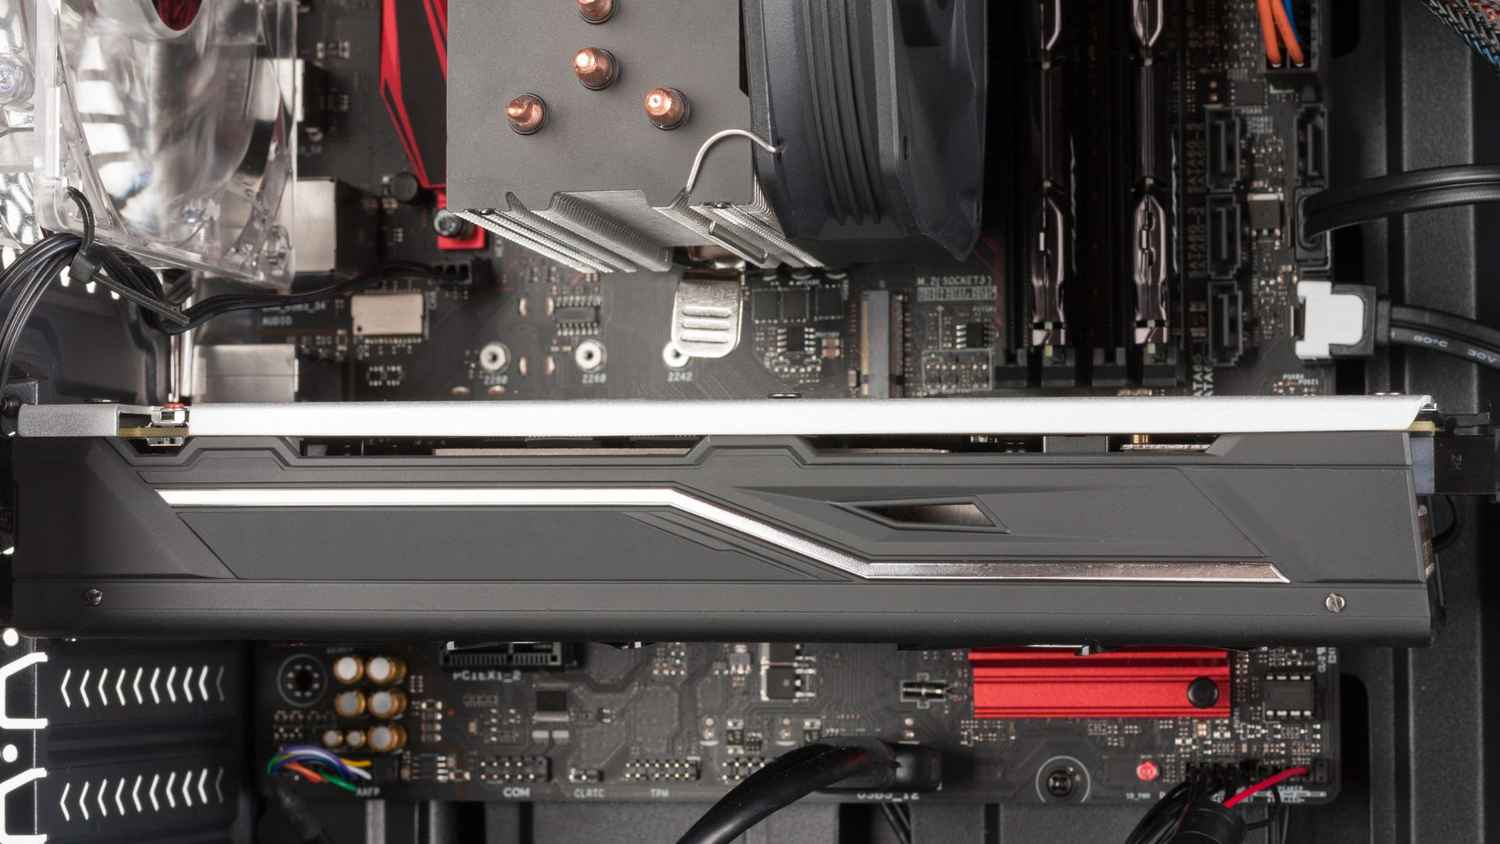
For storage, secure your NVMe SSD or SATA SSD in the respective slot or drive bay. Mount your GPU in the PCIe slot, making sure it clicks into place, and secure it with screws on the back panel. Finally, plug in all necessary power and data cables.
Testing the Build
After assembly, it’s crucial to test the build before closing the case. Double-check all connections, then power on the system. If the machine boots successfully into the BIOS, you can proceed with installing the operating system. After that, you can stress test your system using a suite of benchmarks to ensure stability.
Mithun Mohandas
Mithun Mohandas is an Indian technology journalist with 14 years of experience covering consumer technology. He is currently employed at Digit in the capacity of a Managing Editor. Mithun has a background in Computer Engineering and was an active member of the IEEE during his college days. He has a penchant for digging deep into unravelling what makes a device tick. If there's a transistor in it, Mithun's probably going to rip it apart till he finds it. At Digit, he covers processors, graphics cards, storage media, displays and networking devices aside from anything developer related. As an avid PC gamer, he prefers RTS and FPS titles, and can be quite competitive in a race to the finish line. He only gets consoles for the exclusives. He can be seen playing Valorant, World of Tanks, HITMAN and the occasional Age of Empires or being the voice behind hundreds of Digit videos. View Full Profile